Module 3 Formstorming

Weekly Activity Template

Zixin Zhang


Project 3


Module 3

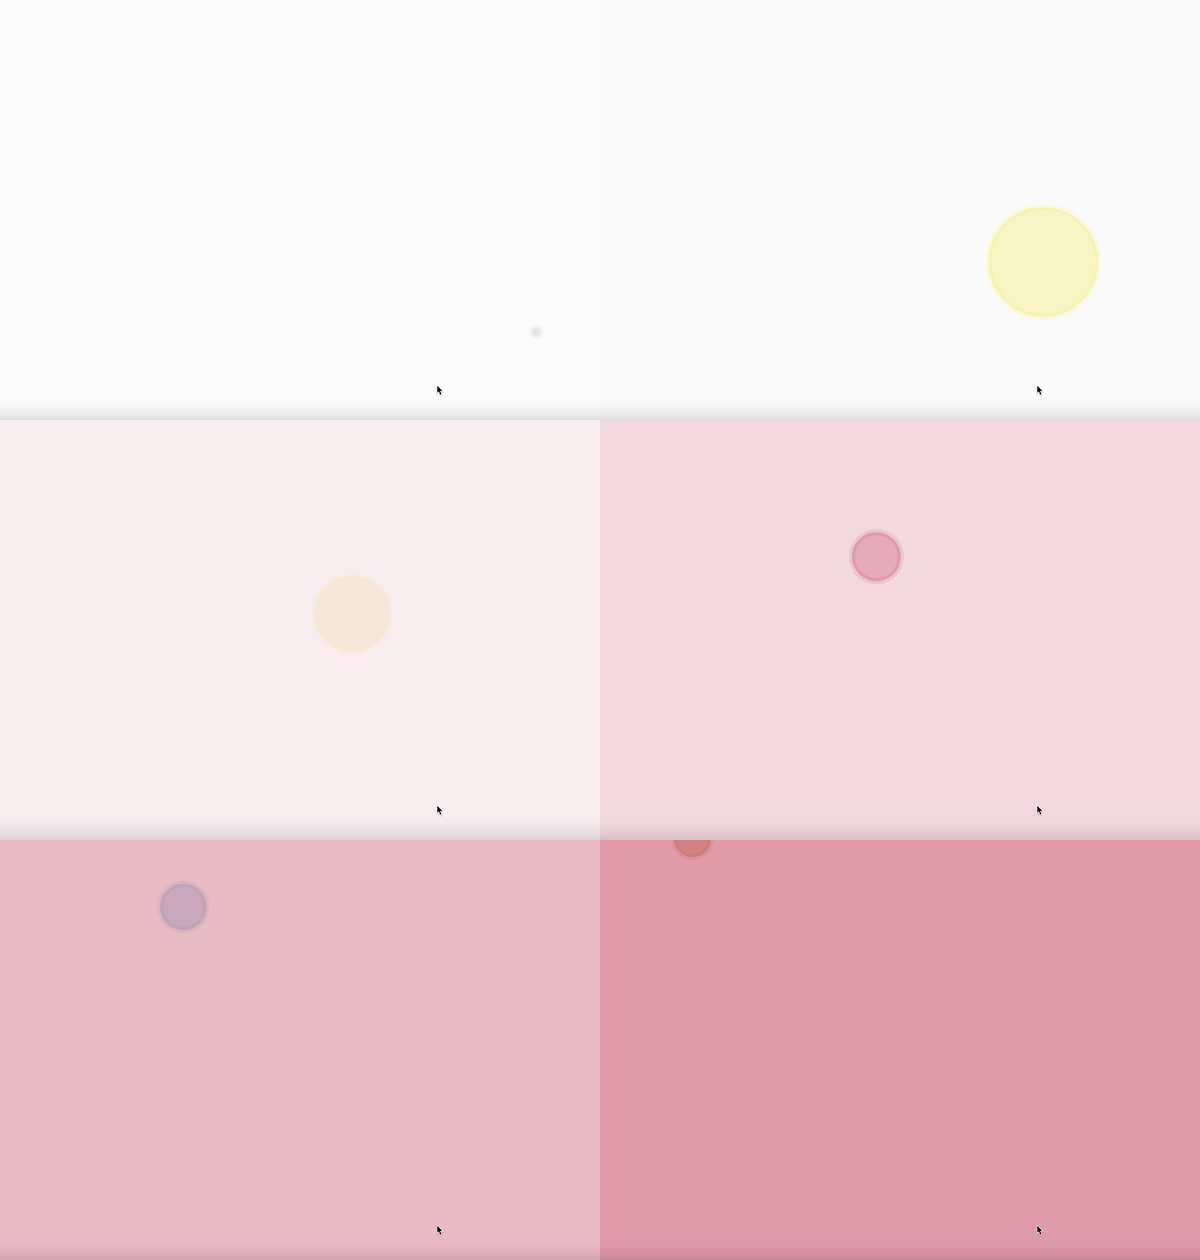
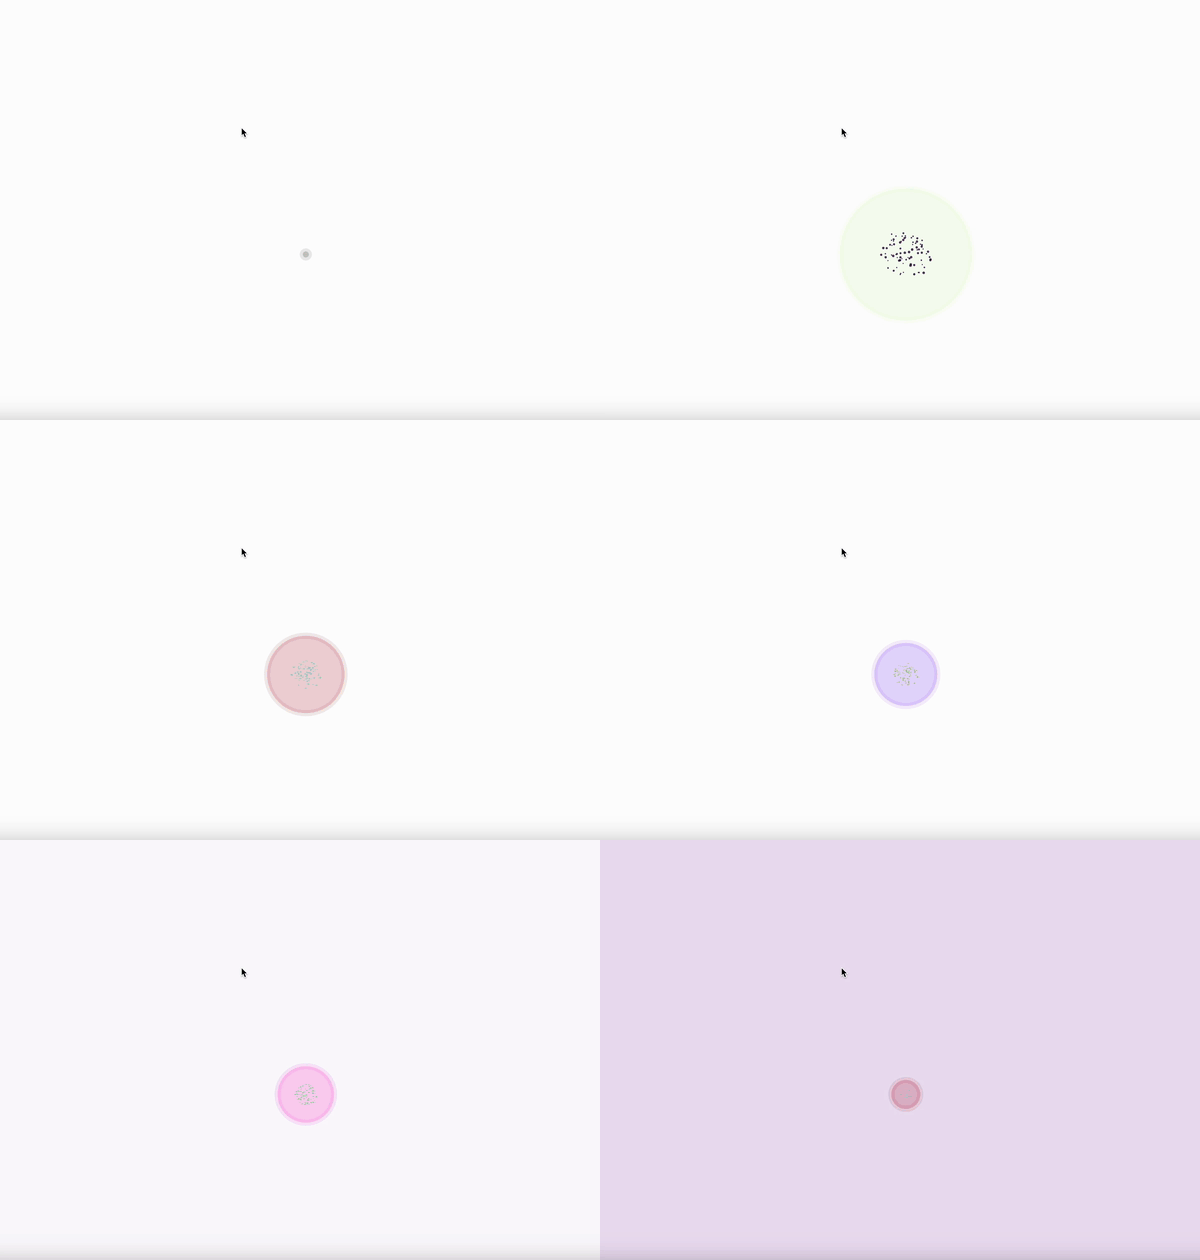
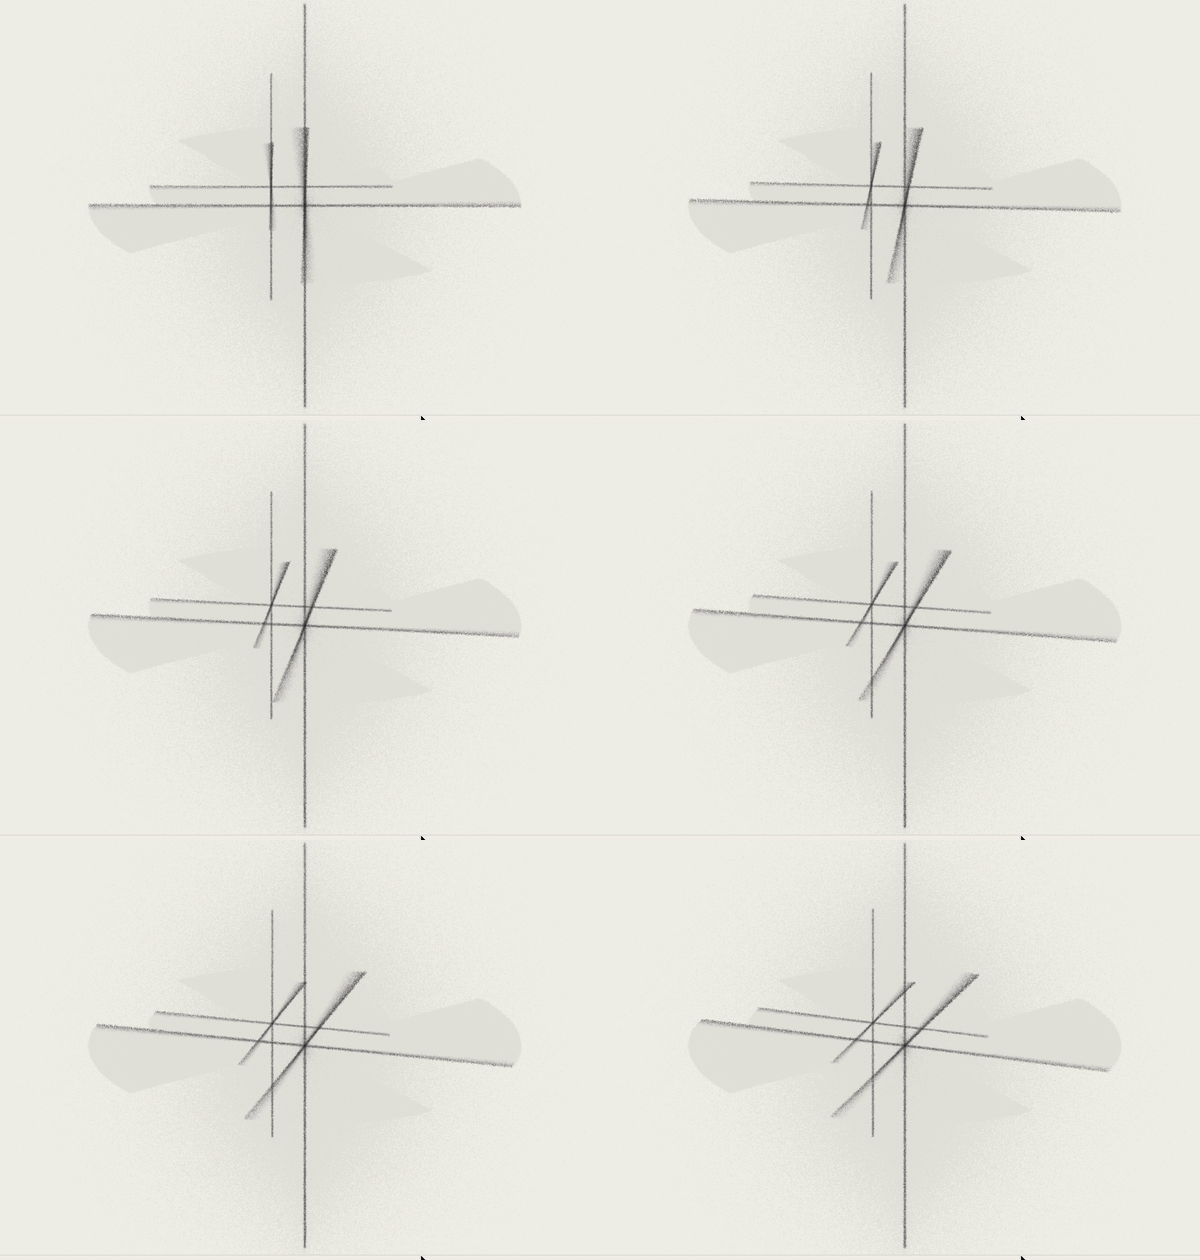
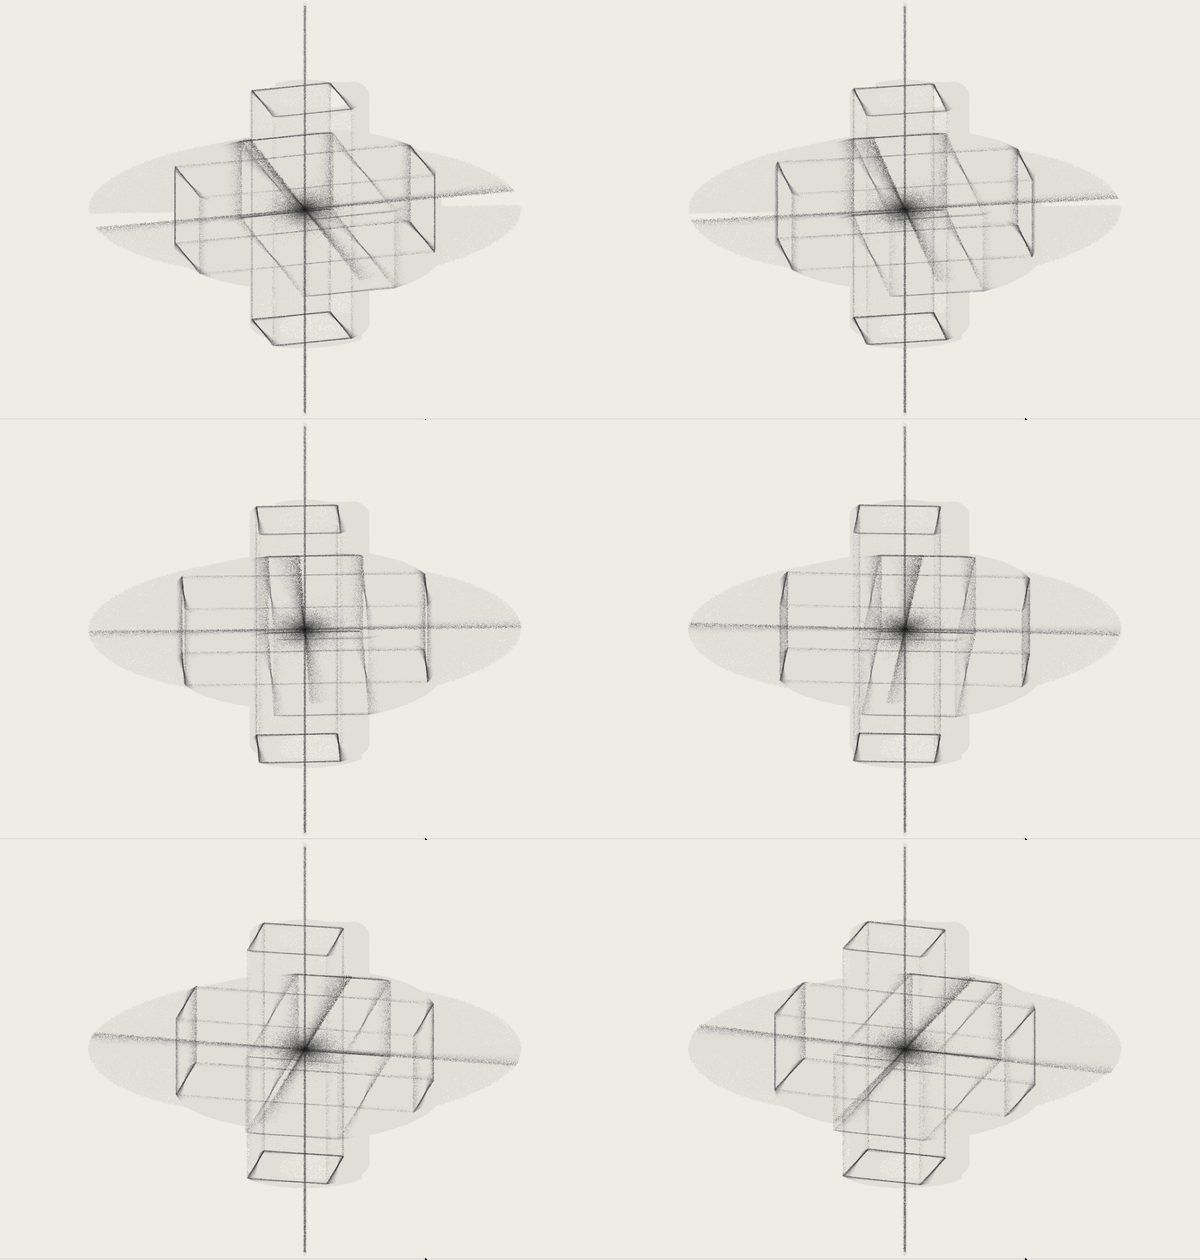
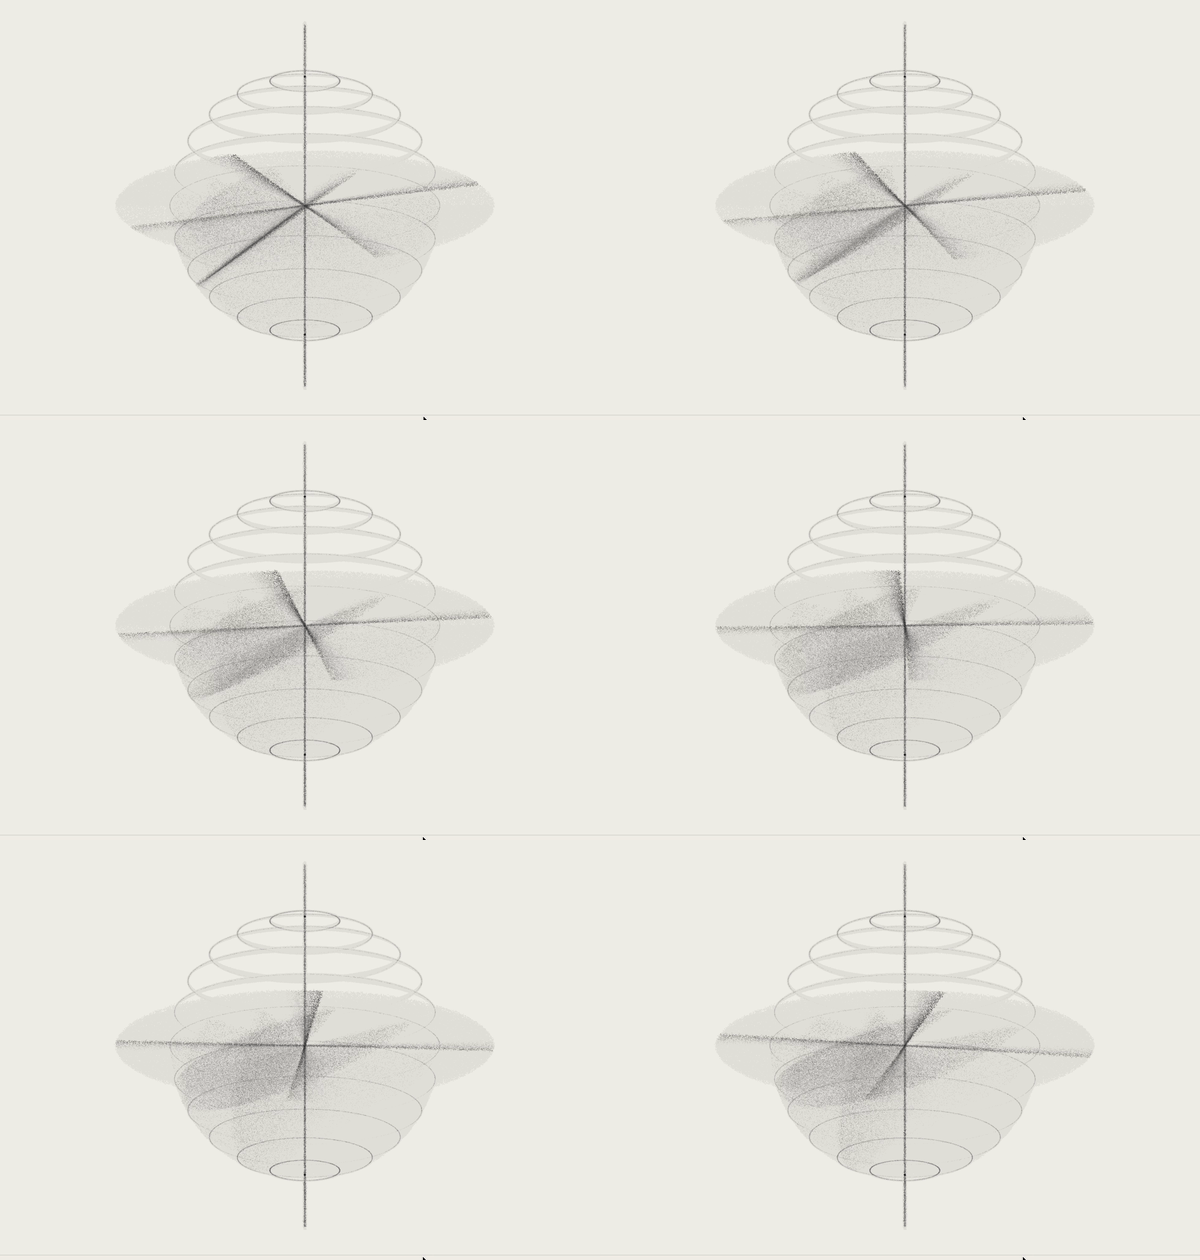
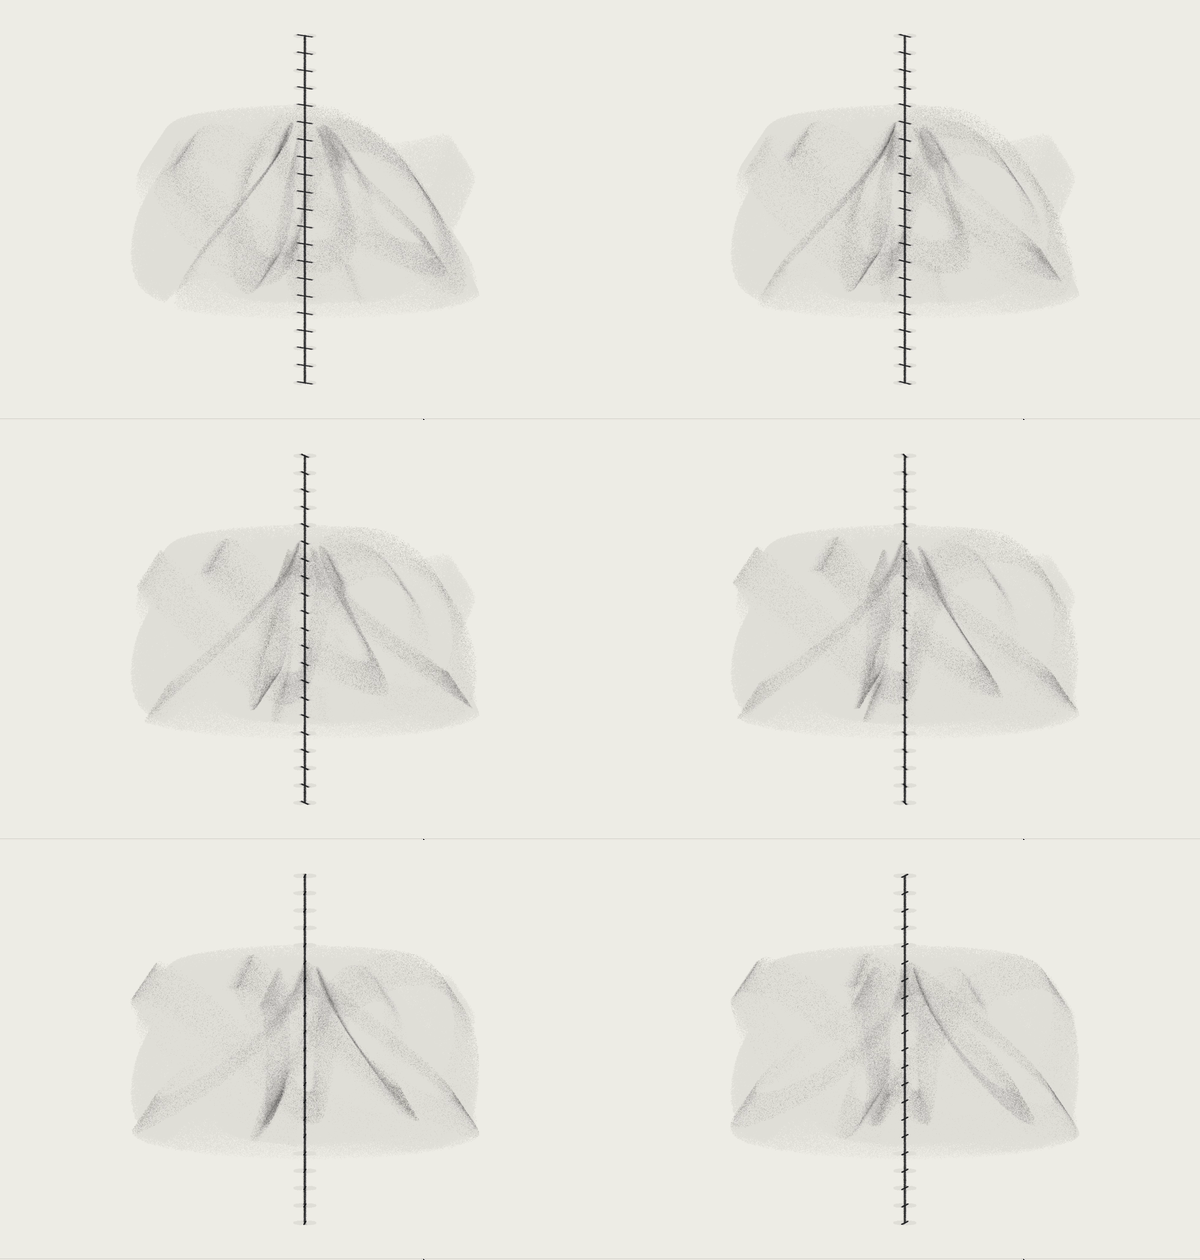
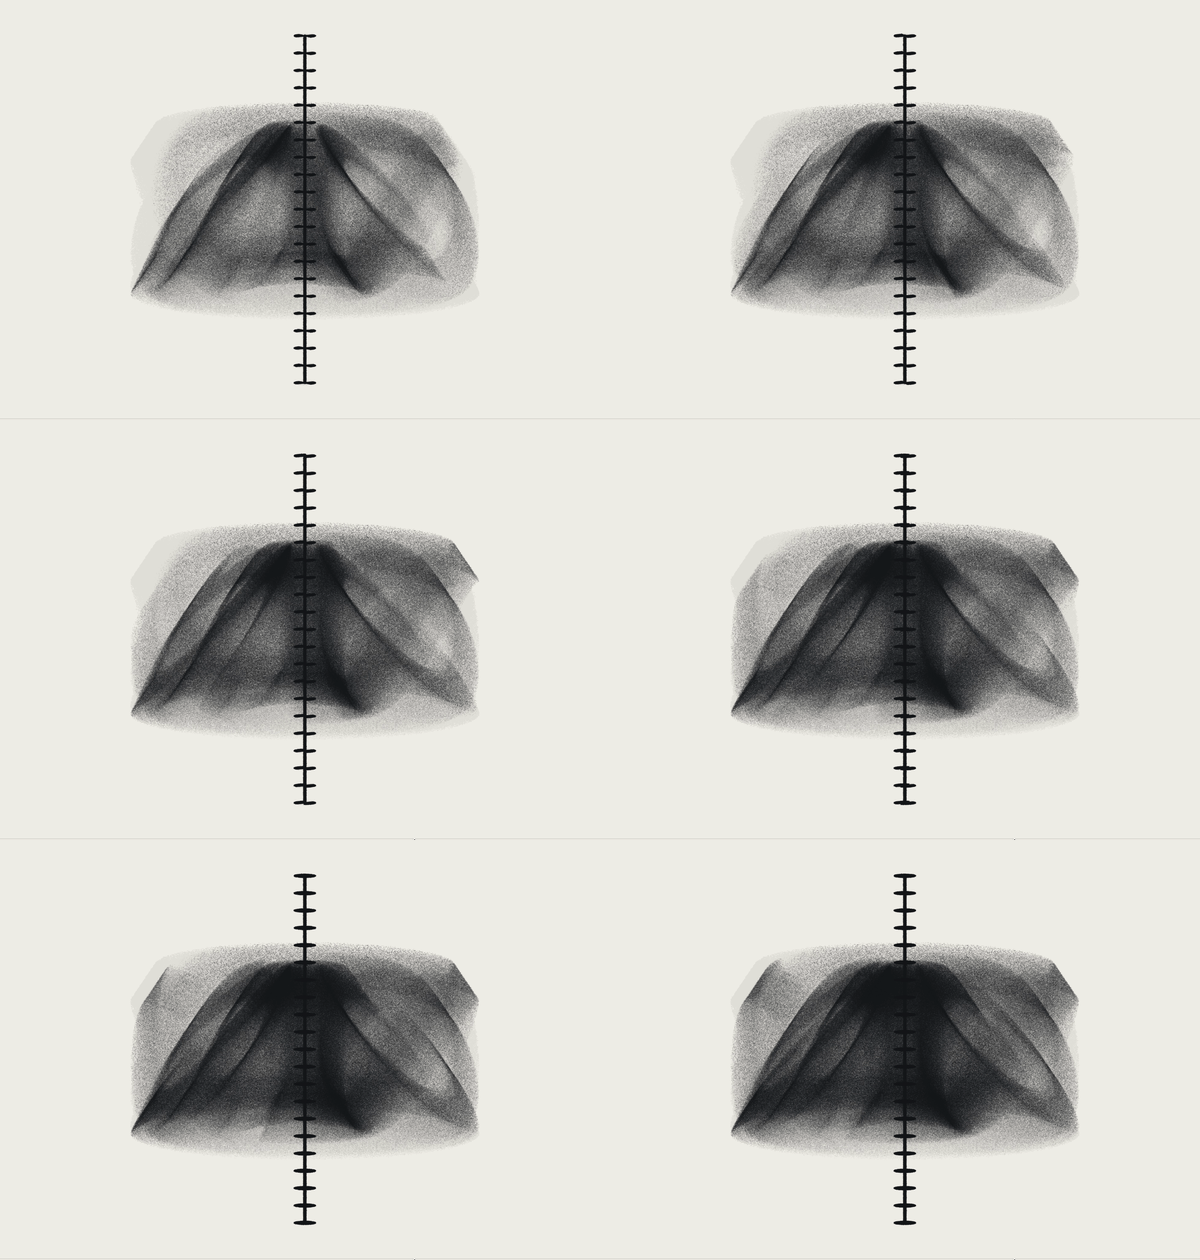
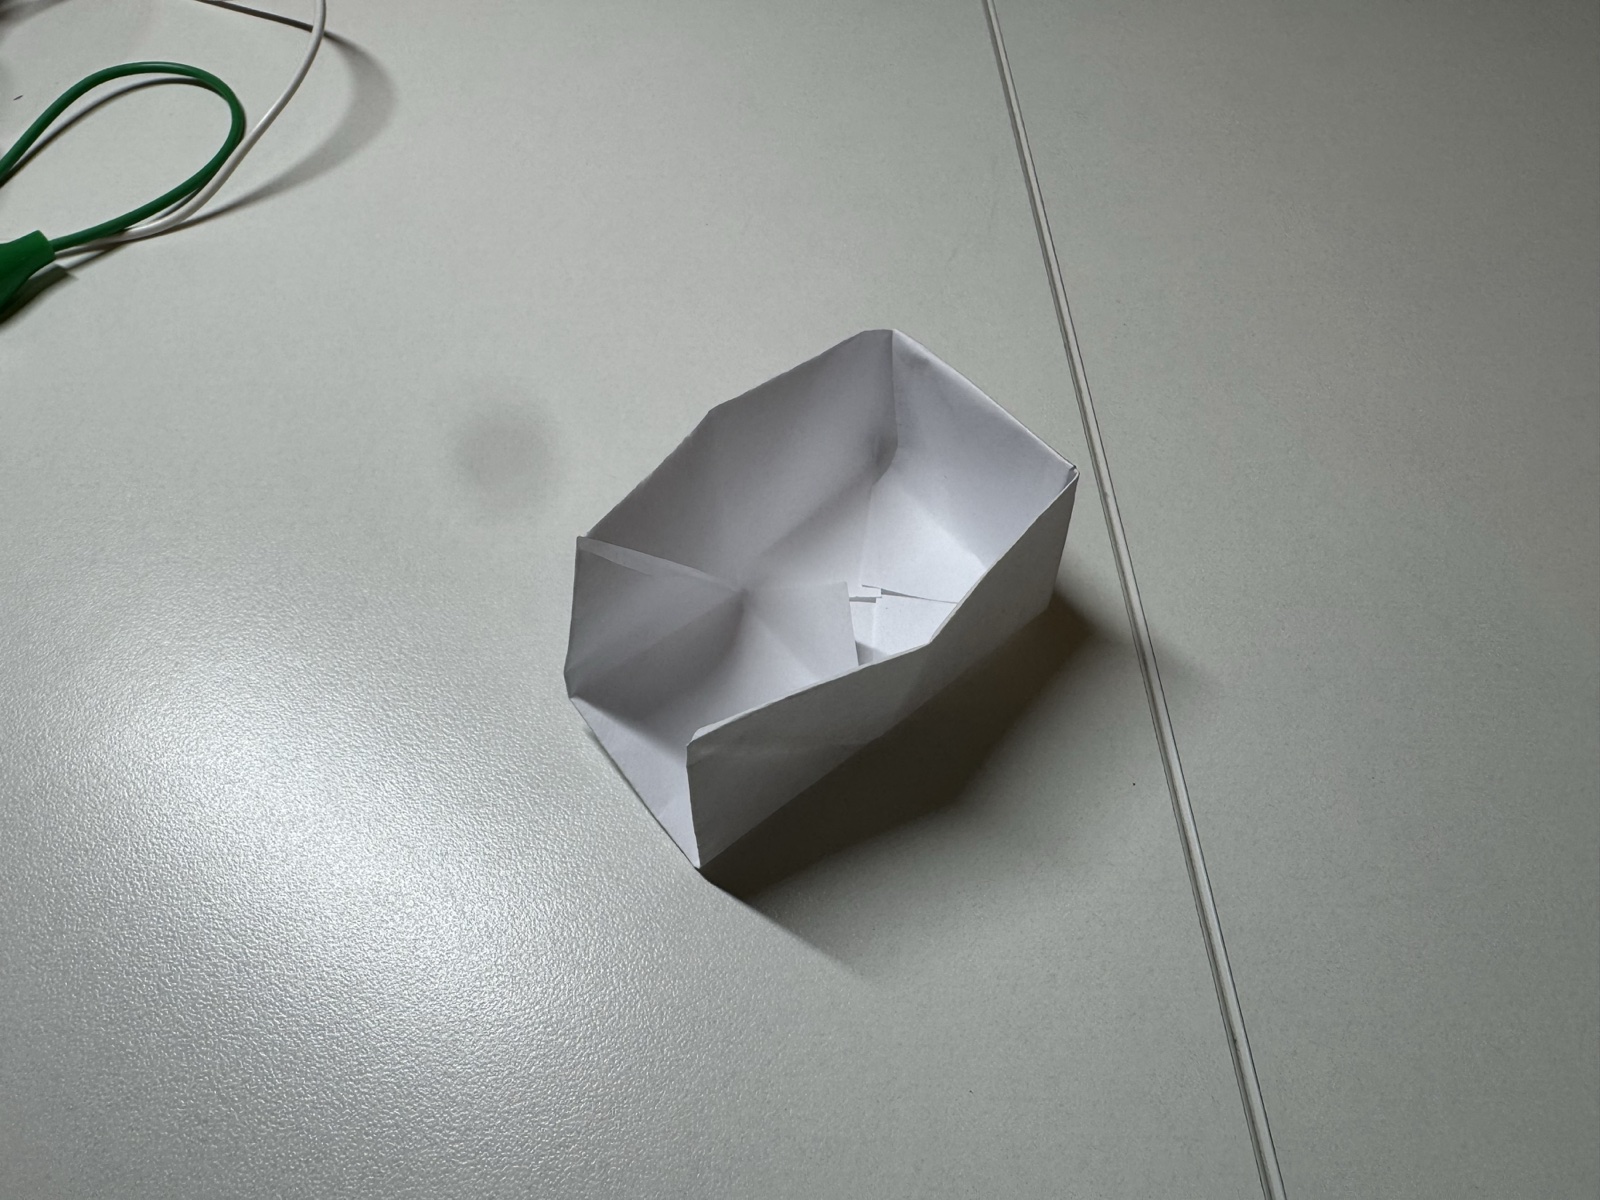
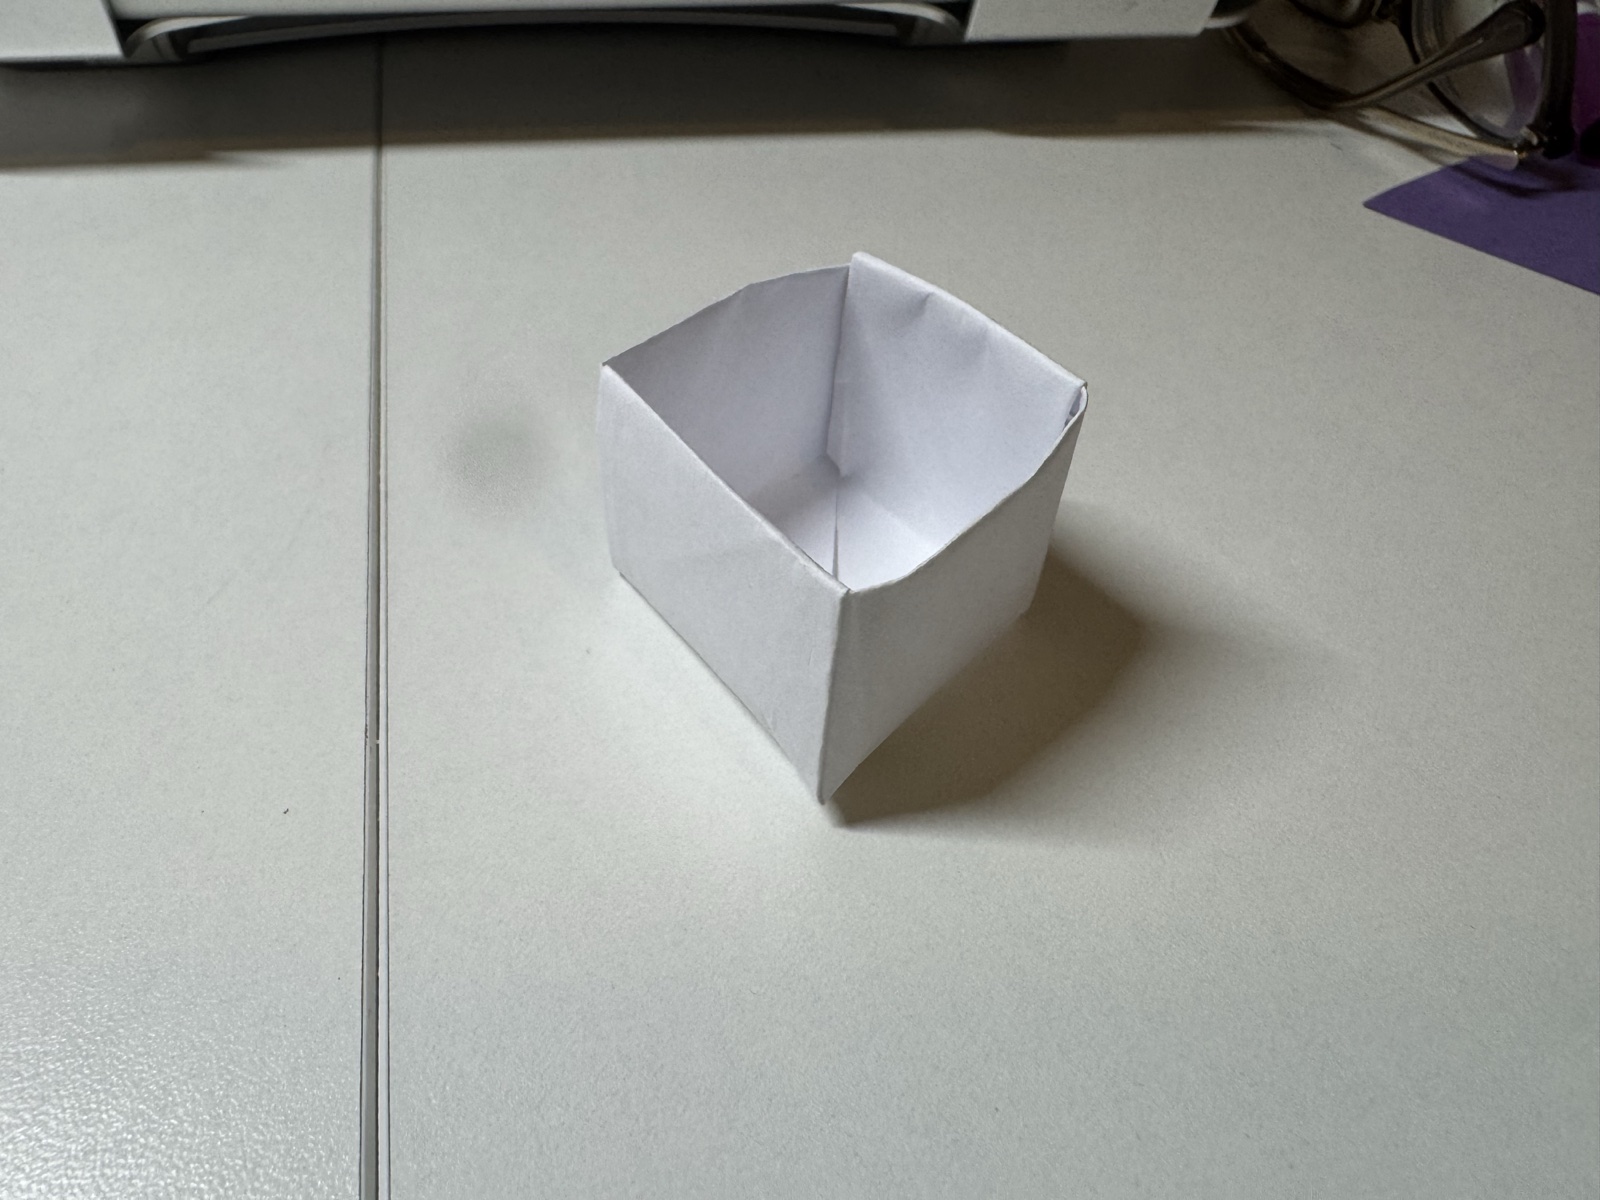
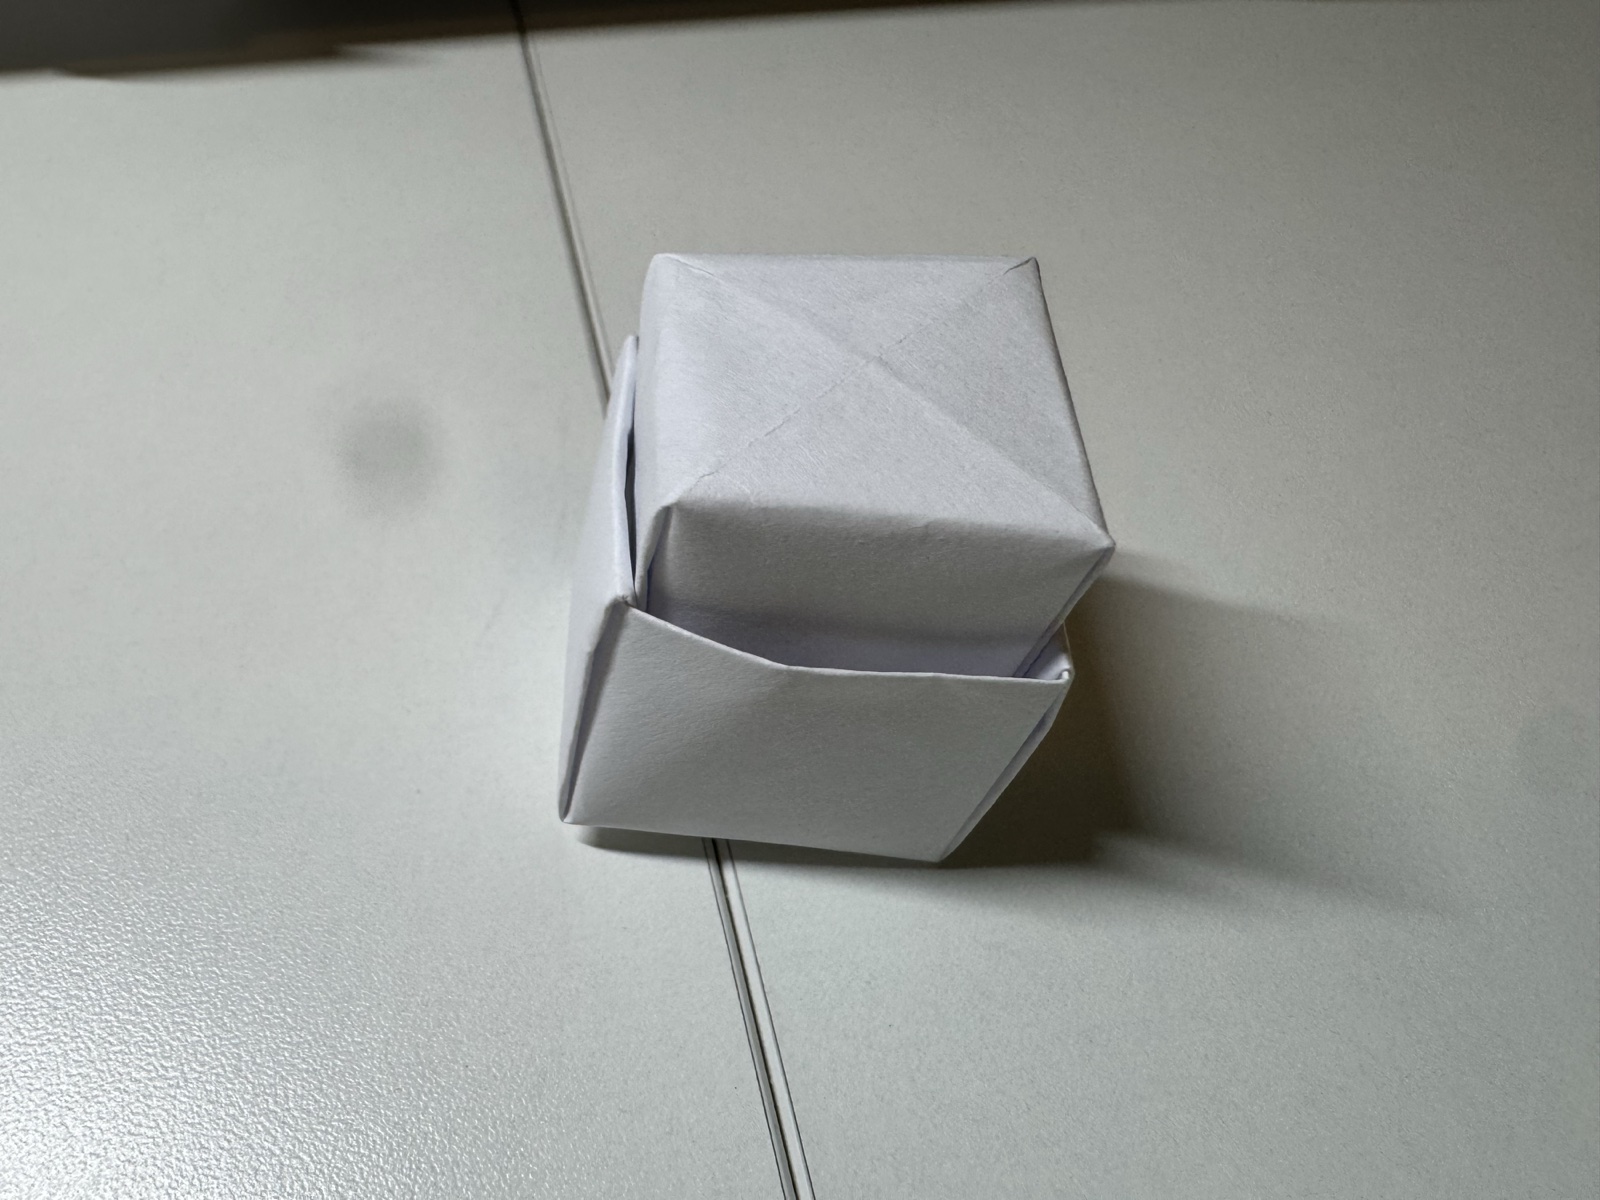
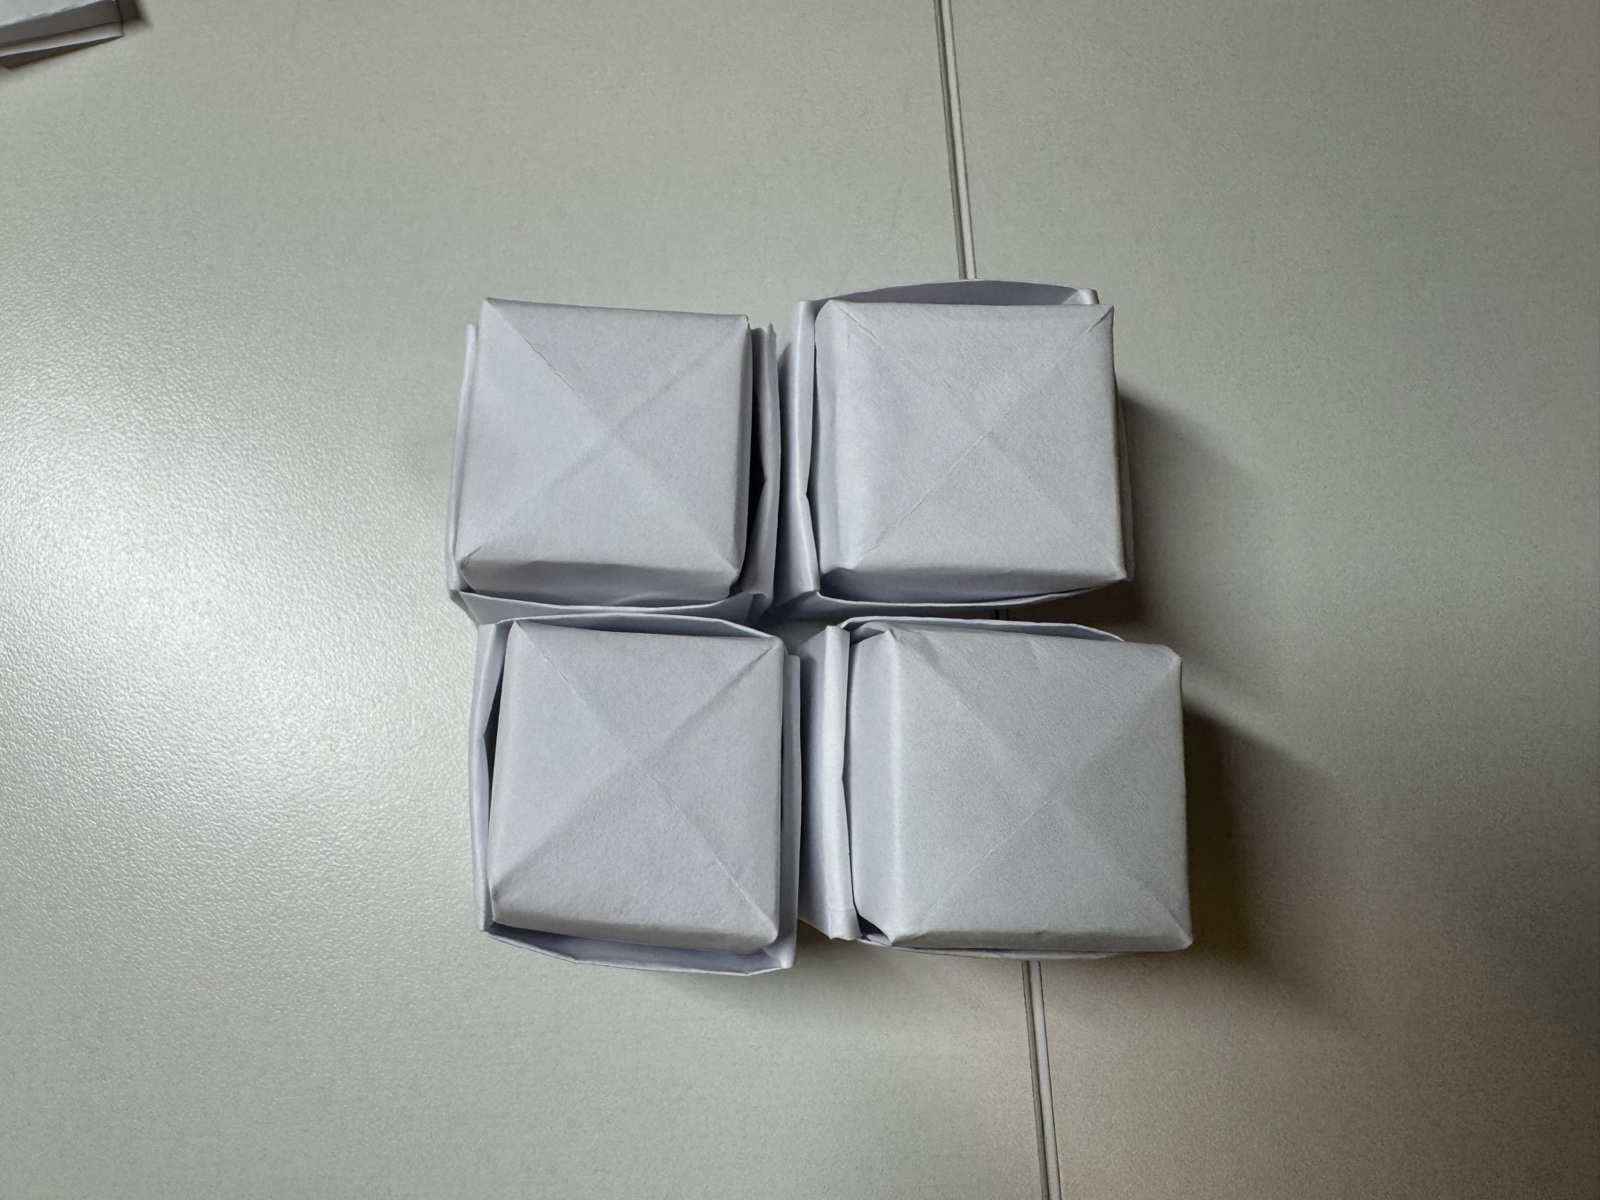
These images show the process of my project, from early p5.js experiments to the making of the physical controller. At first, I explored different visual ideas in p5.js, including shapes, colors, movement, and abstract line-based effects.

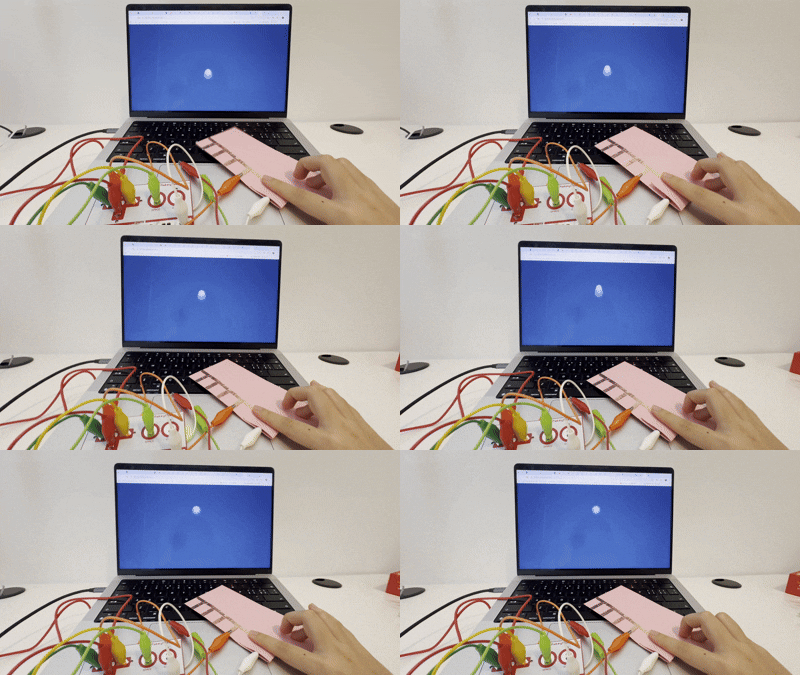
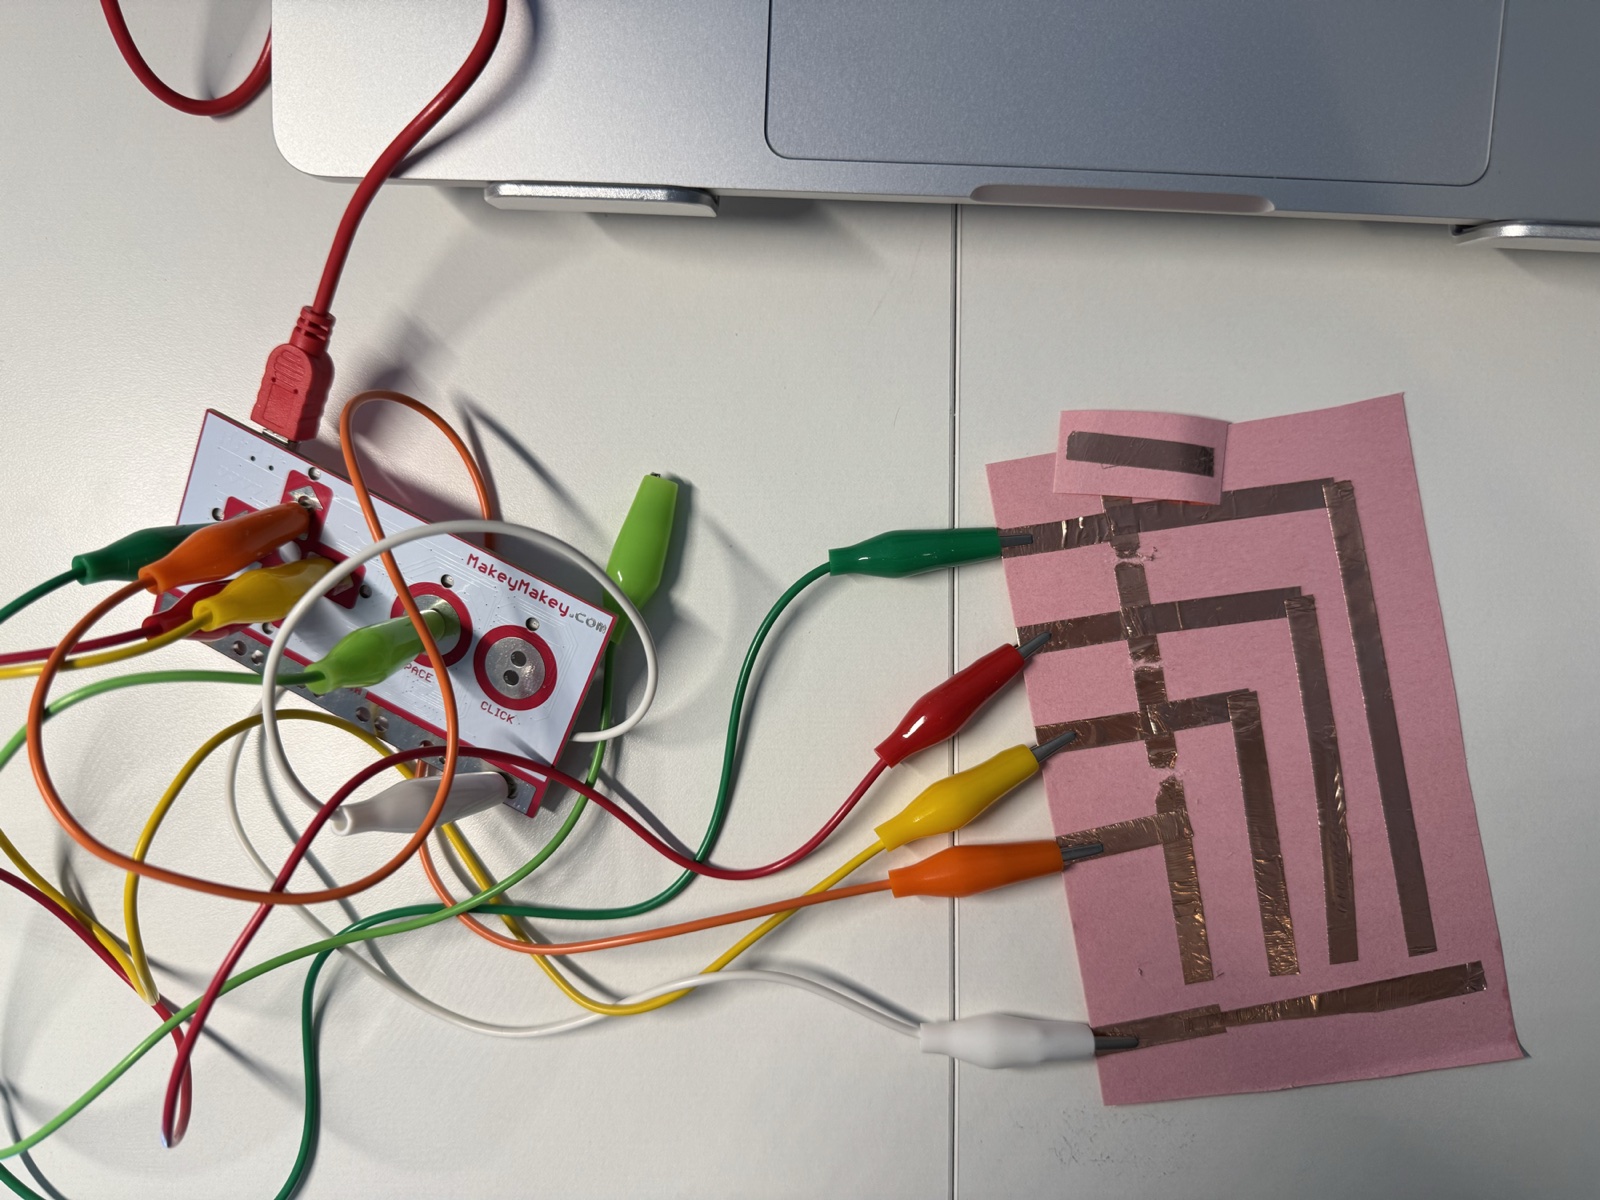
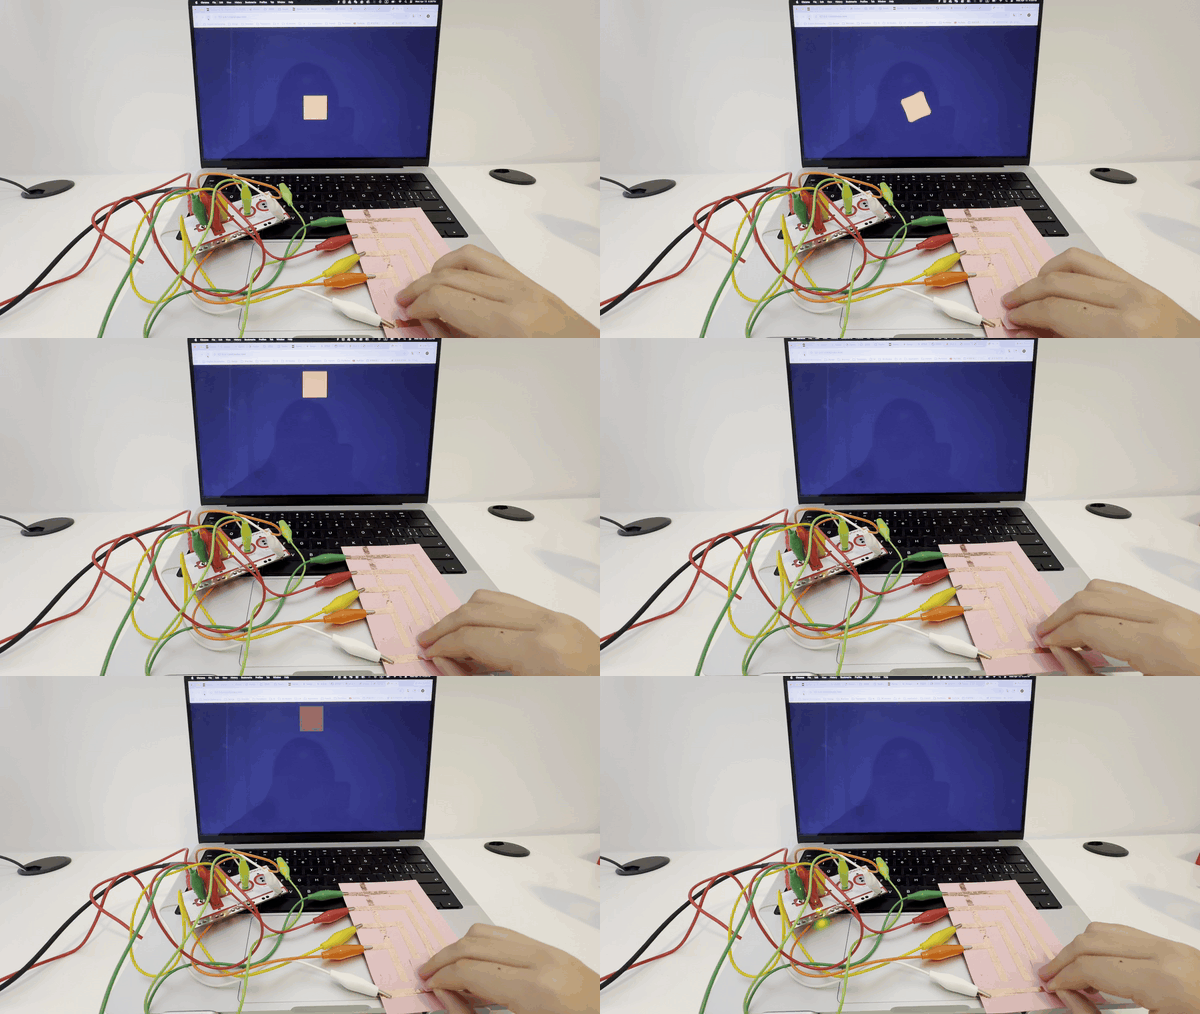
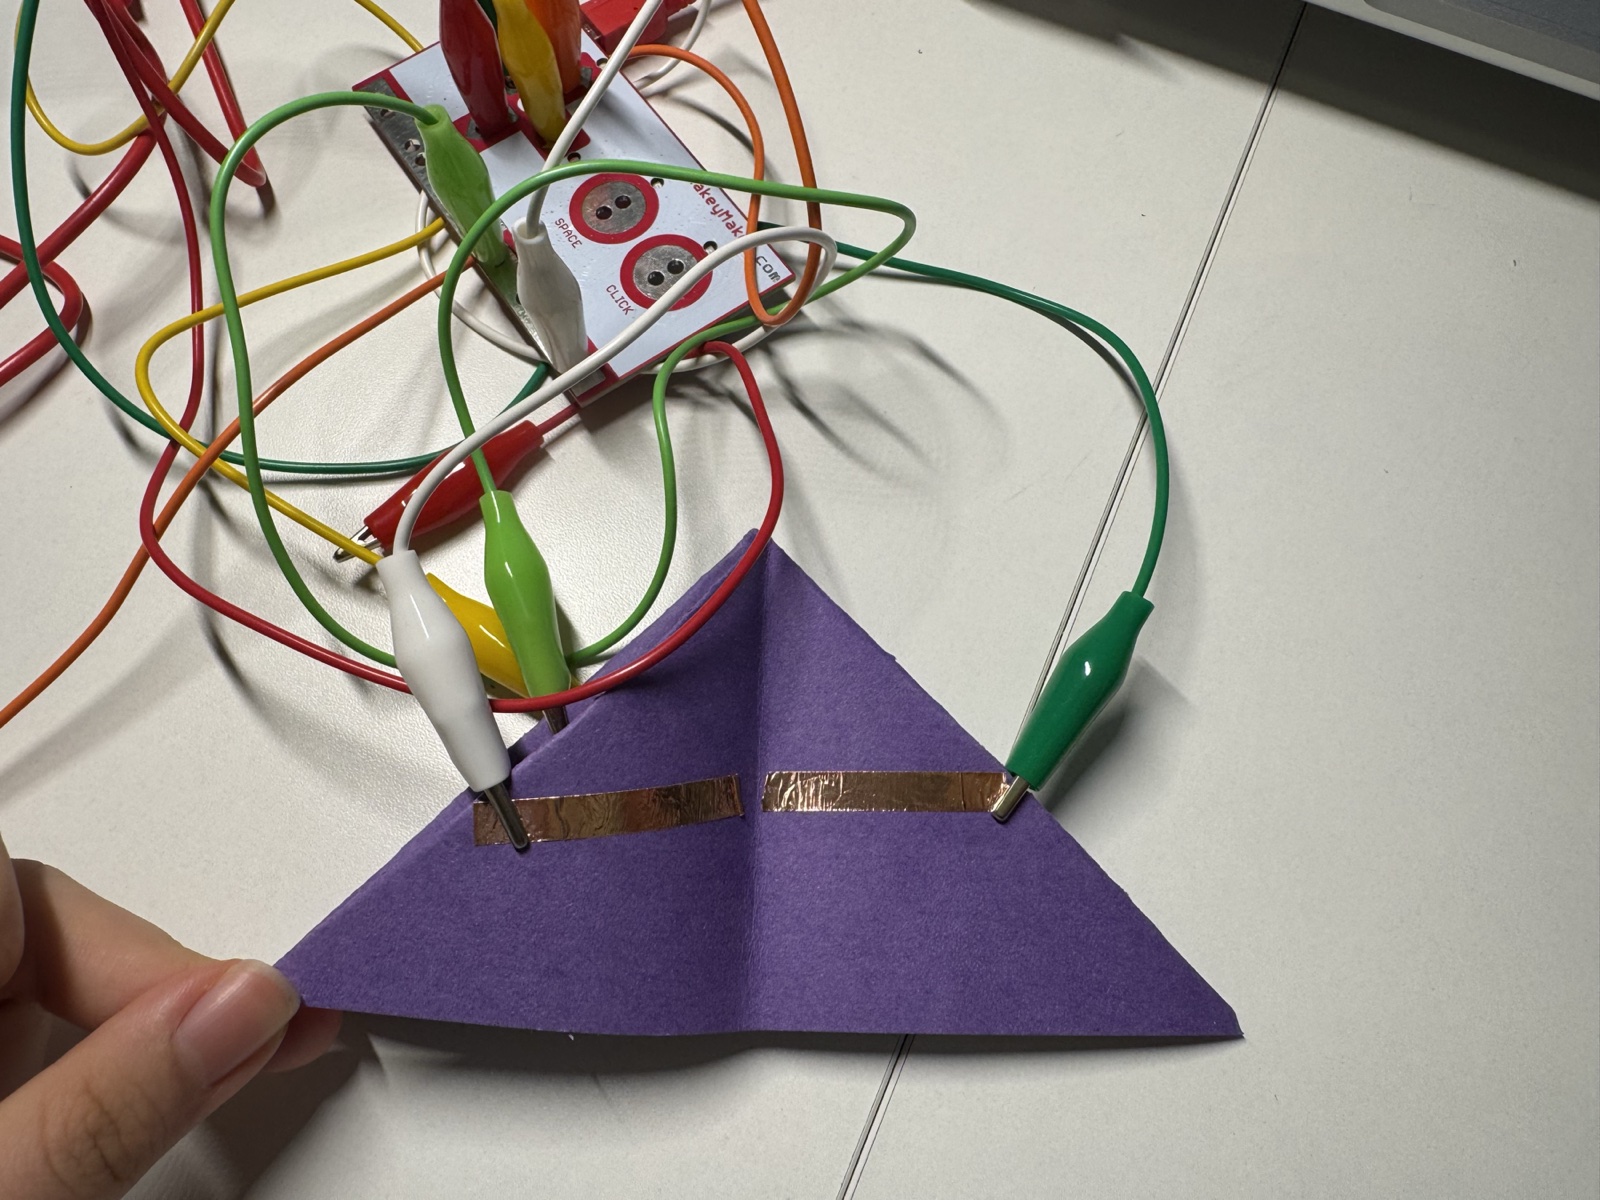
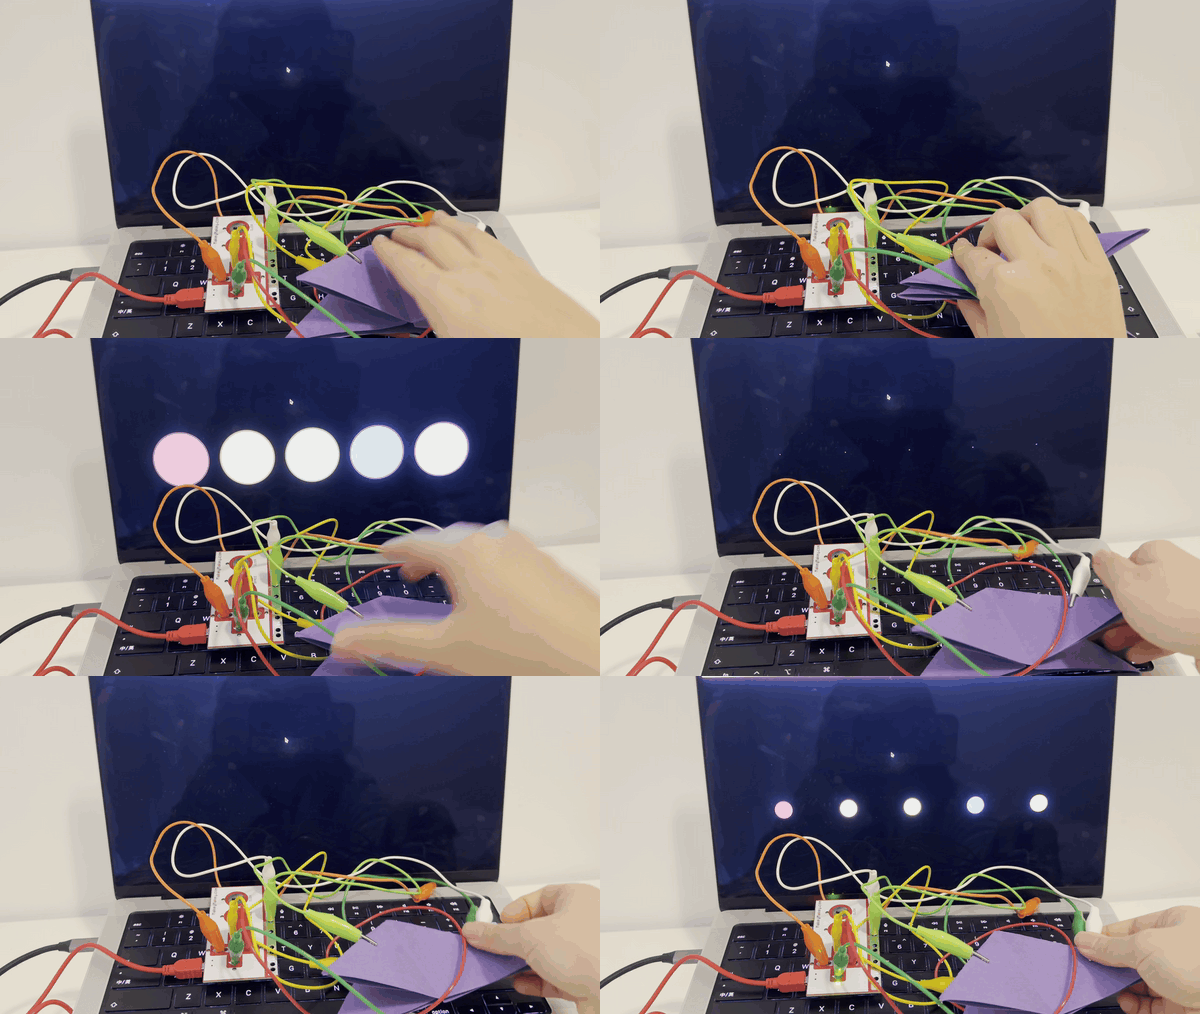
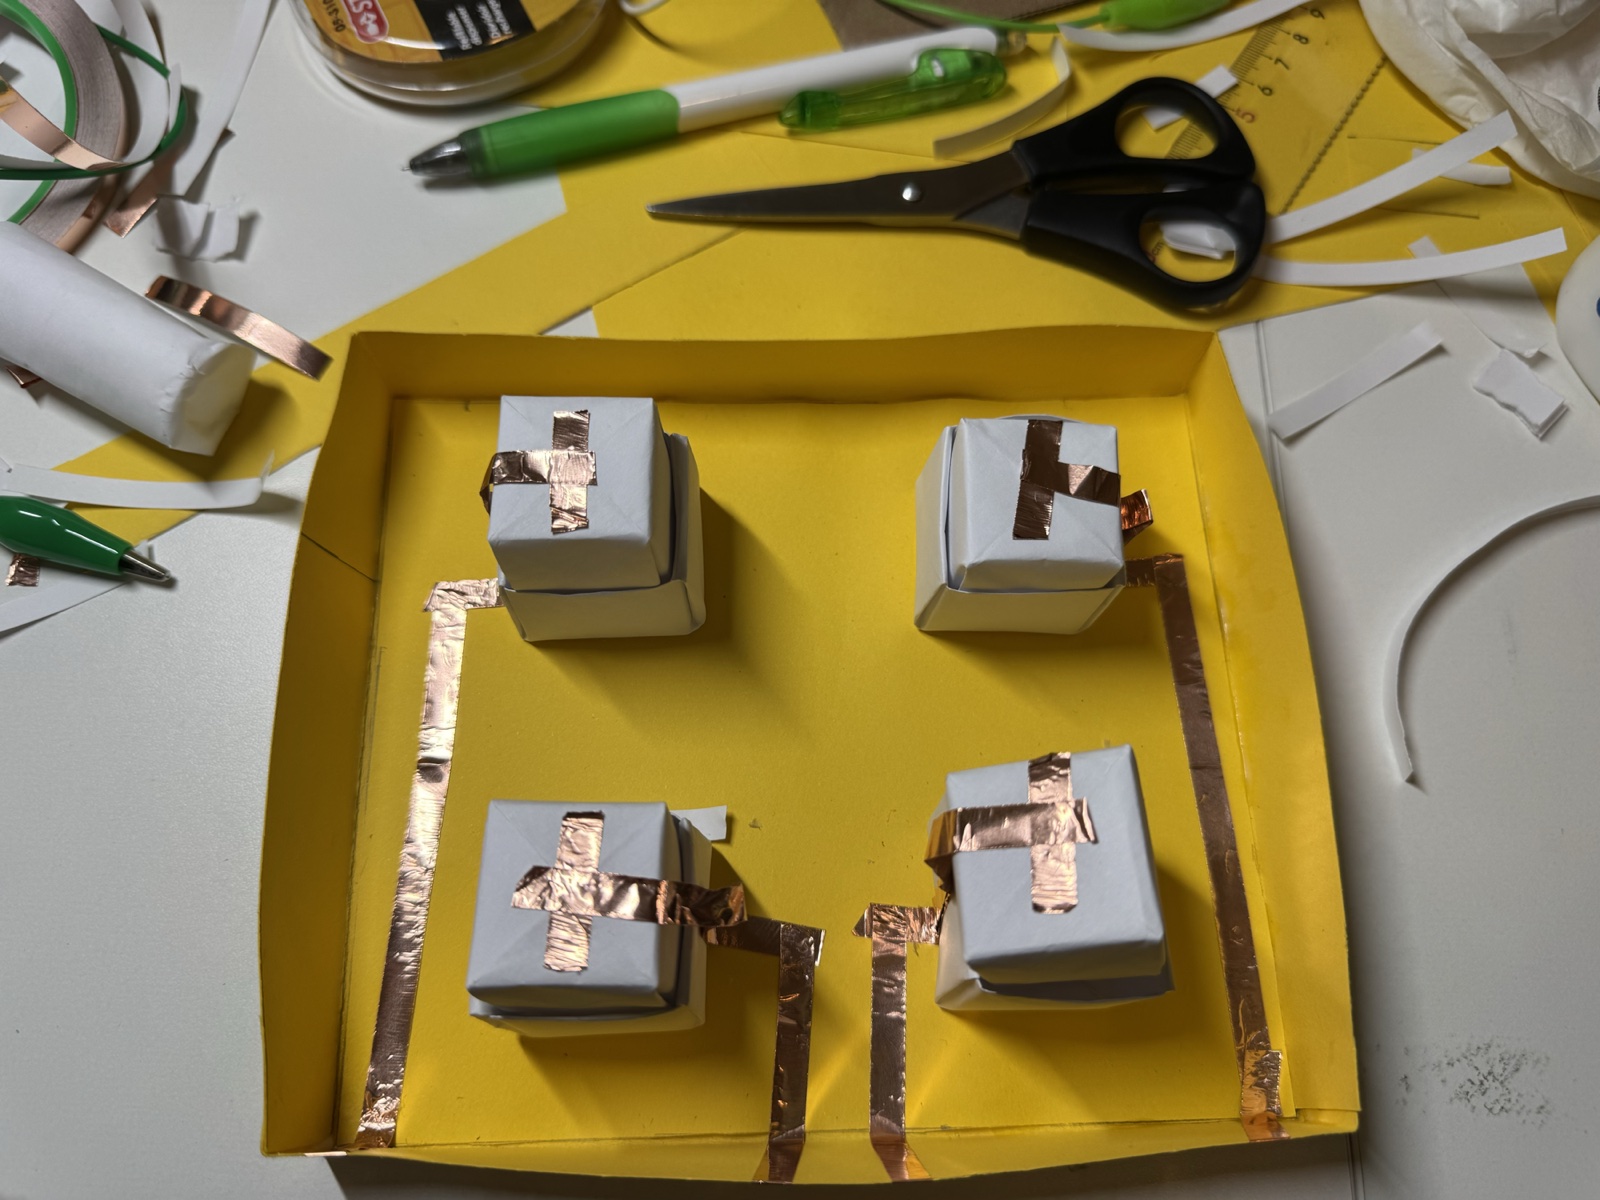
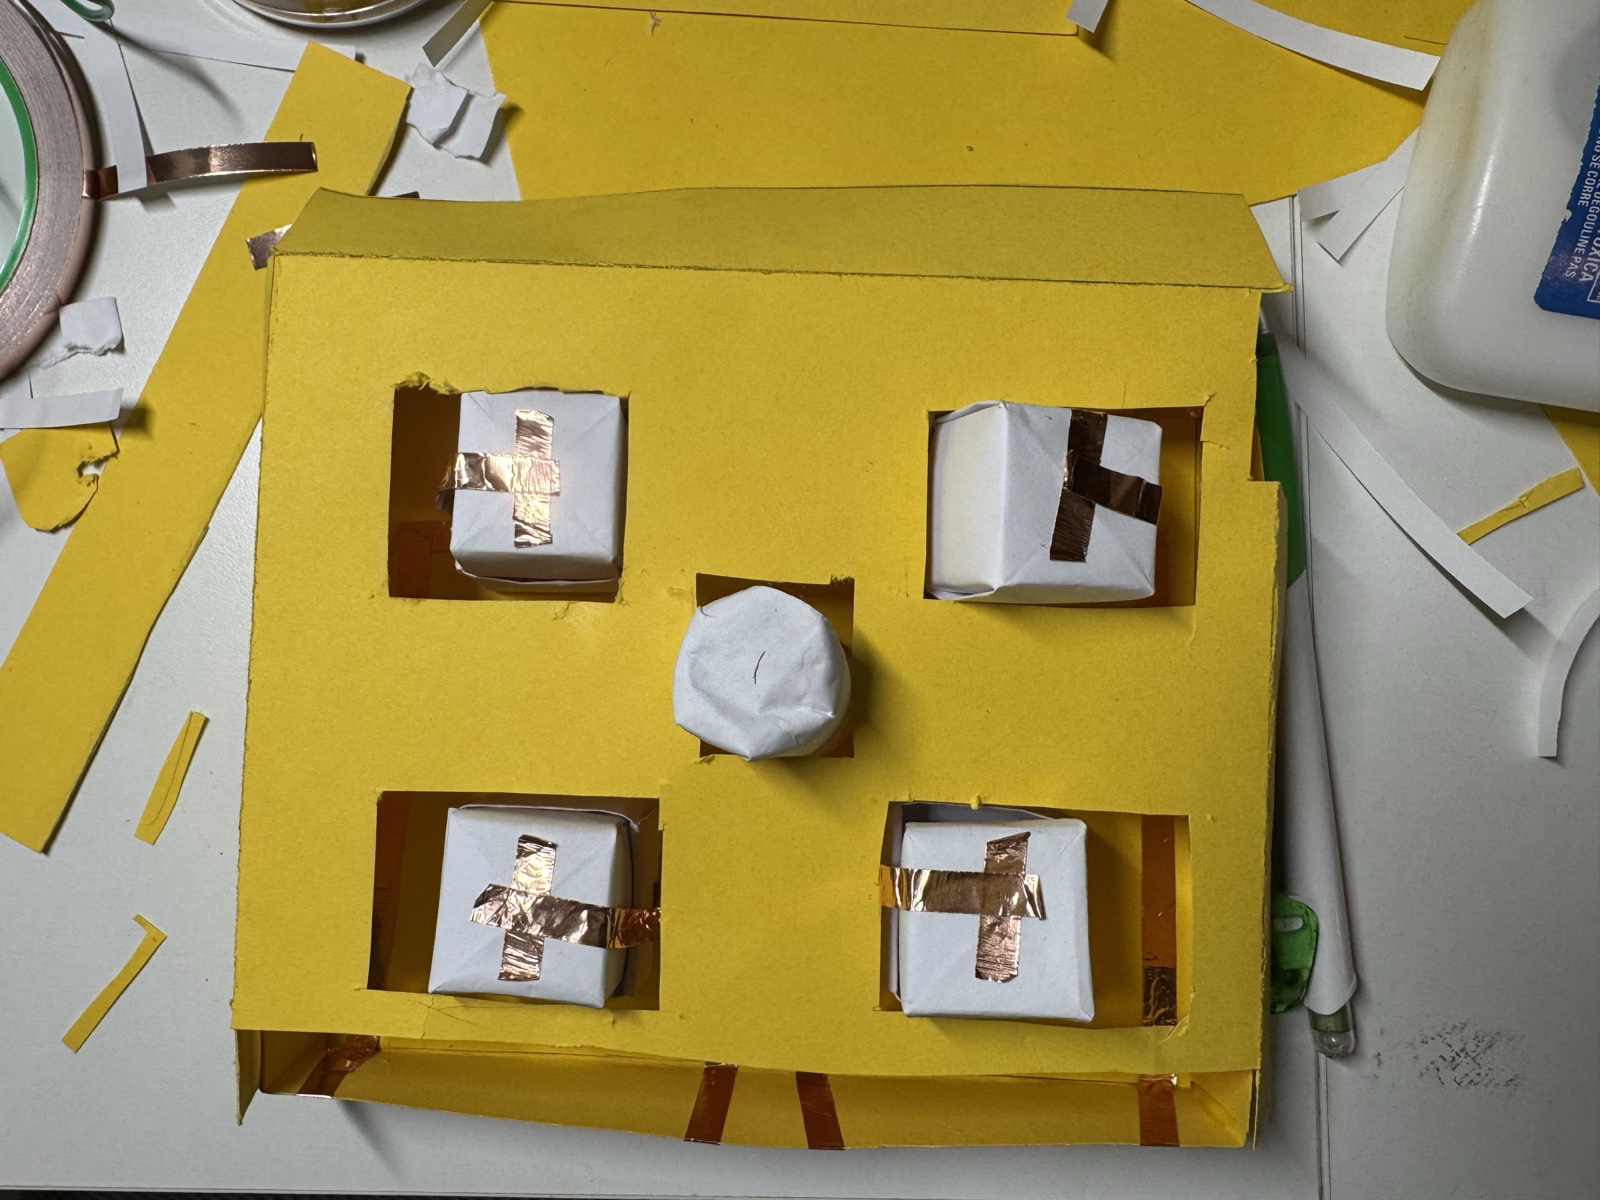
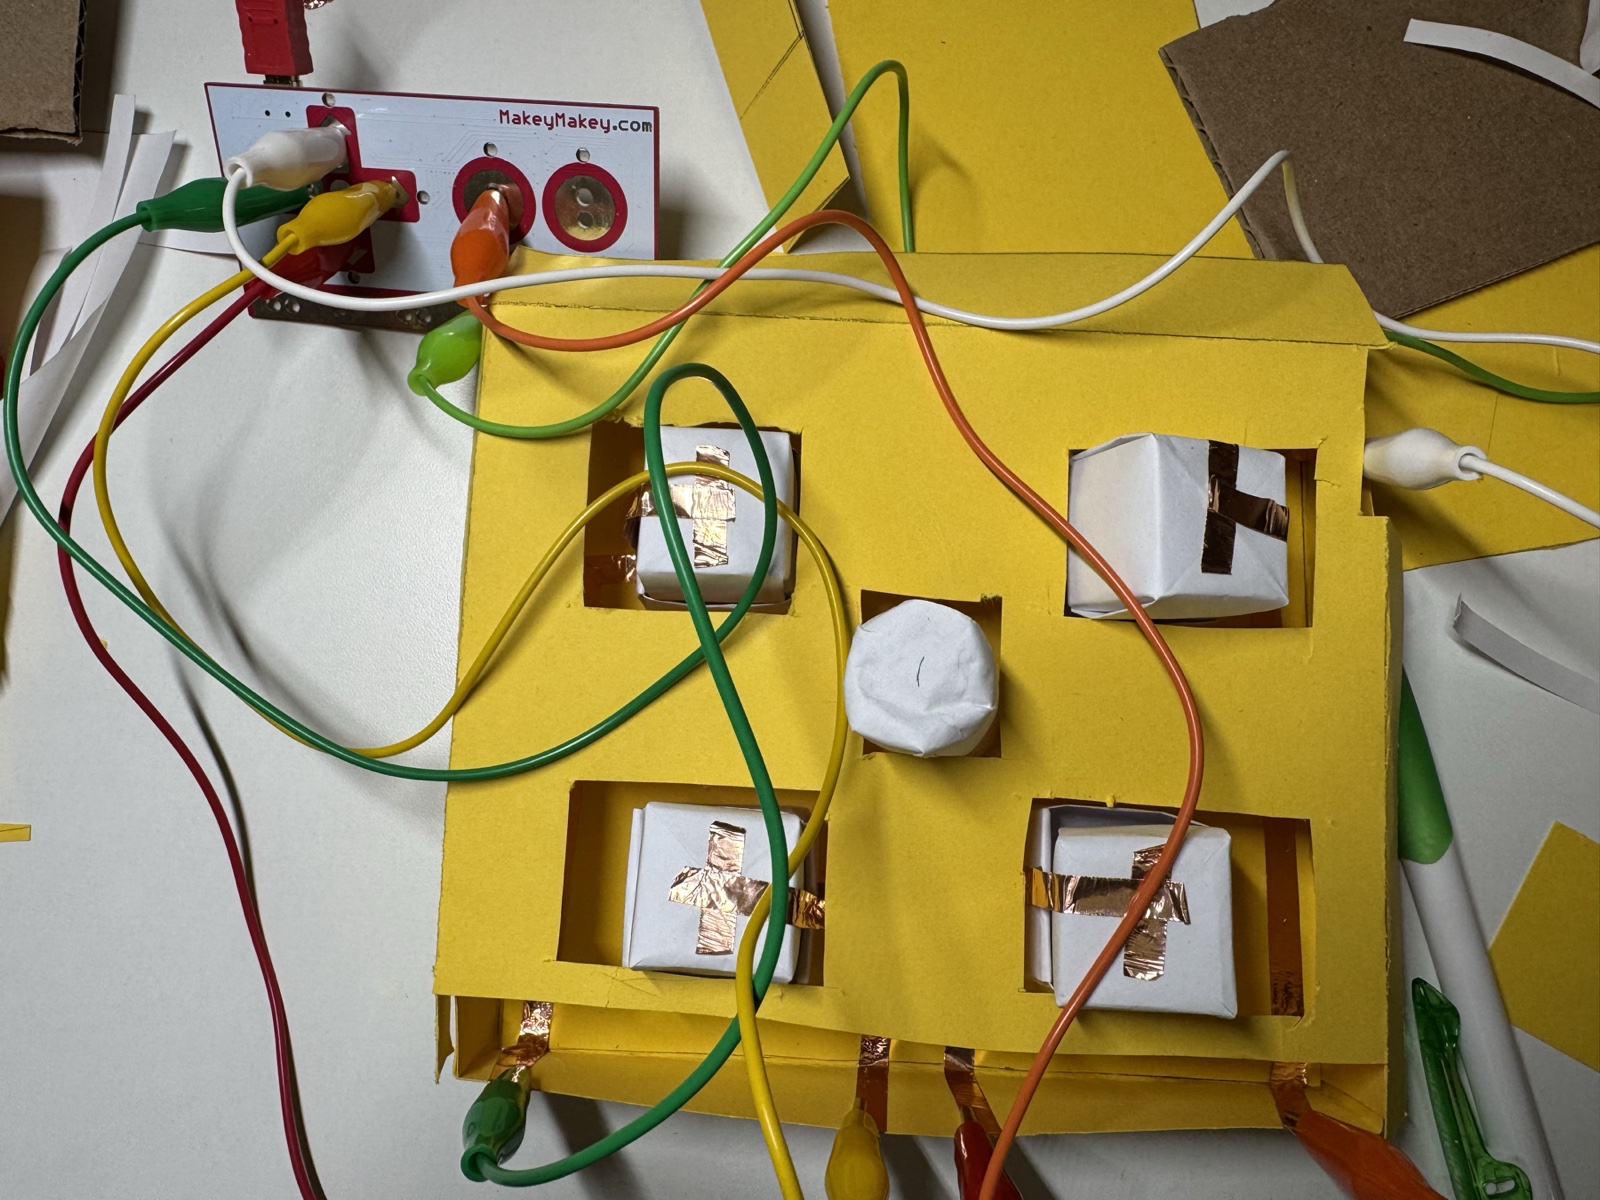
After that, I started testing physical interaction with Makey Makey, conductive tape, and alligator clips. I tried different tape layouts and paper forms to understand how touch input could control digital reactions on the screen. Later, I built paper structures for the controller and developed them into a four-button layout that matched the game interaction.

Activity 1
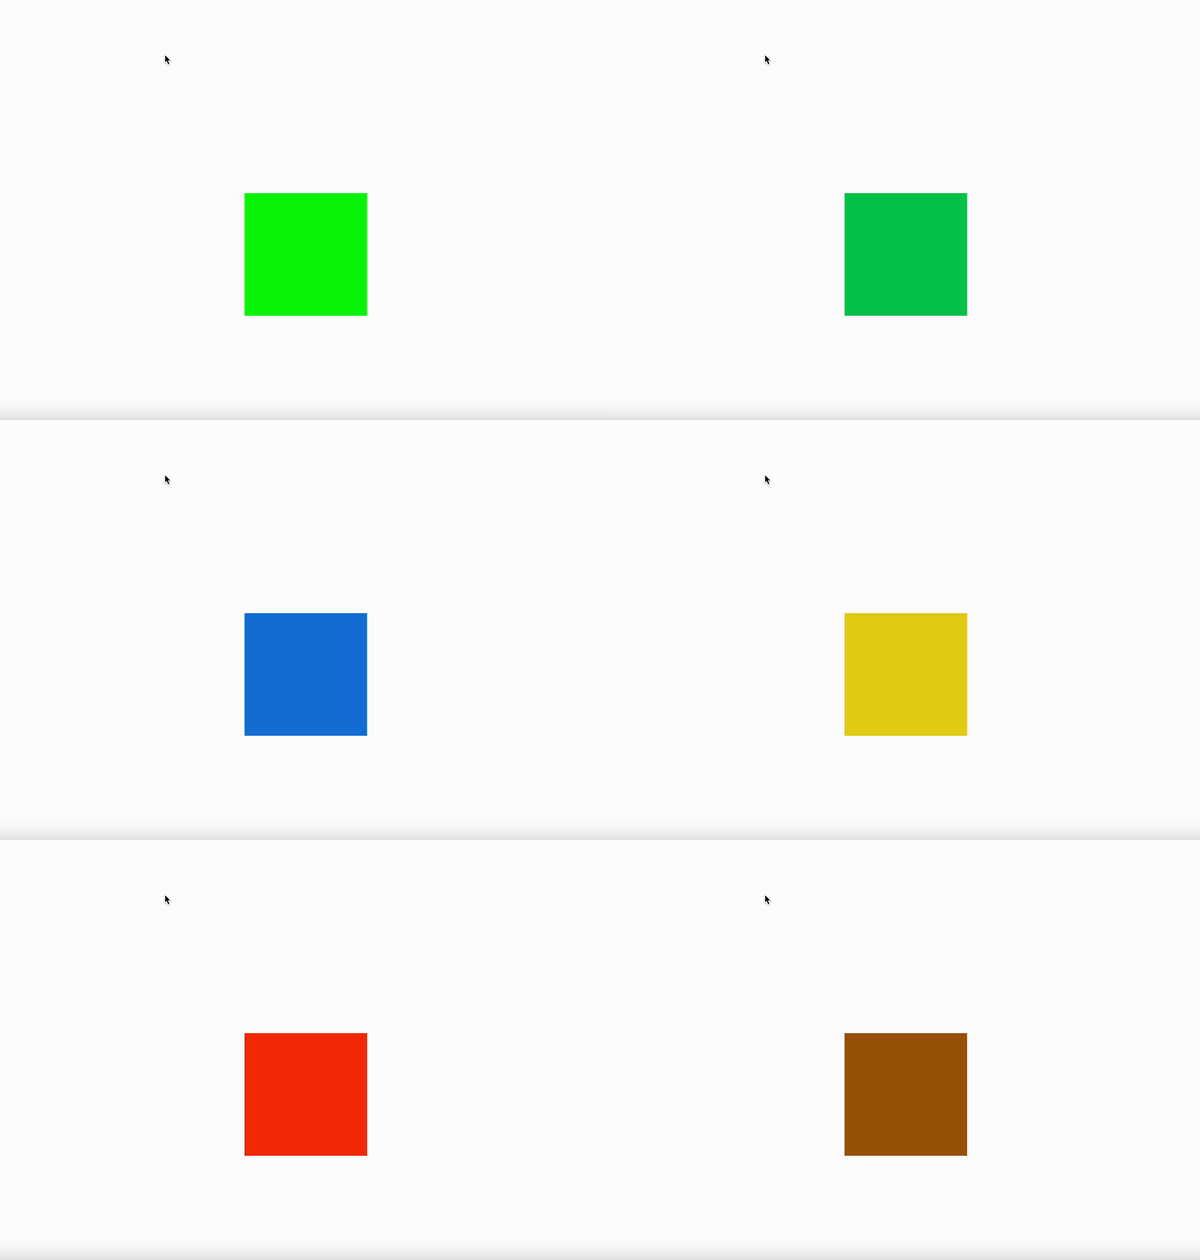
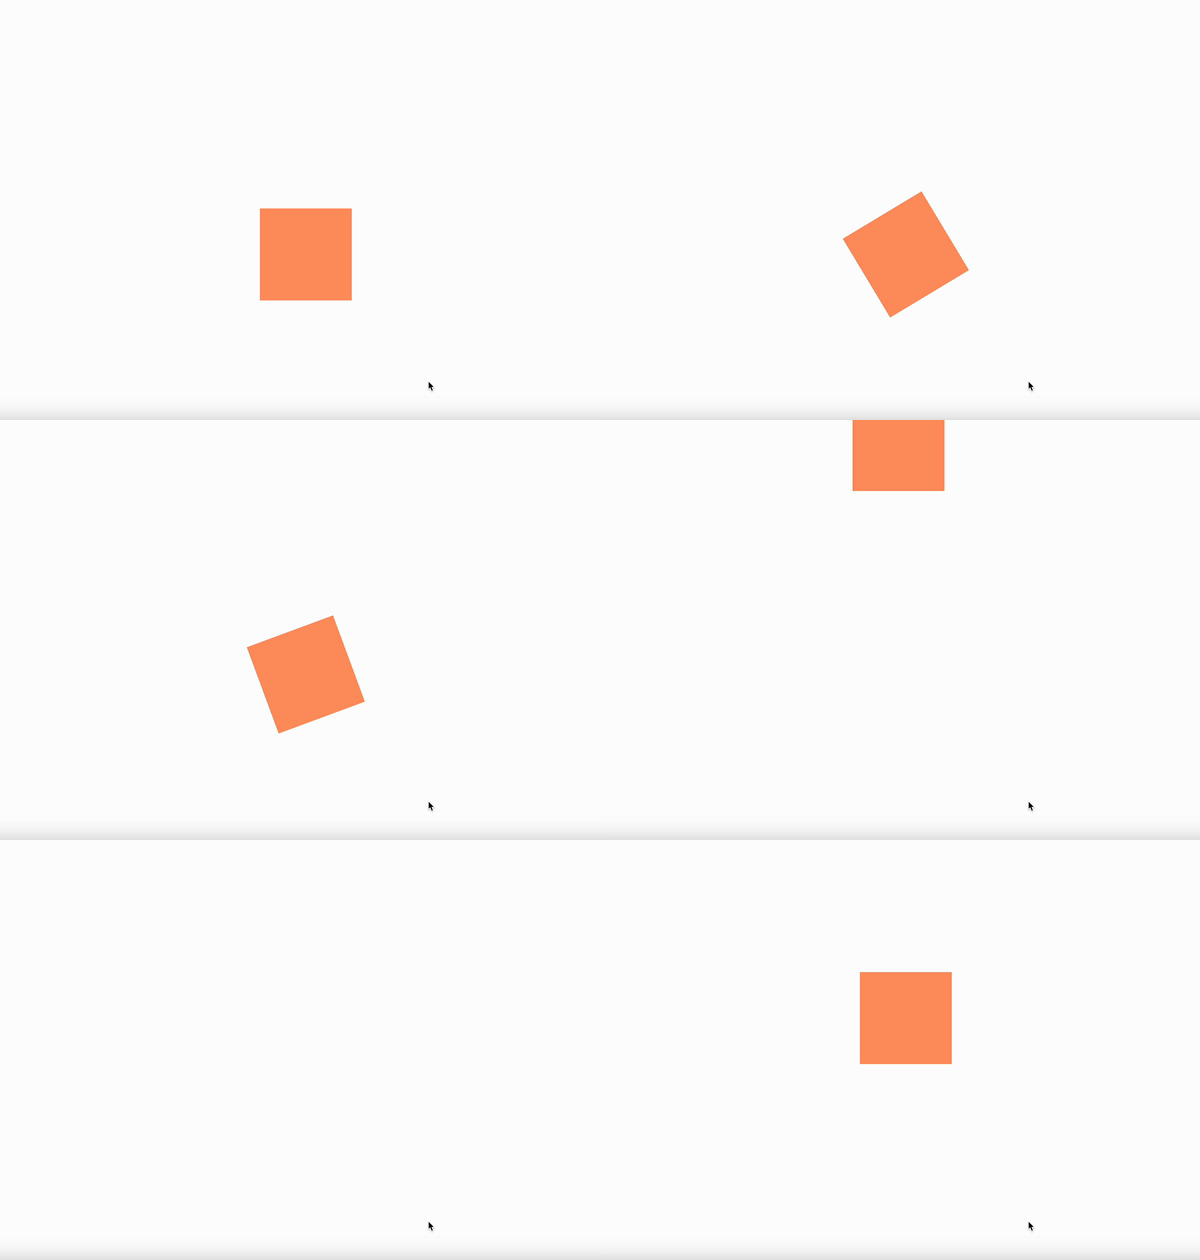
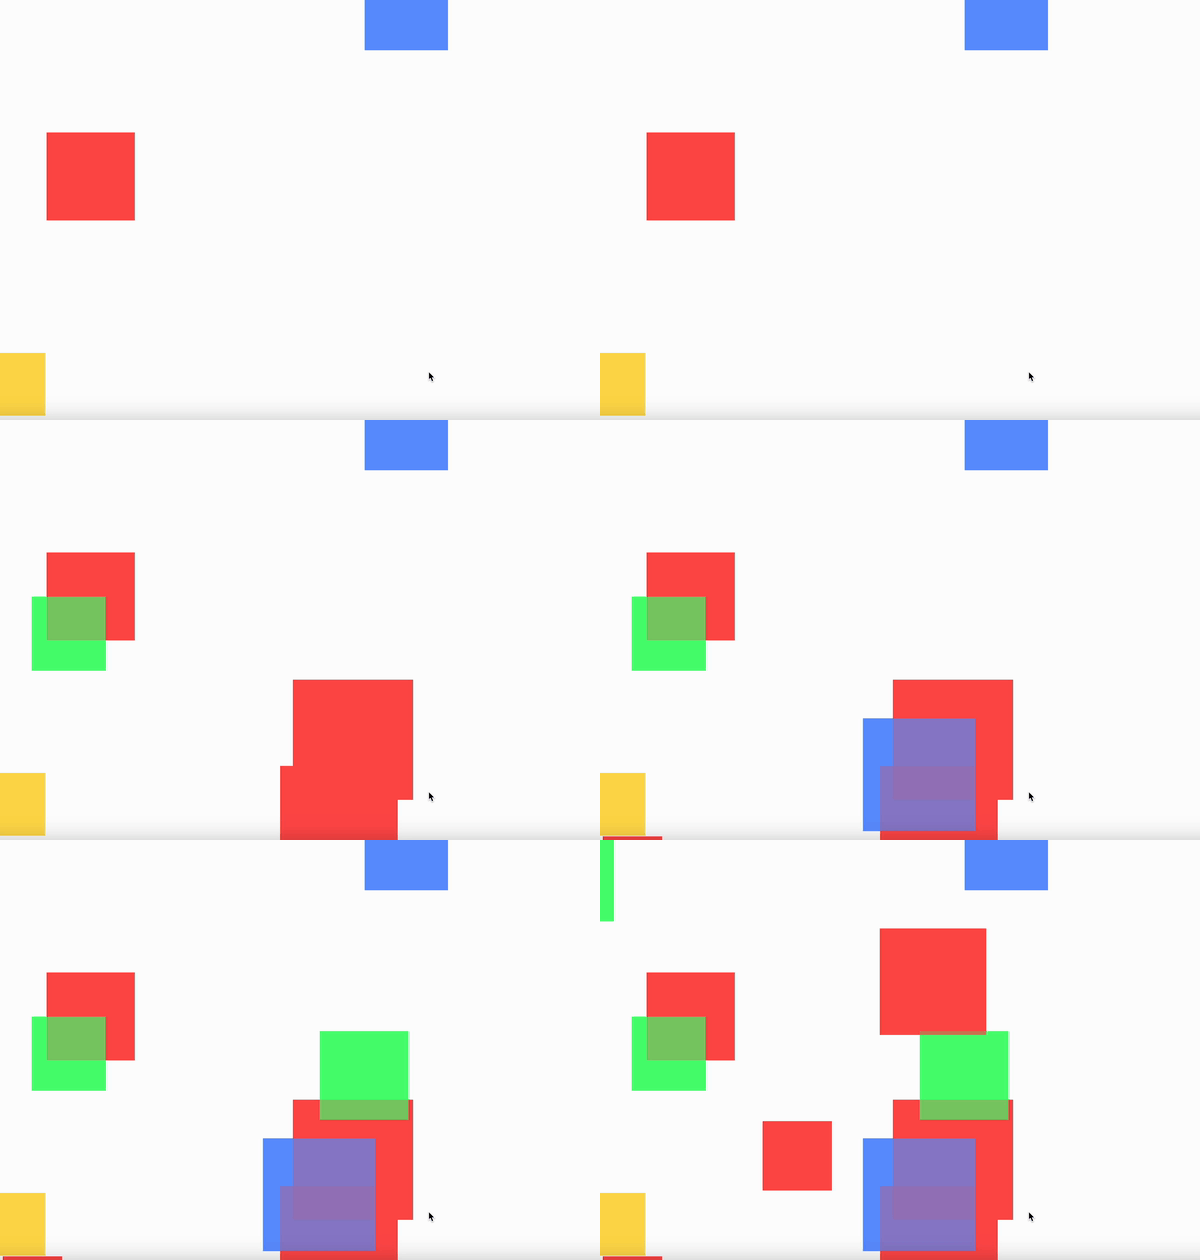
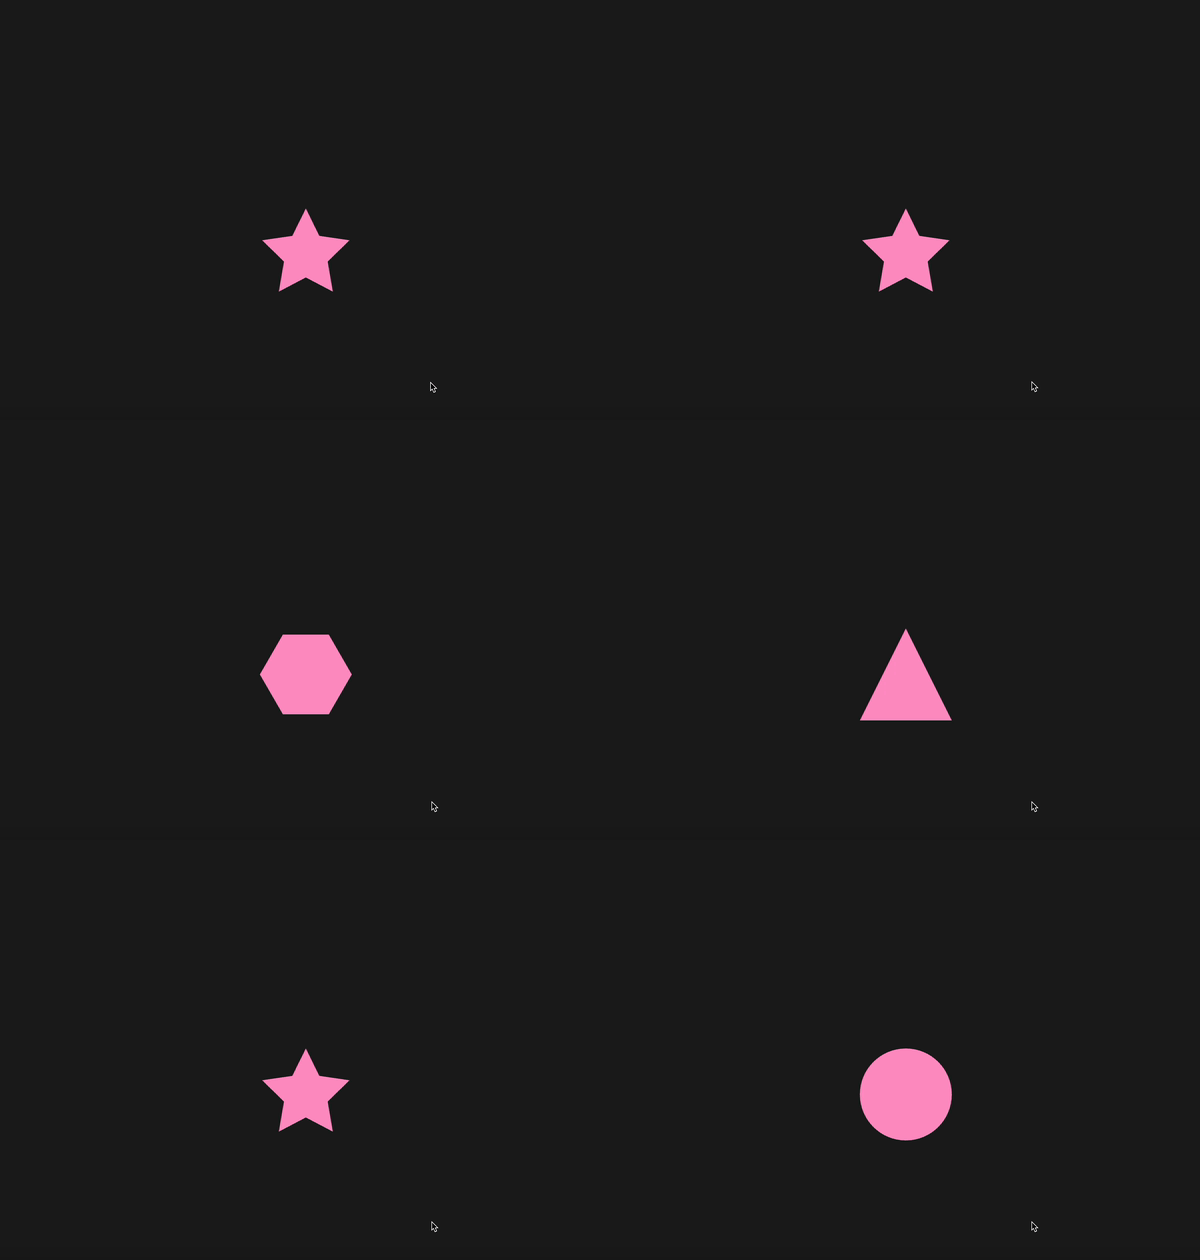
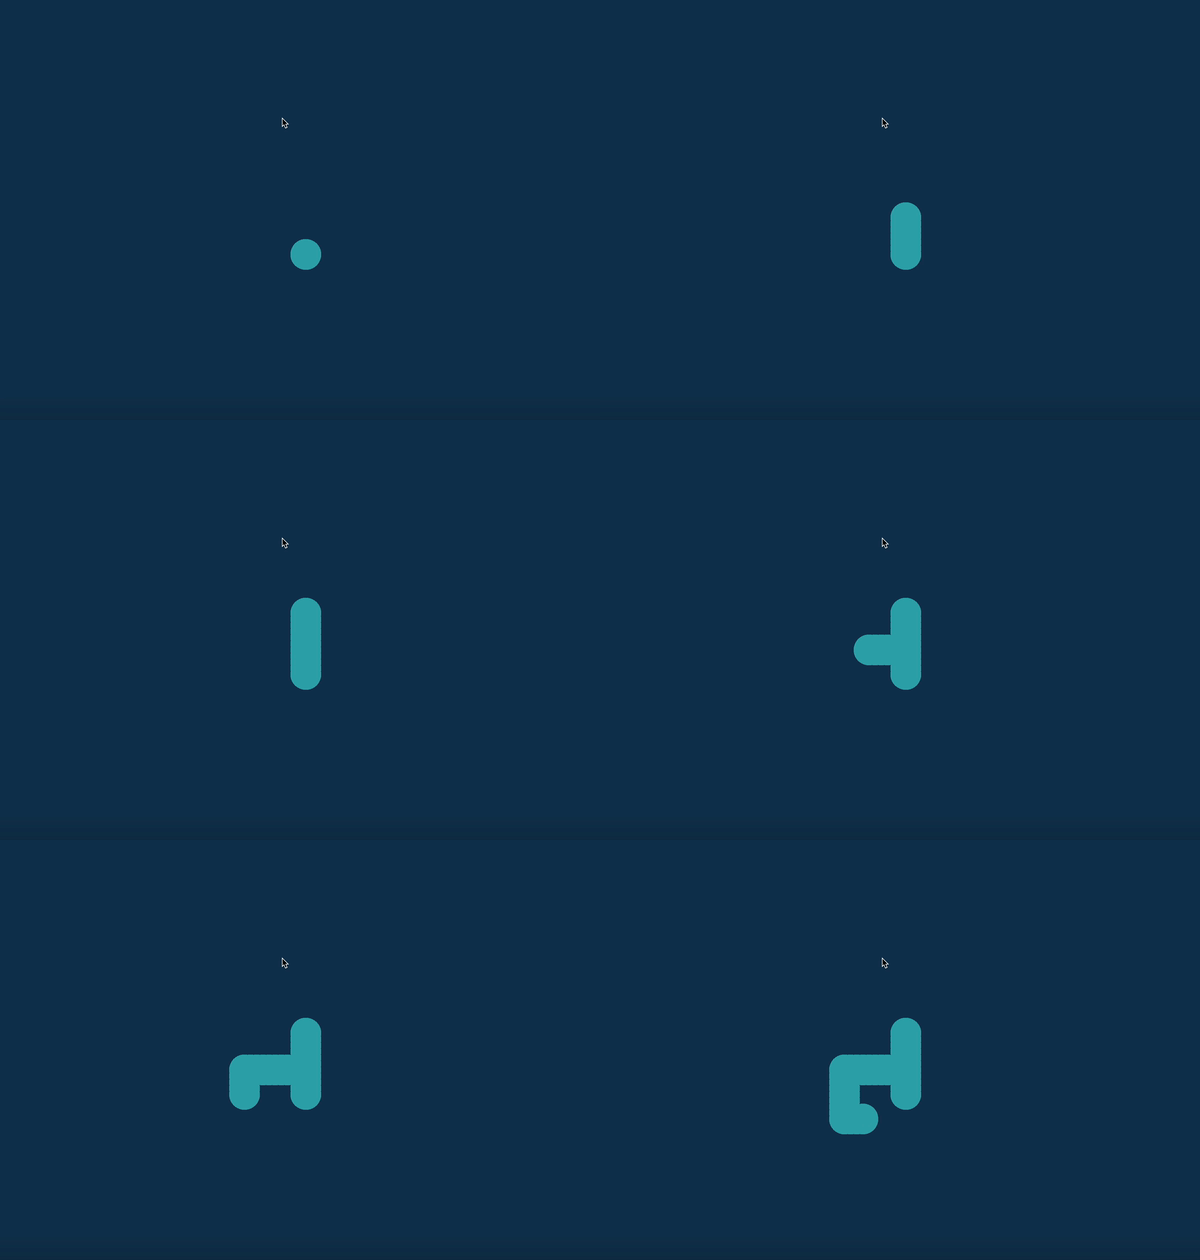
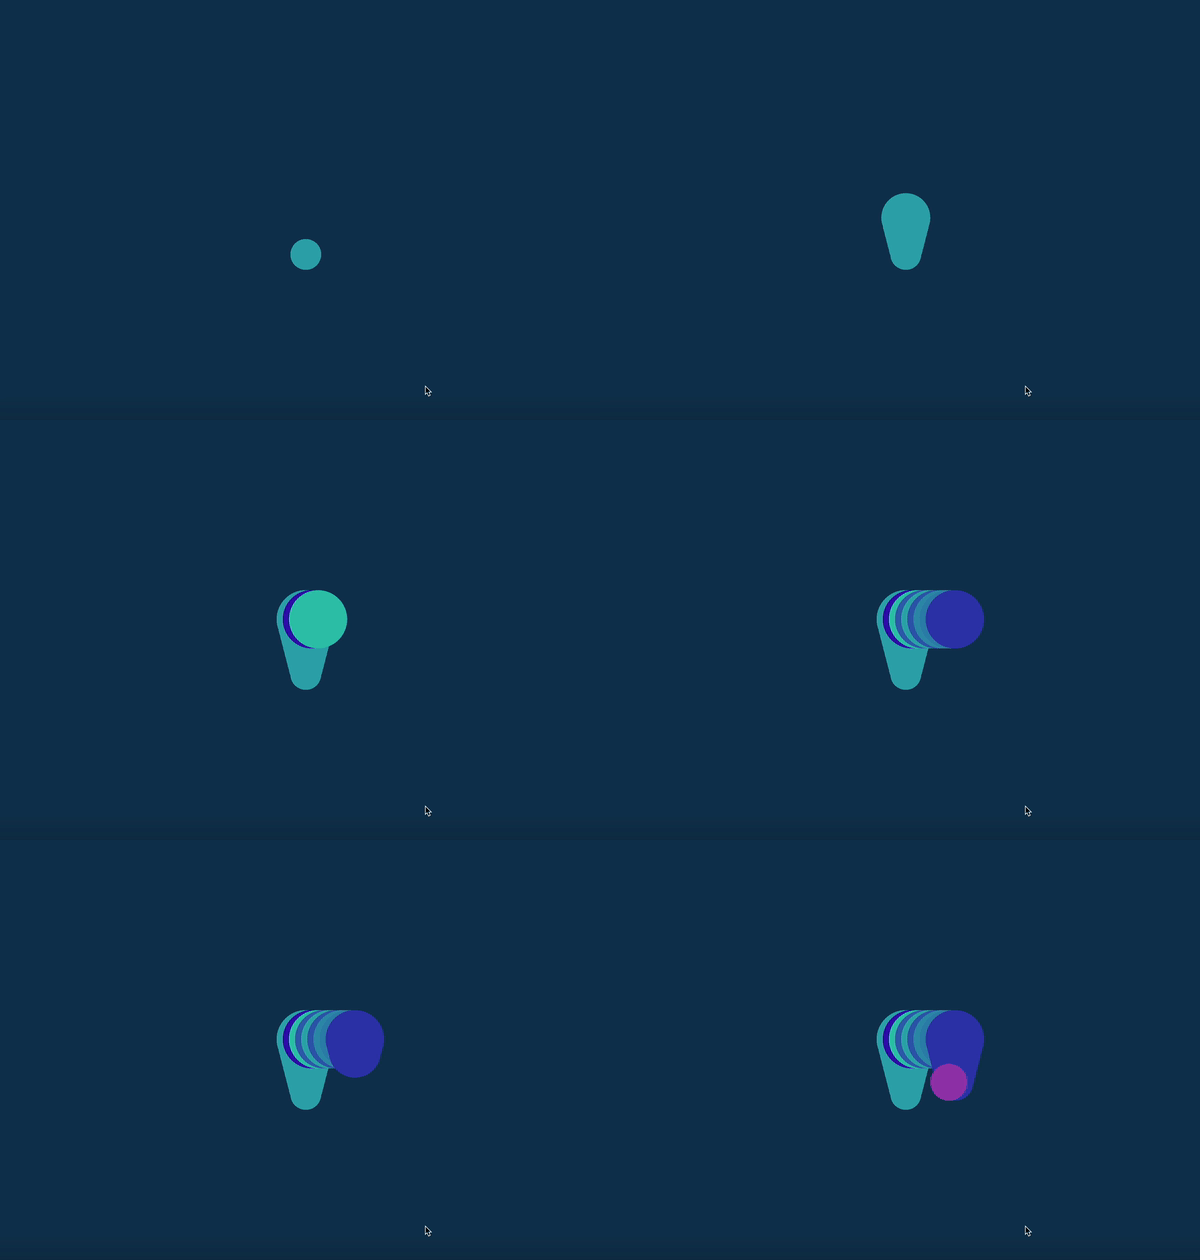
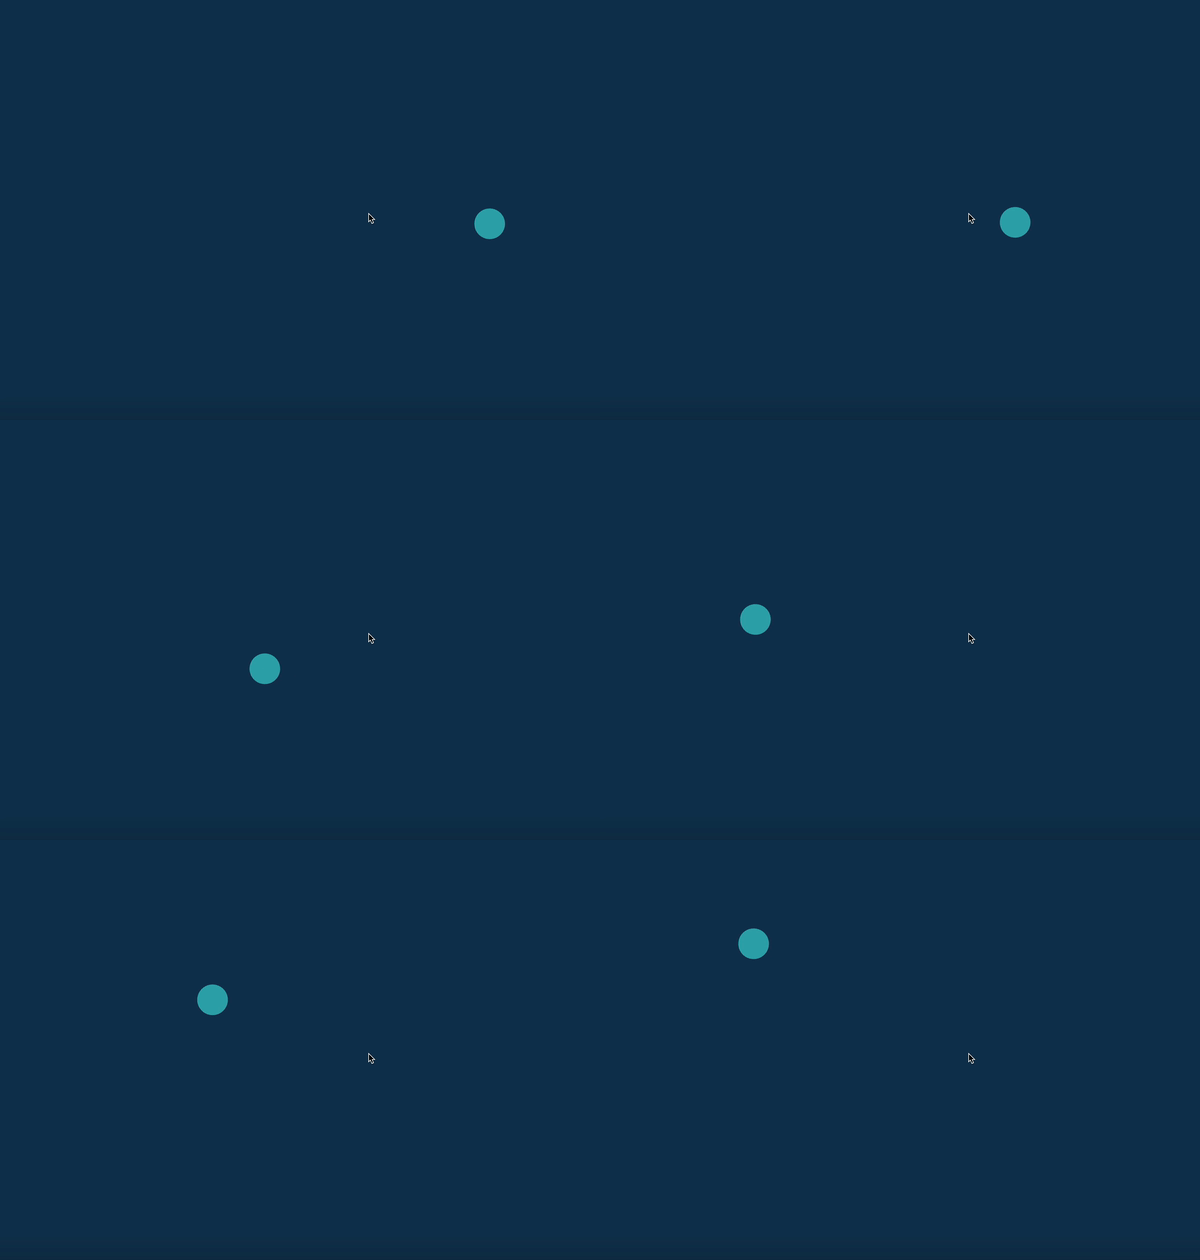
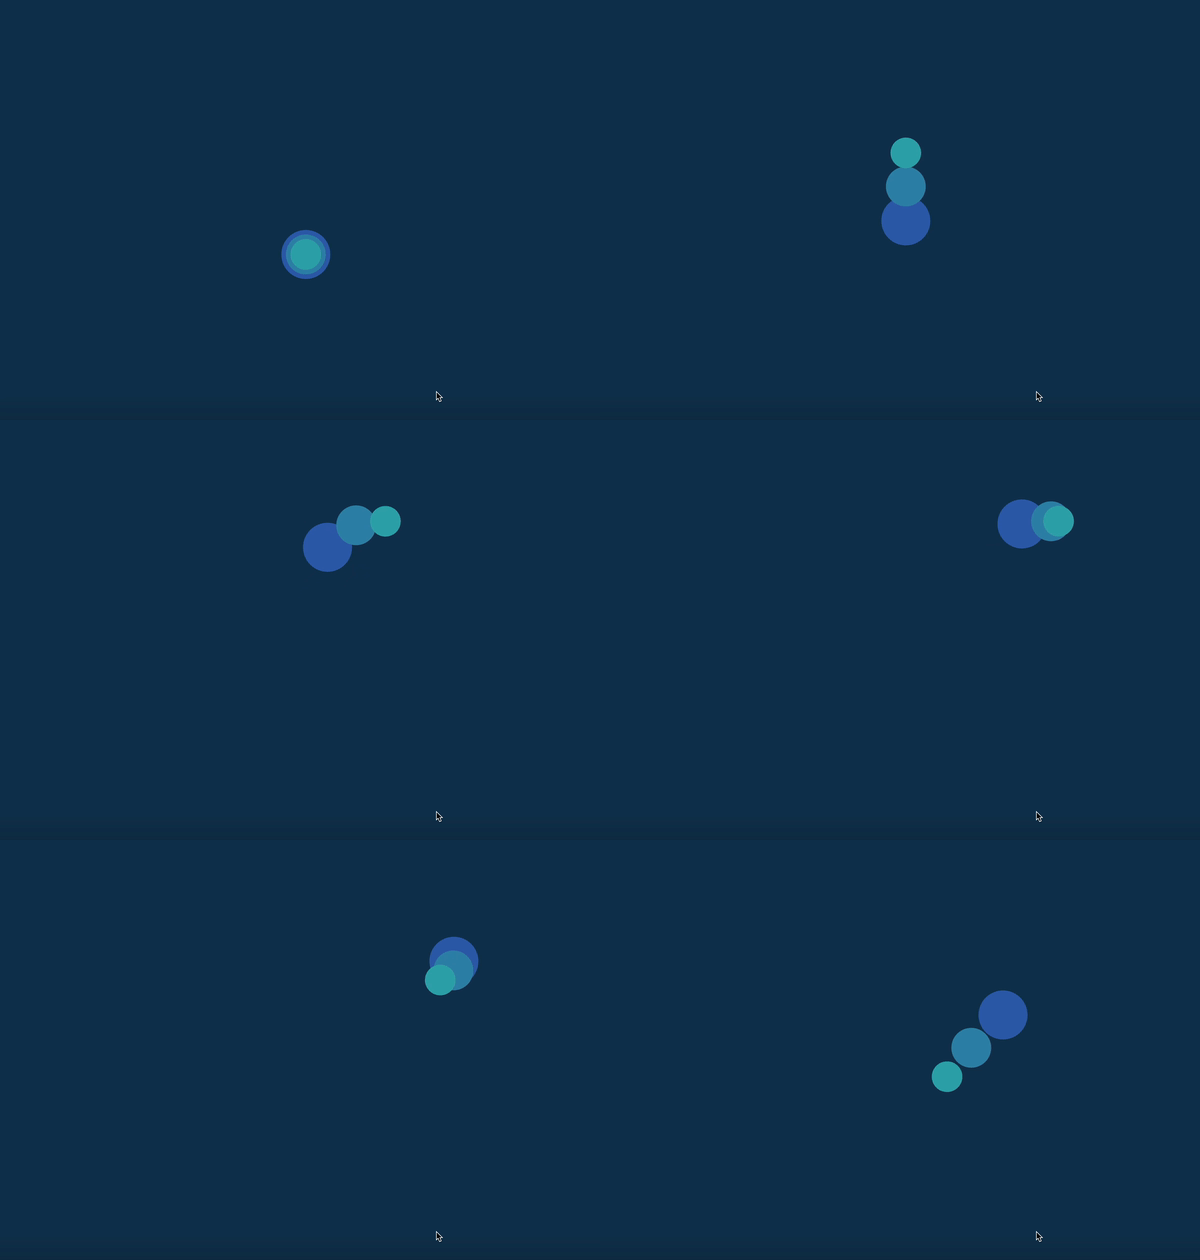
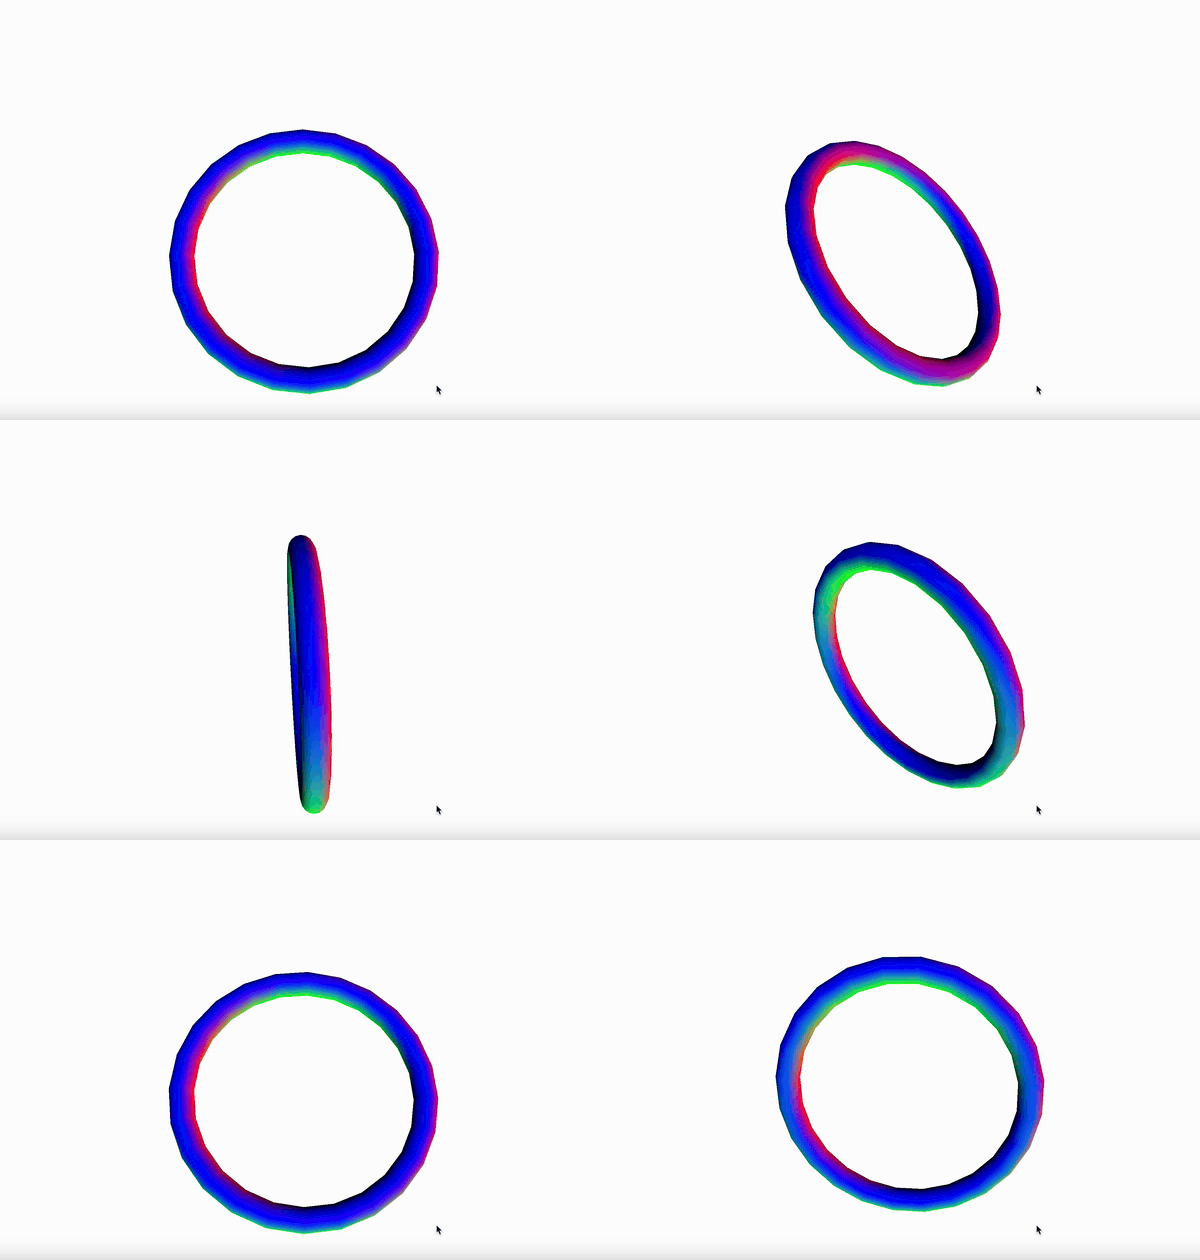
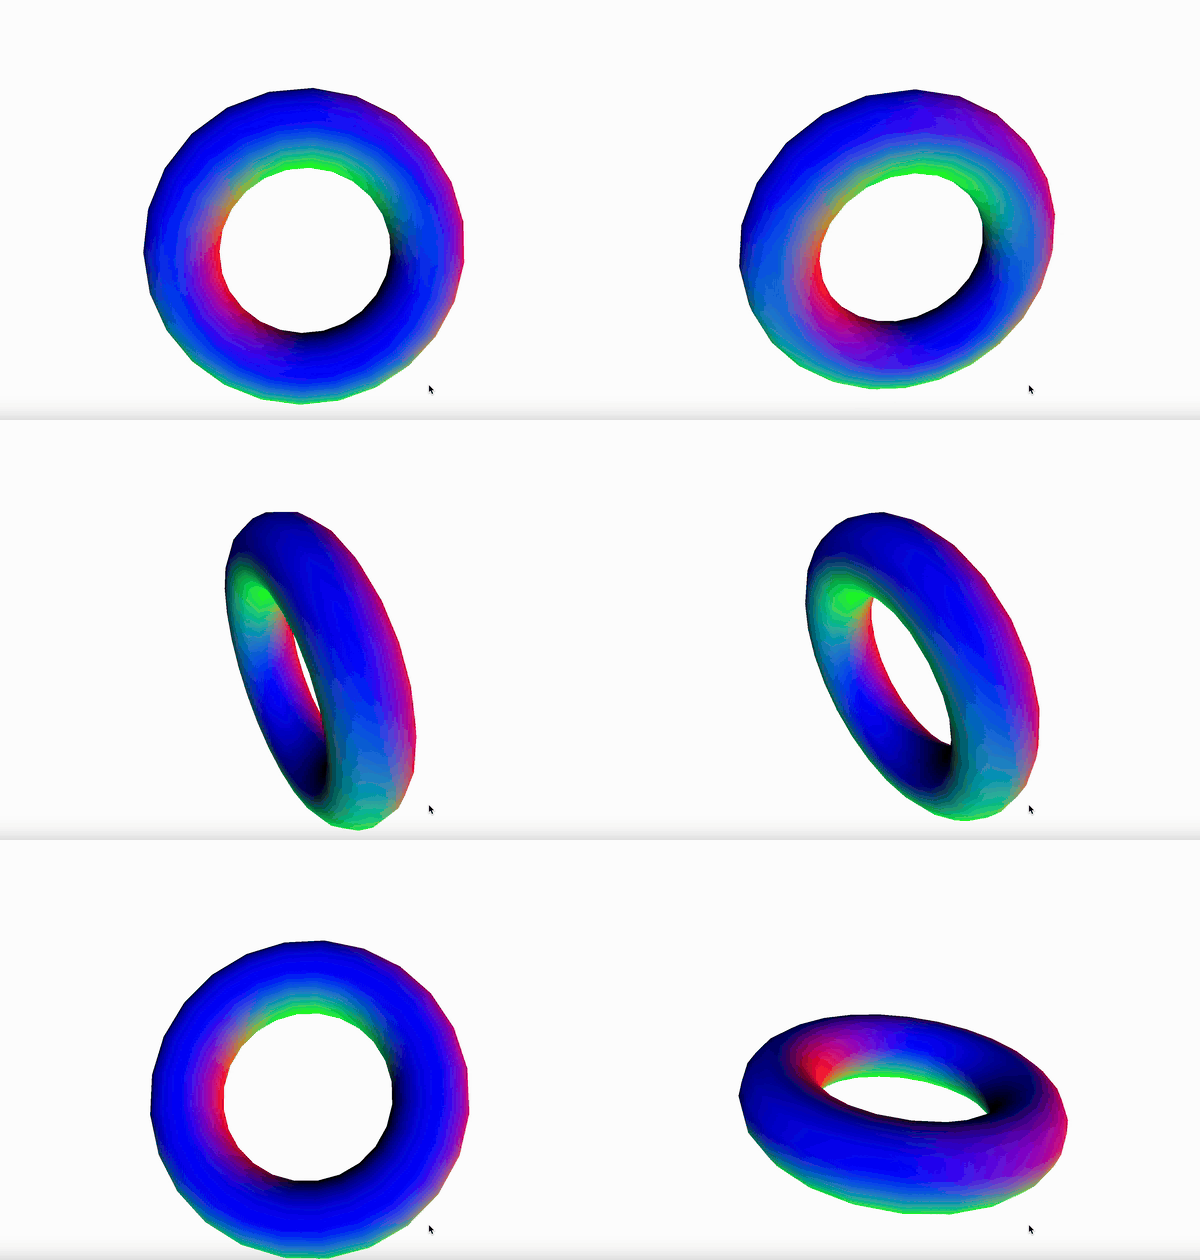
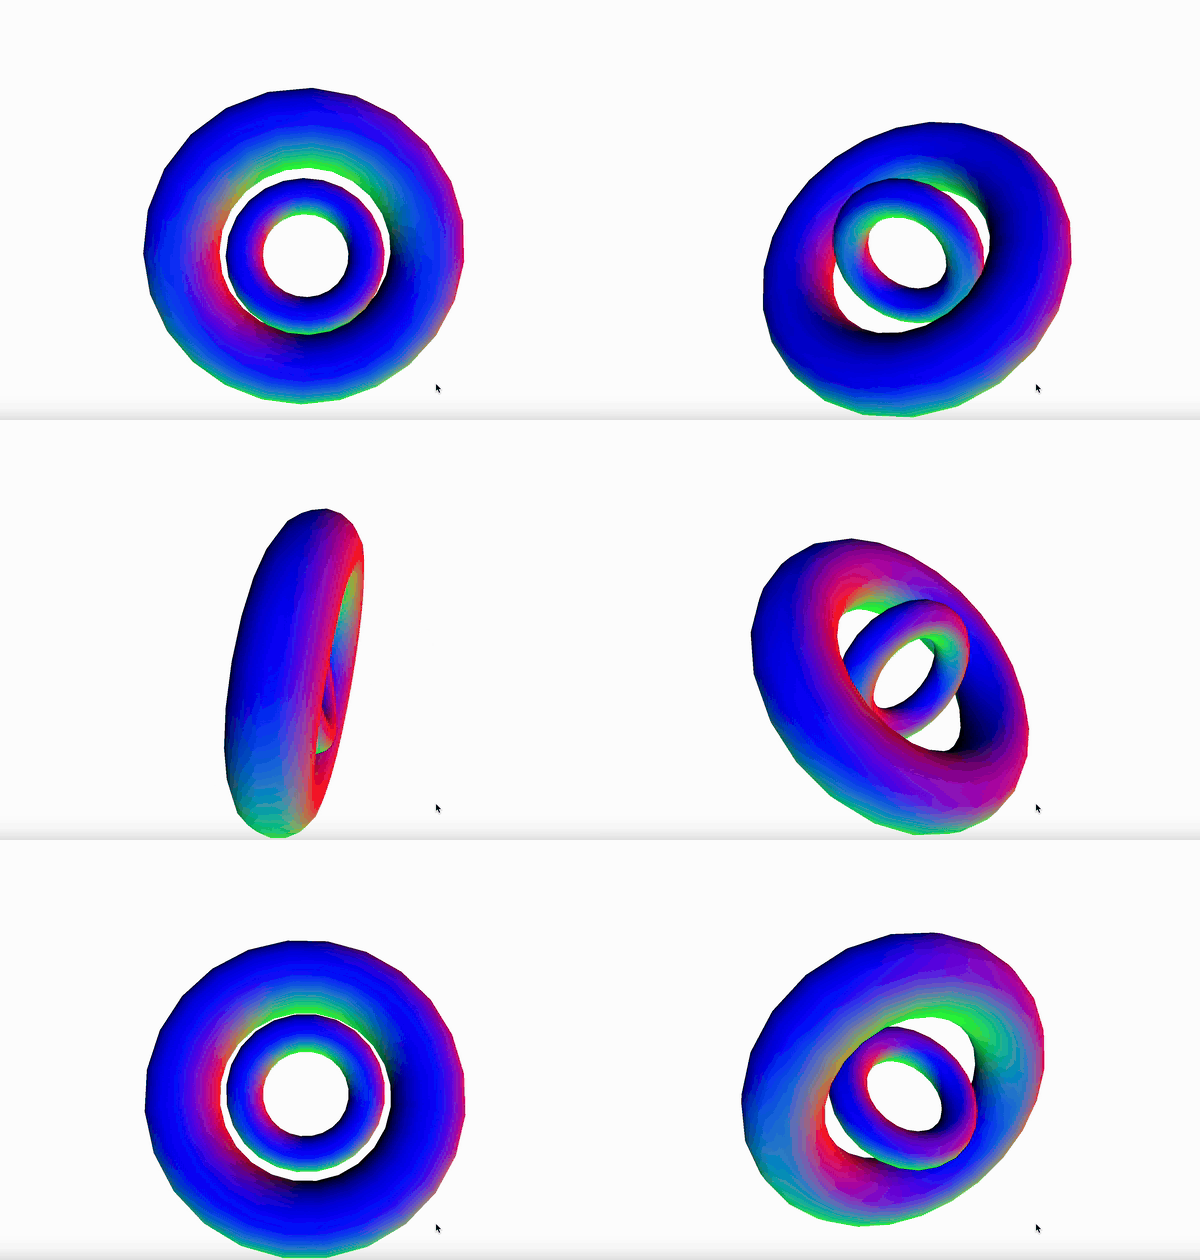
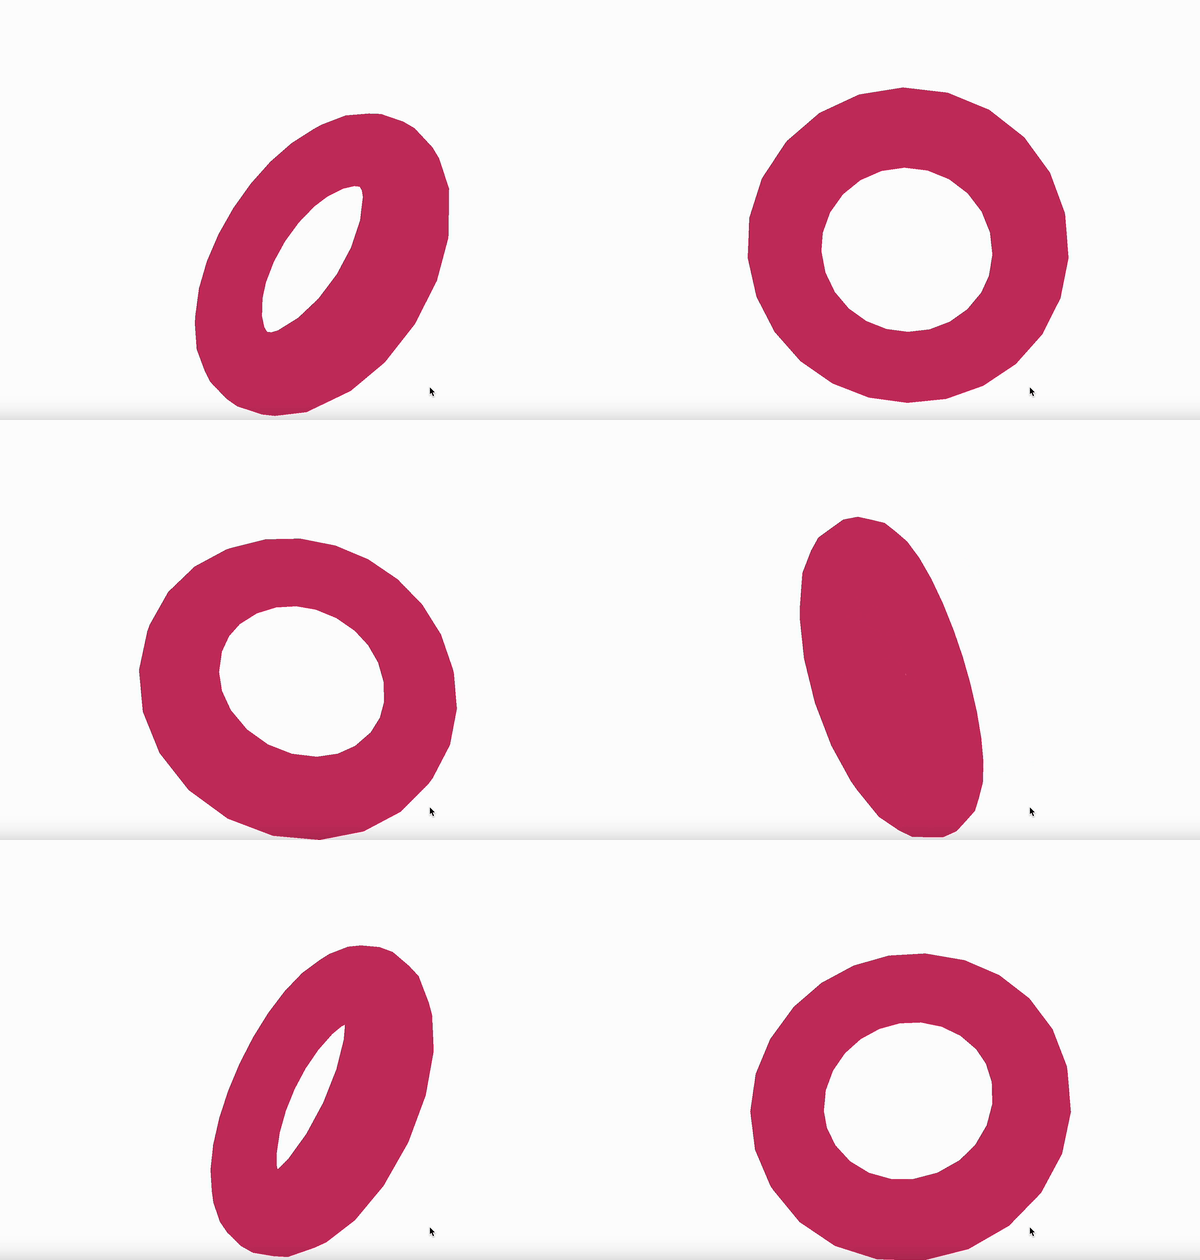
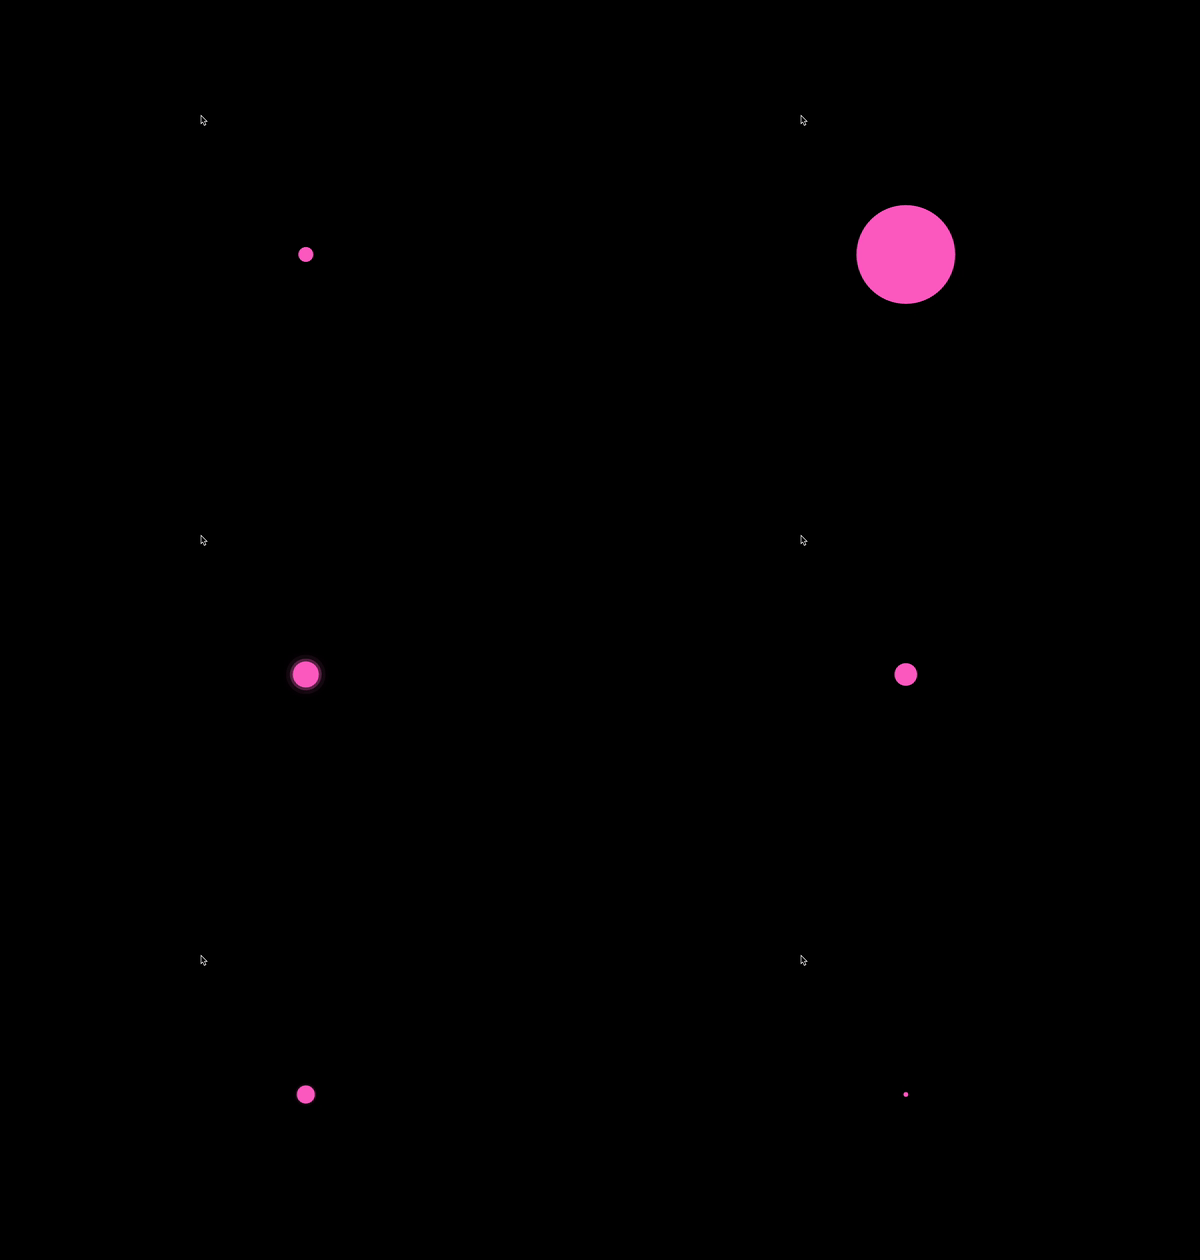
I changed the colour so it fades smoothly instead of changing all at once. I added more movement to the shapes, like bouncing, falling, shaking, and rotating. Each time I press a key, a coloured square appears in a random place on the canvas, so the shapes slowly build up into layered patterns. I changed the square into different shapes, like a circle, triangle, star, hexagon, and heart. Each key switches to a different shape. I made the circle leave a trail when it moves. I used the up key to make the circle bigger and the down key to make it smaller. Instead of moving the circle directly, I changed the target position. This made the movement feel smoother. When I click the mouse, the circle moves toward that position. After that, I added two more circles. The second one follows the first one more slowly, and the third one follows the second one even more slowly, so together they create a trailing effect. I changed torus(200, 60) to torus(200, 20), so the donut became thinner. I changed the rotation speed from 0.01 to 0.05, so it spins much faster after pressing a key. Later, I added a second smaller torus with torus(100, 30). I made it rotate in the opposite direction, so the two donut shapes spin against each other. I also changed the look and made it a solid pink. The pulsing shape changed from a circle to a square. Then I changed the fill colour from black and white to pink. After that, I added two more circles to the left and right of the original one, so three circles could pulse together in one row. Later, I changed that into five circles across the screen and gave each one a different colour: red, orange, green, blue, and purple. I also made the pulsing circles move with the mouse. Every time I press a key, the circles change to a new random colour. I also made the circles jump to a random position on the screen when they are played. I added particles that move around inside the circle and bounce off the inner edge. Based on the p5.js 3D sketches I learned, I experimented with using lines and basic shapes to build a simple structure. I tested placing multiple box() shapes around a center point at different angles. I experimented with stacking multiple ellipses and torus shapes from top to bottom. I explored creating a smooth shape by experimenting with curves and shading, moving away from hard geometric forms to something softer. Building on my previous experiments, I added more detail, texture and depth to the shape.

Activity 2
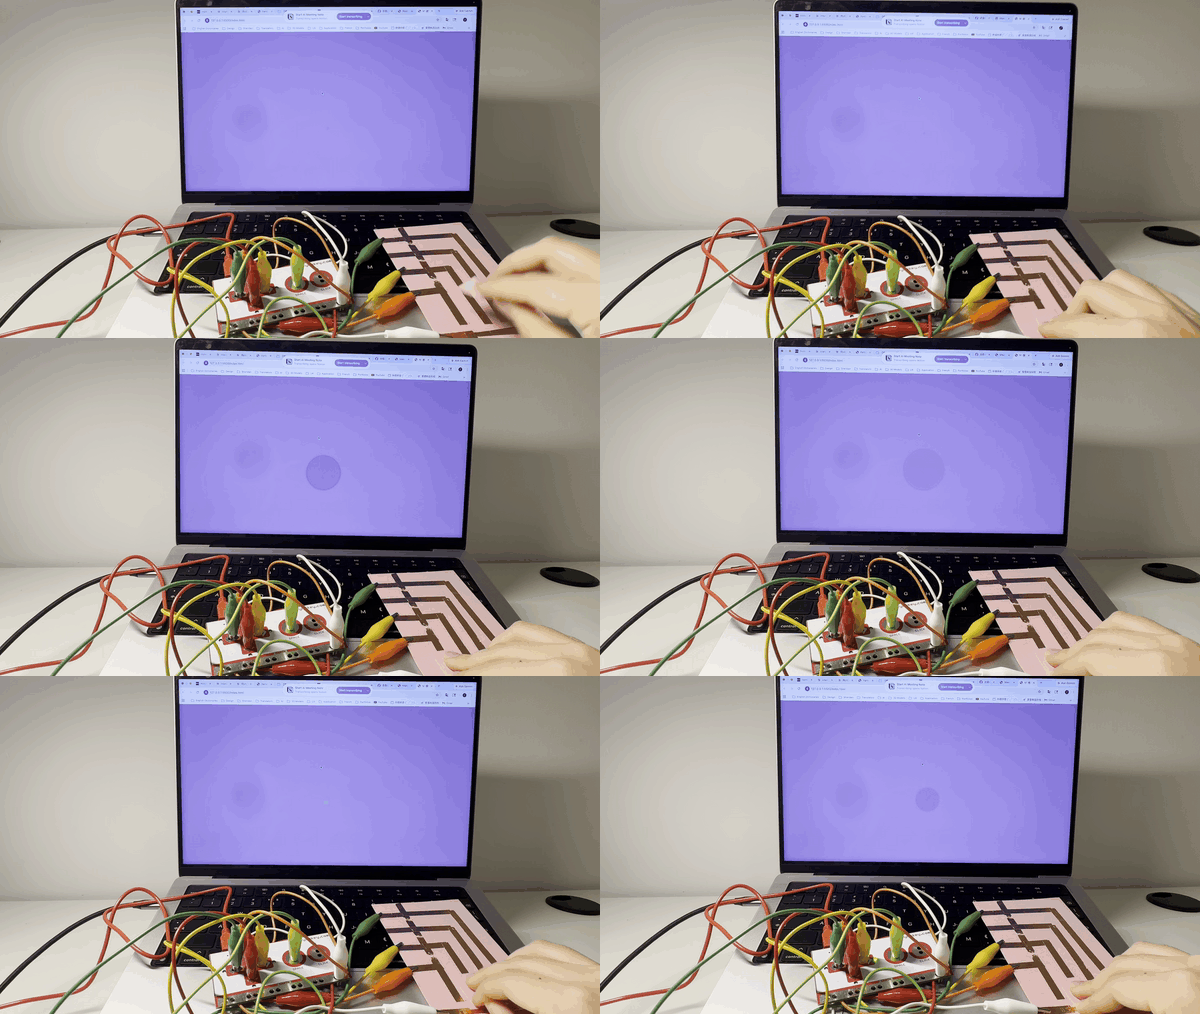
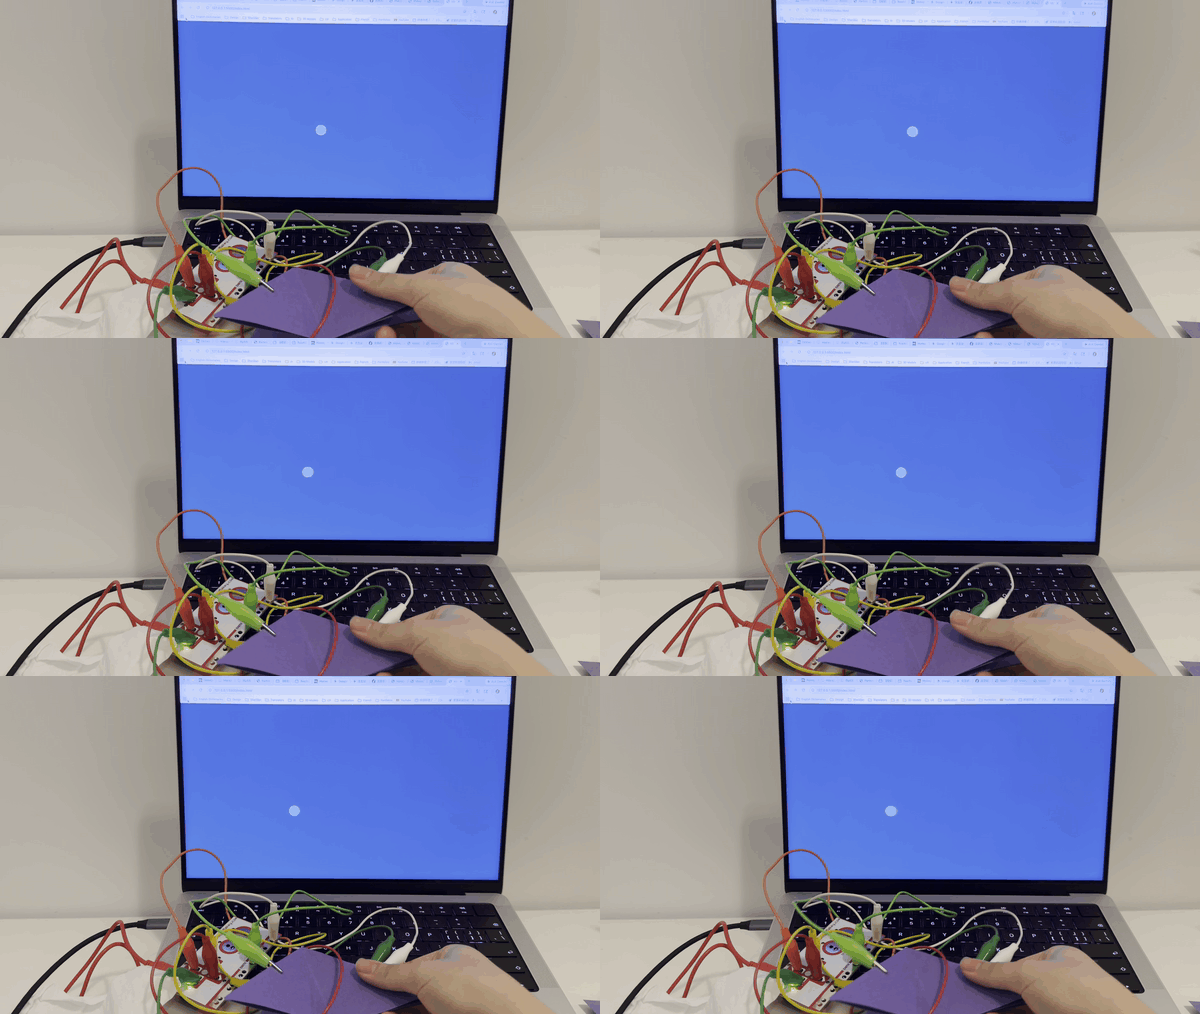
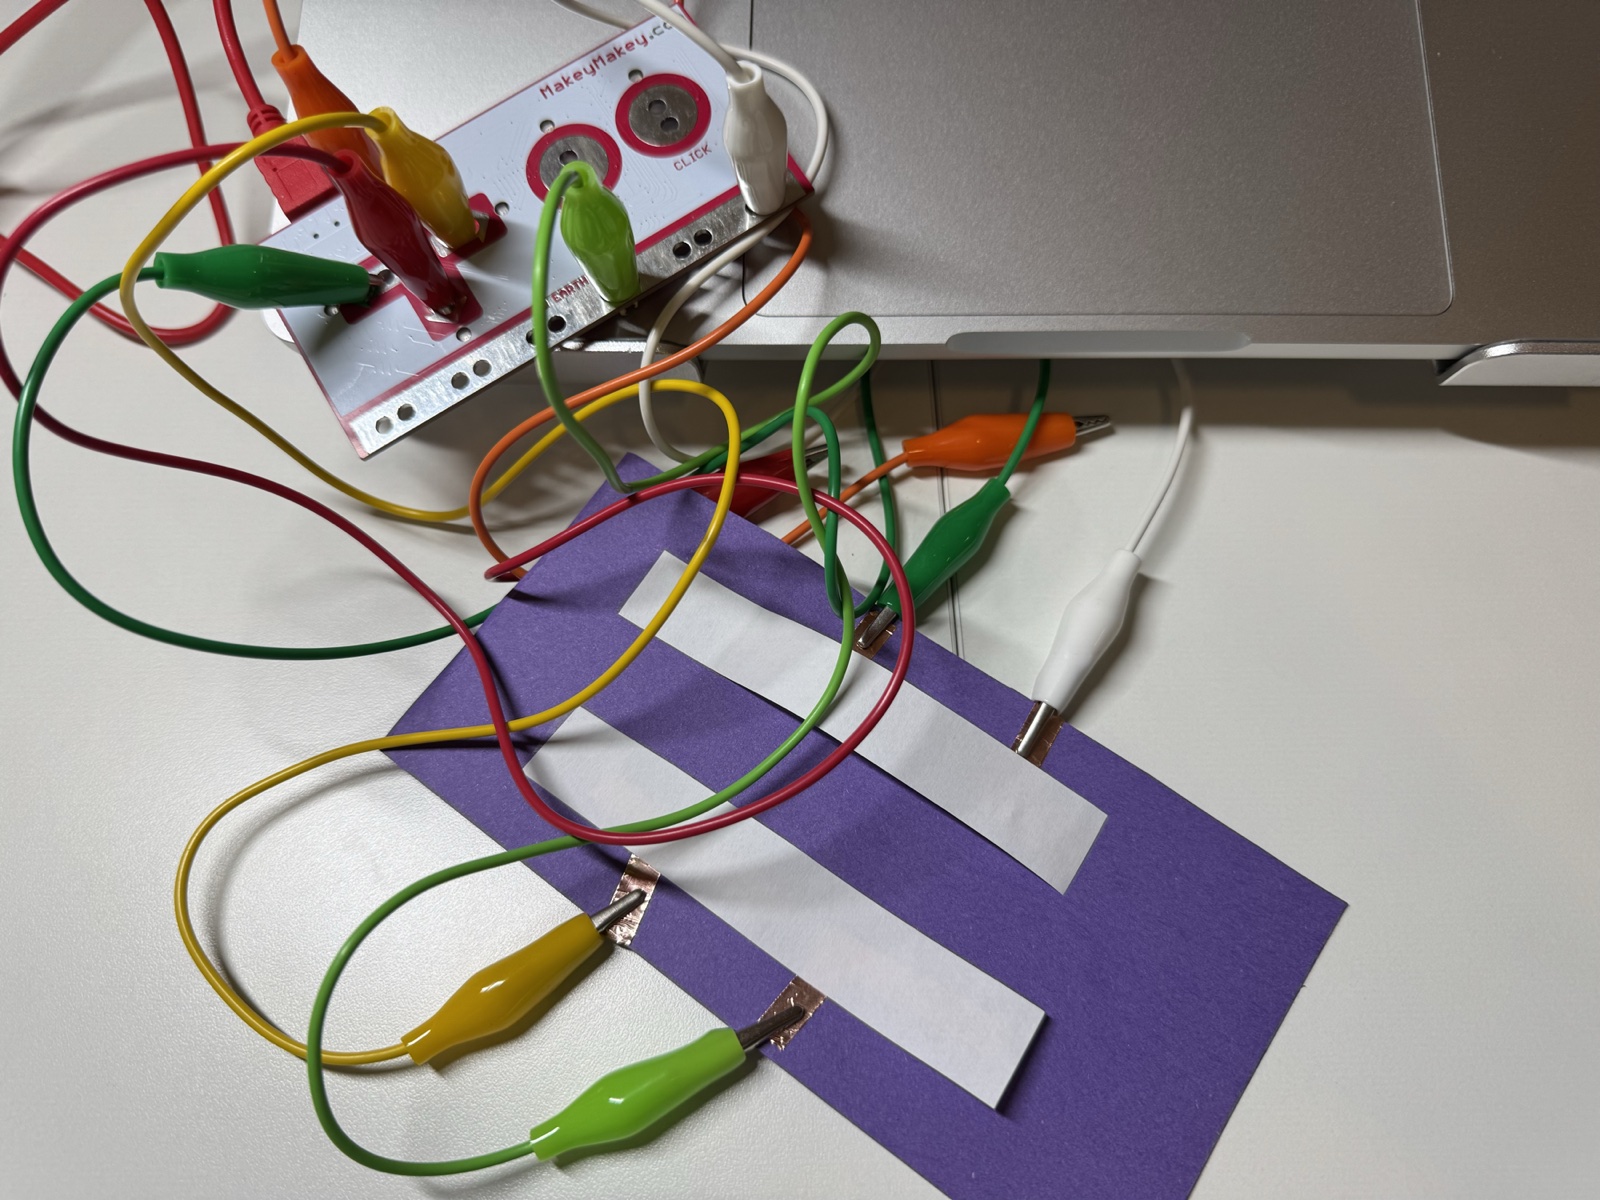
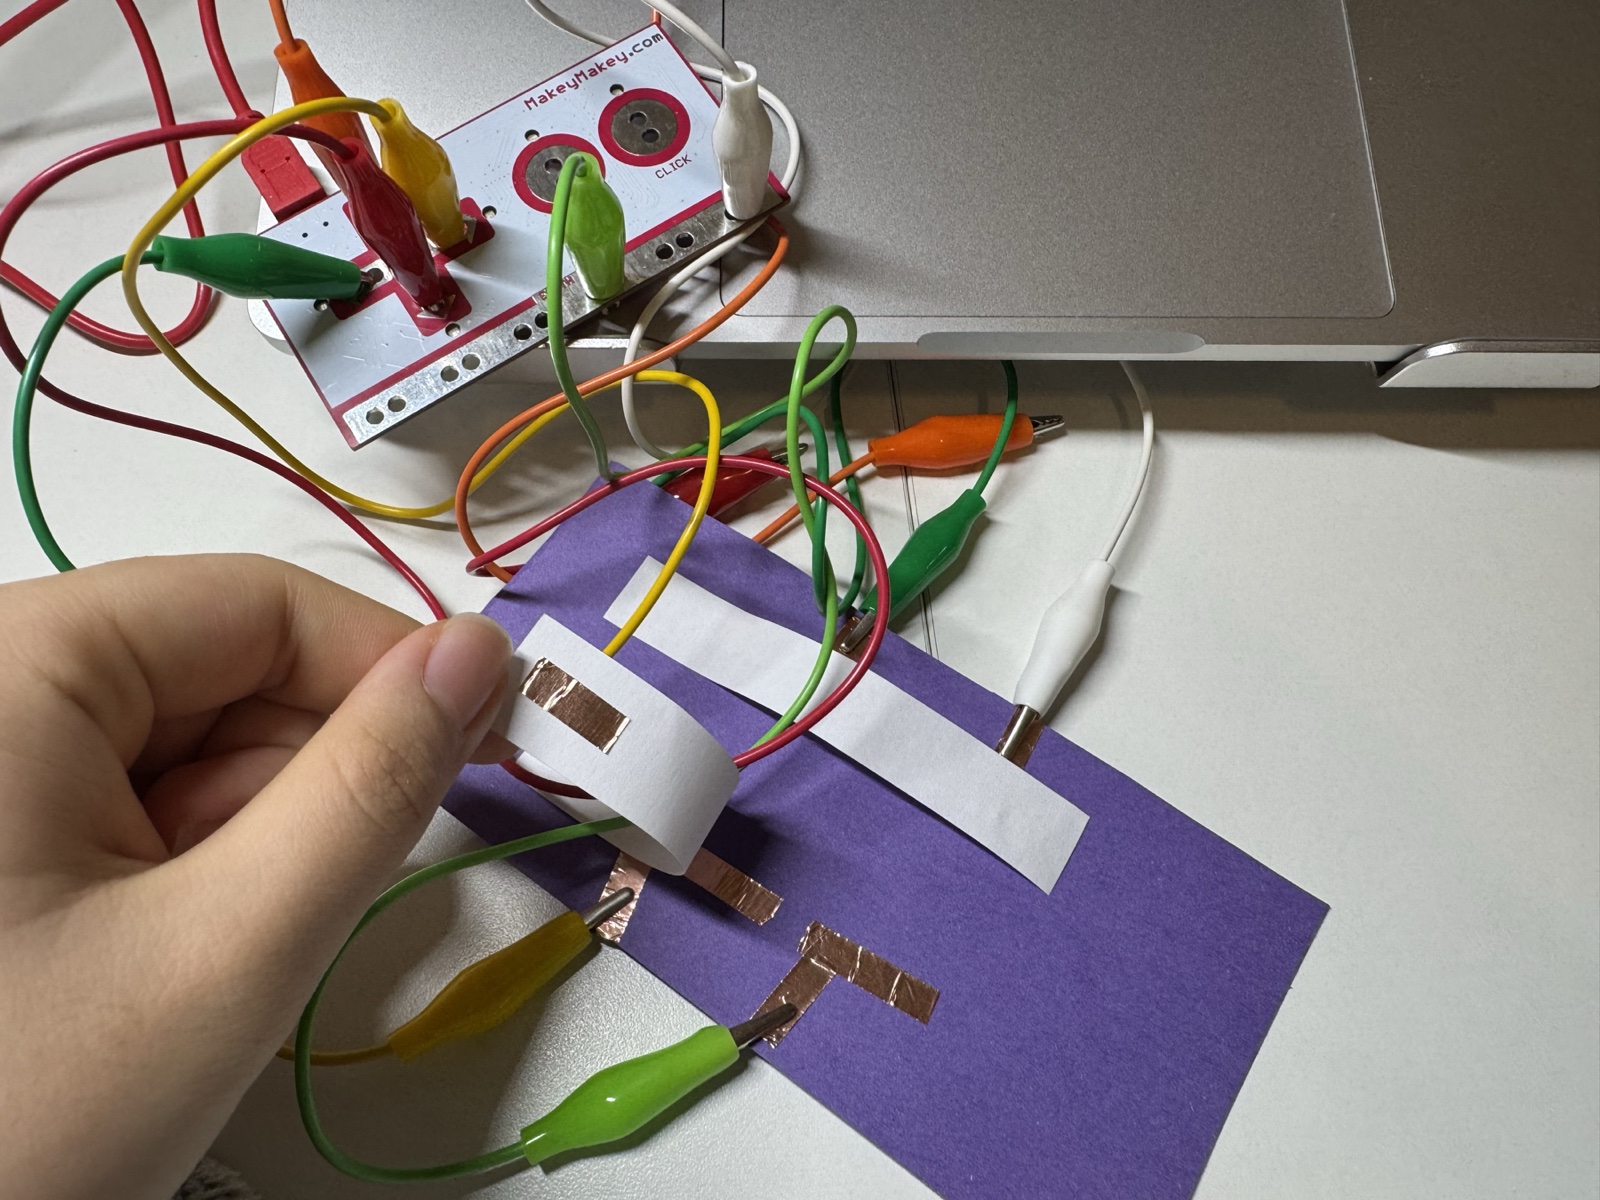
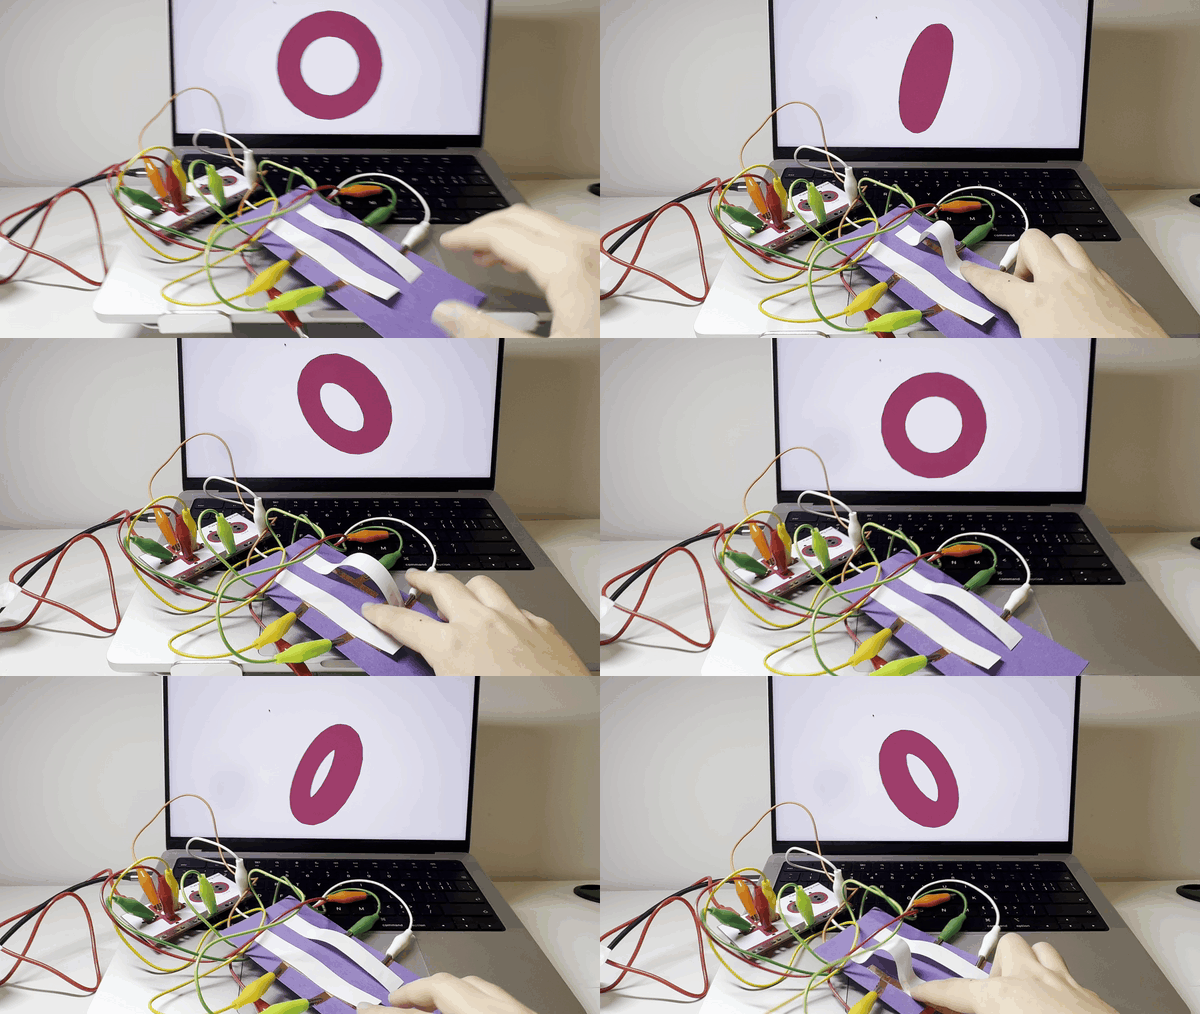
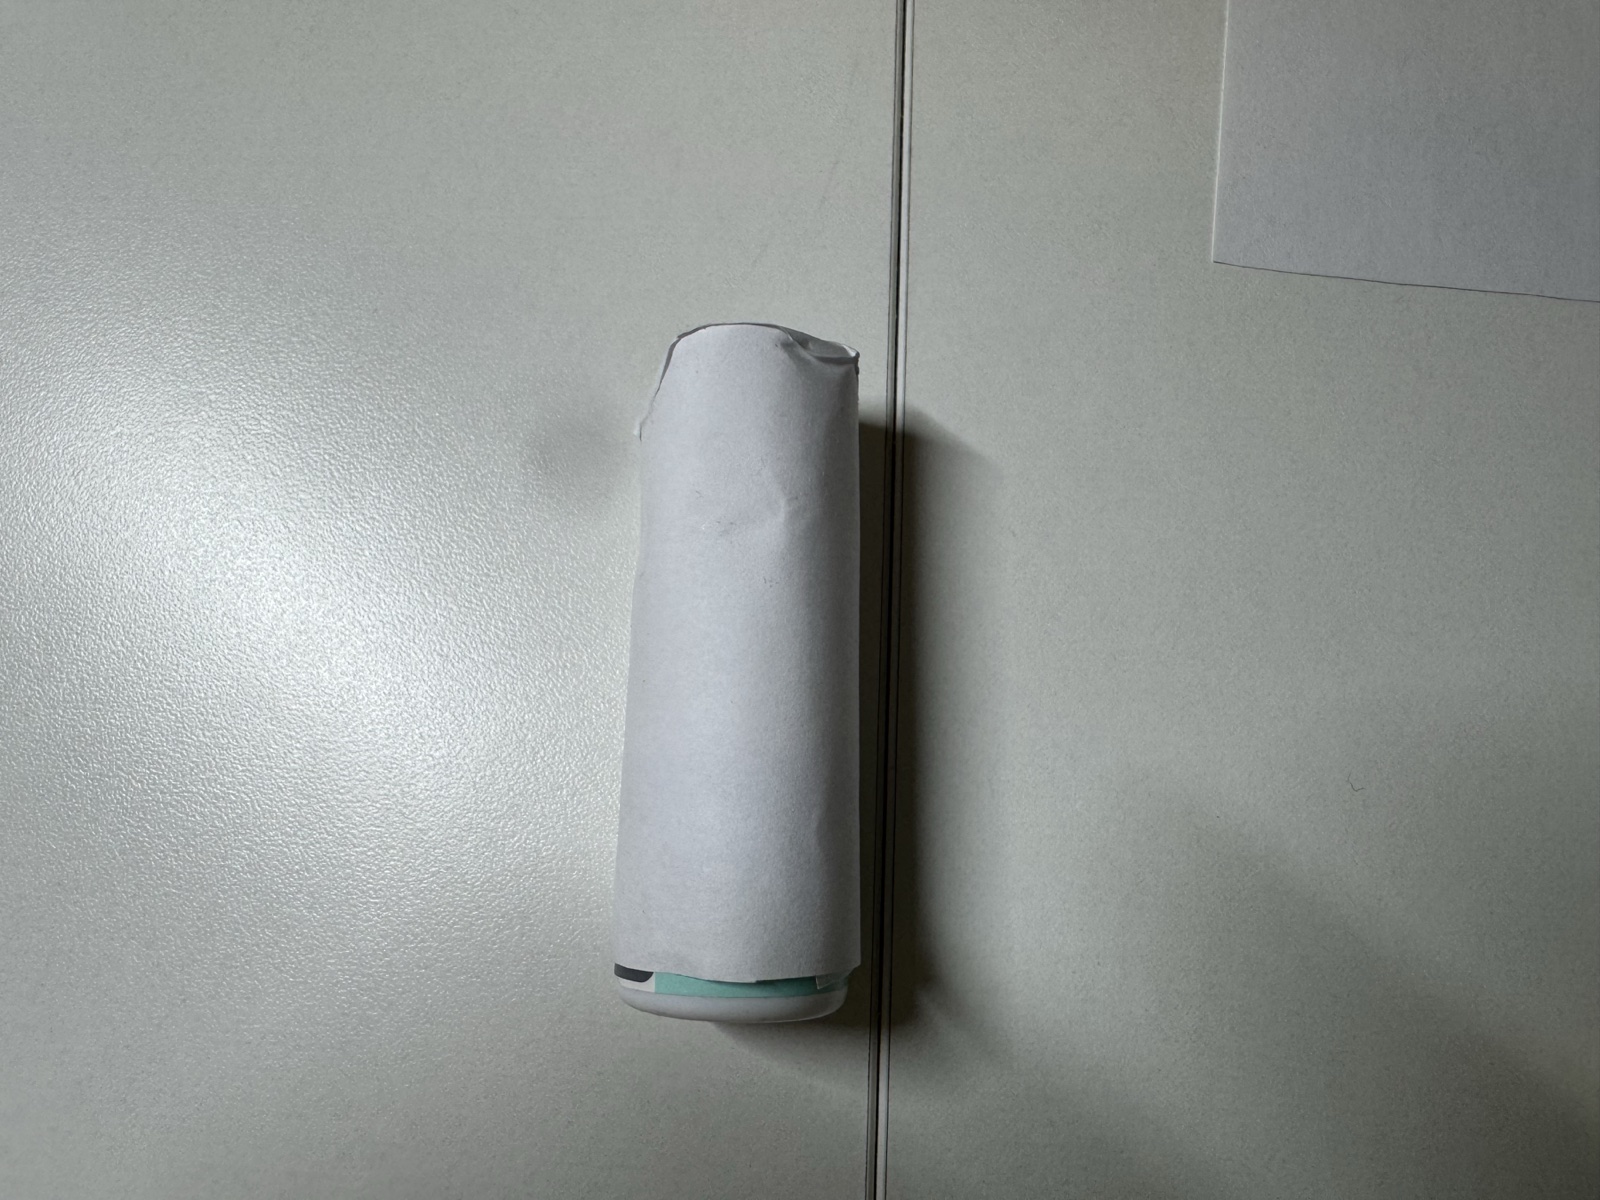
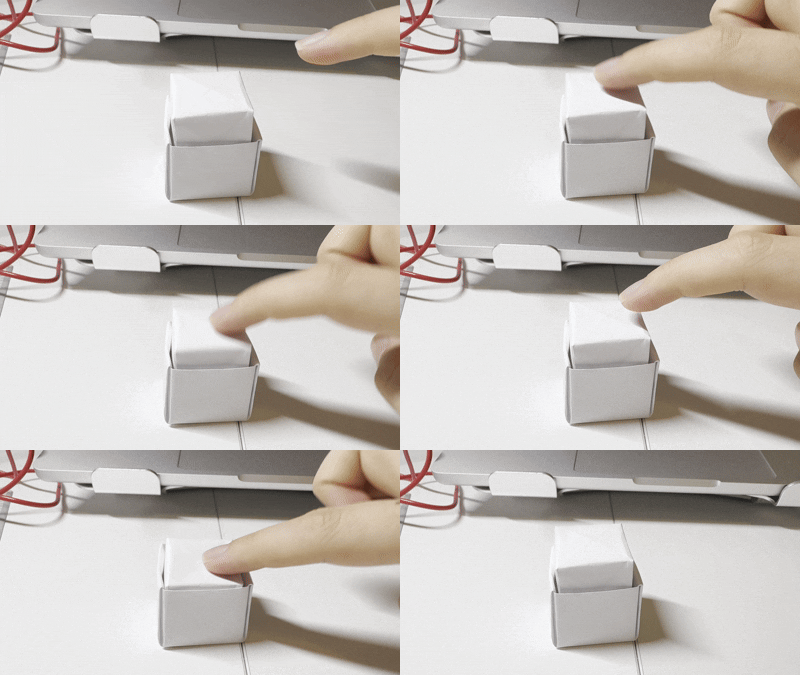
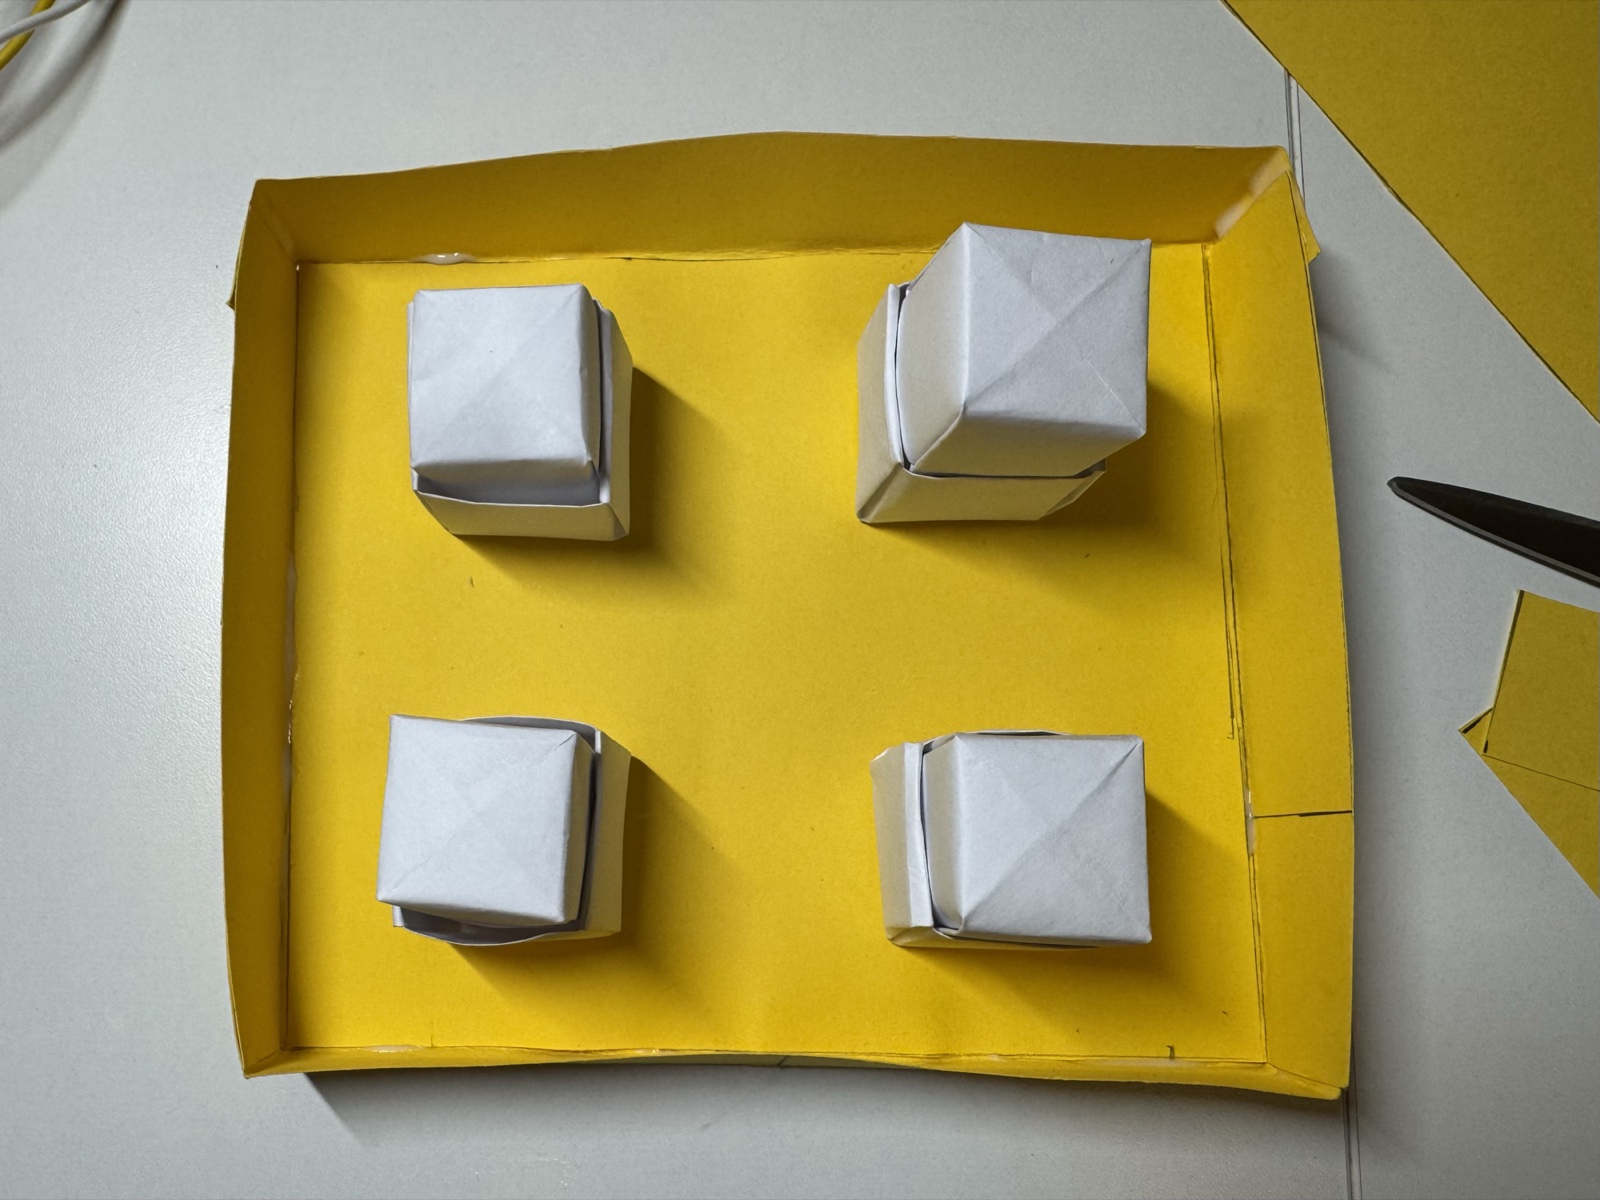
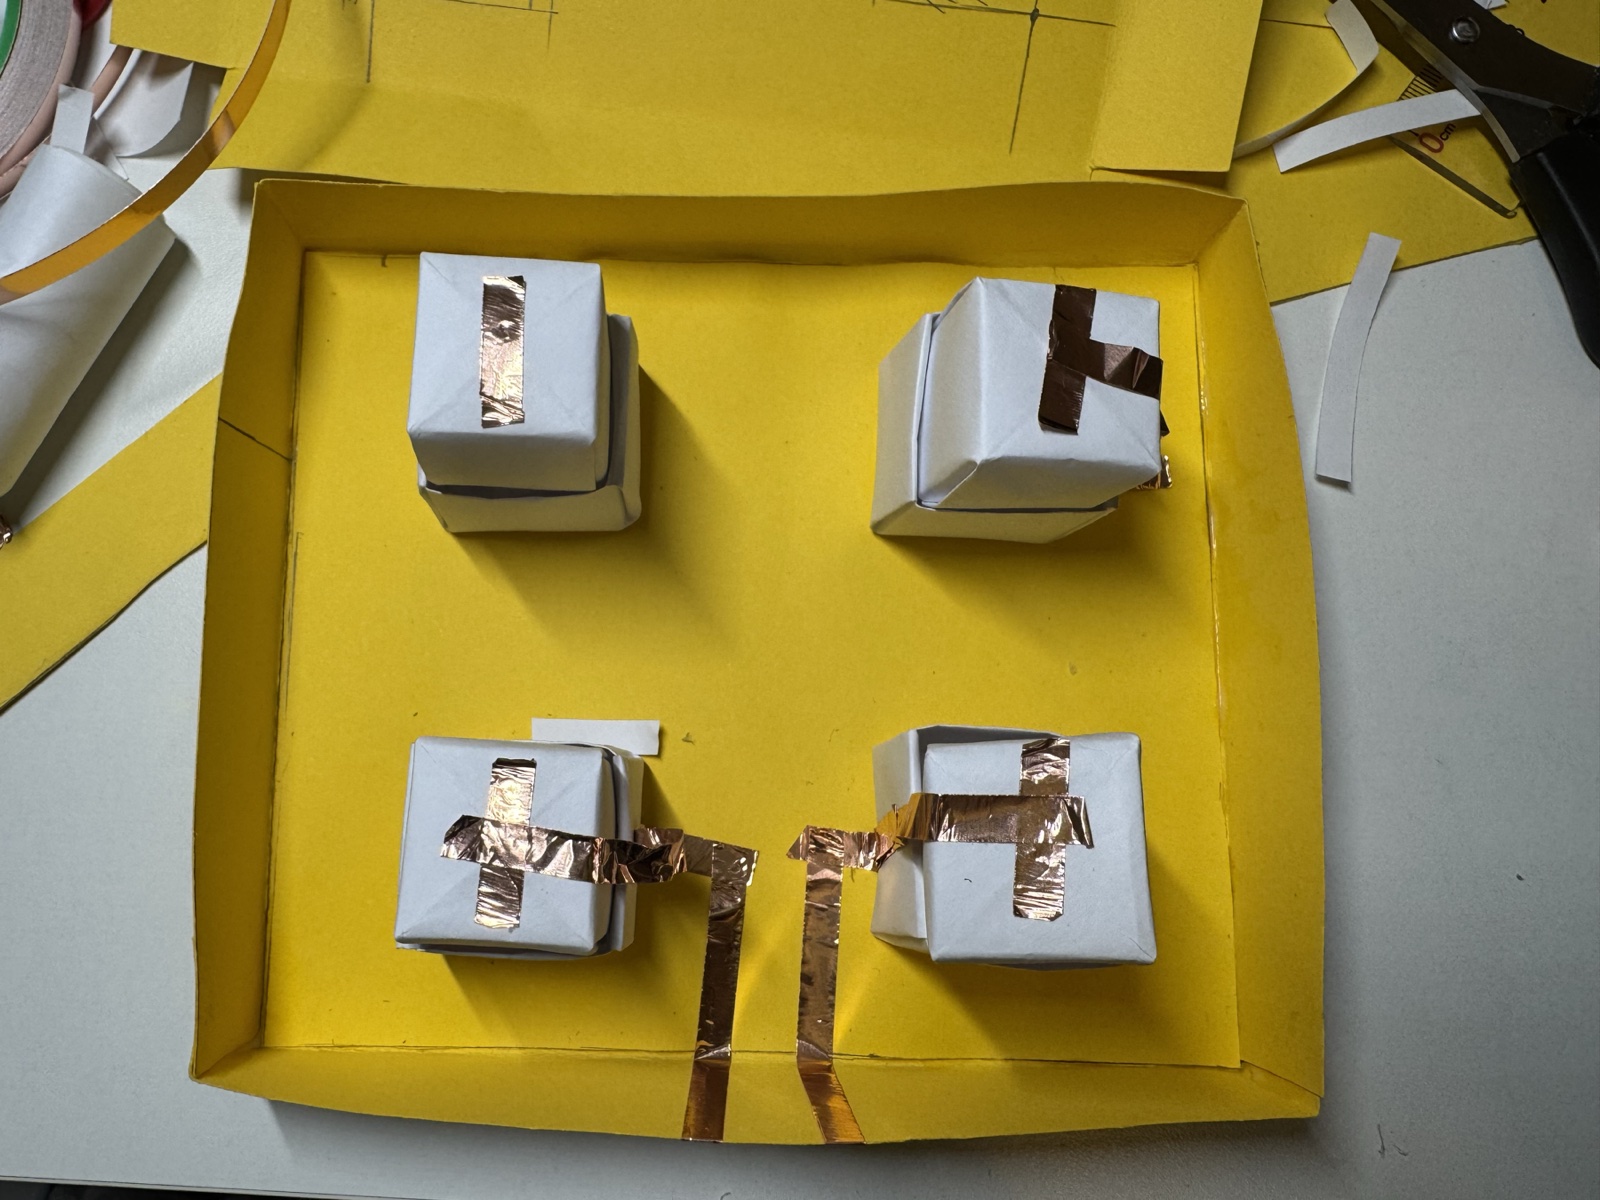
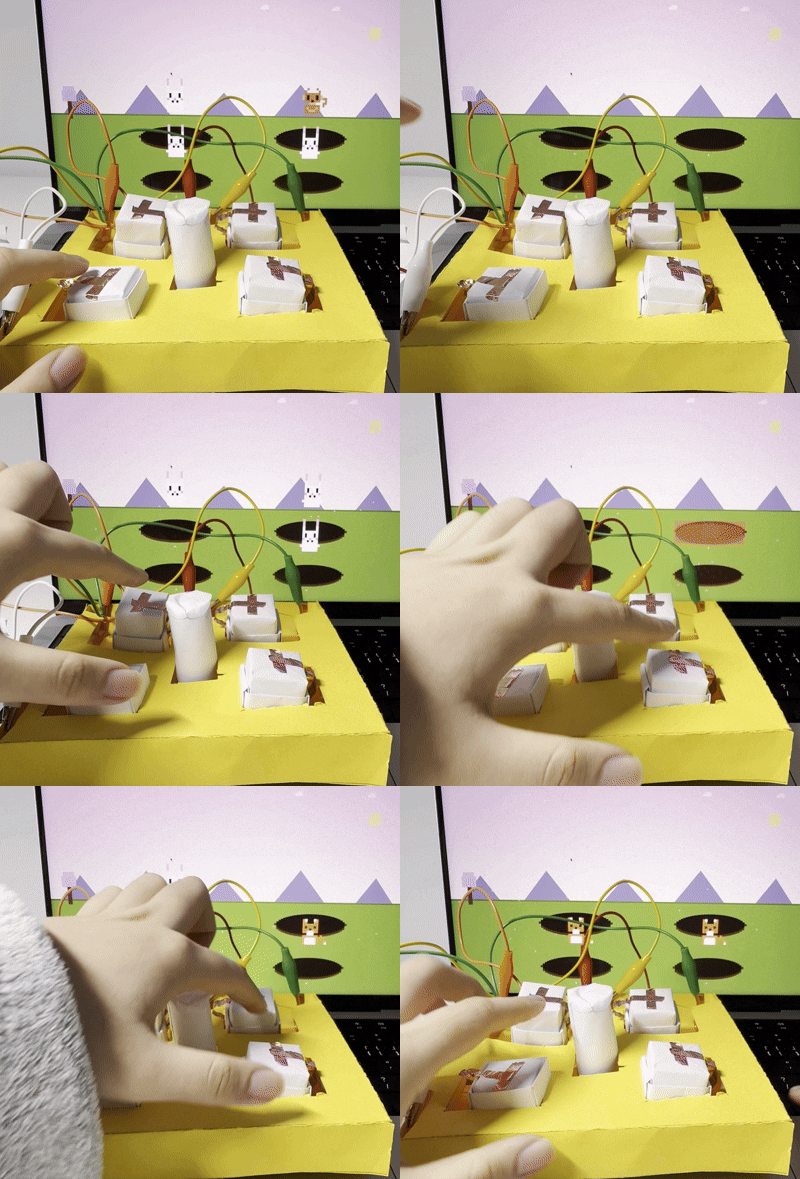
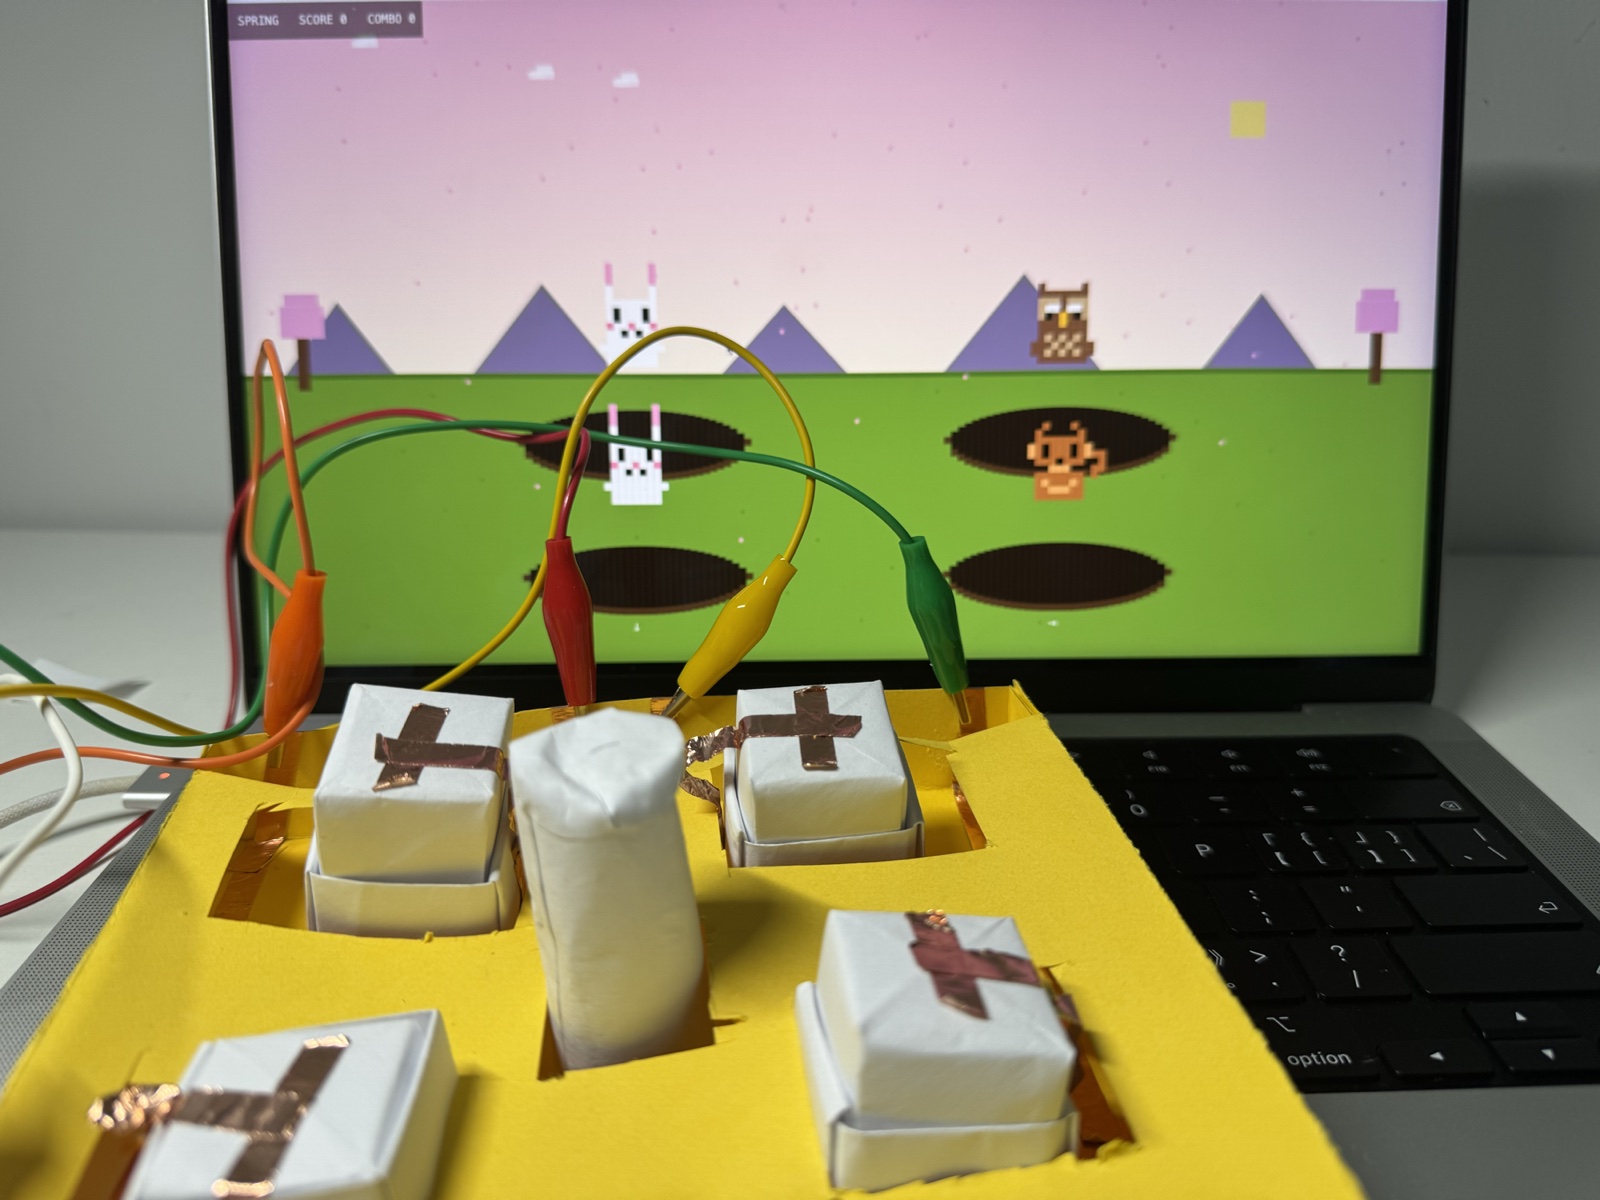
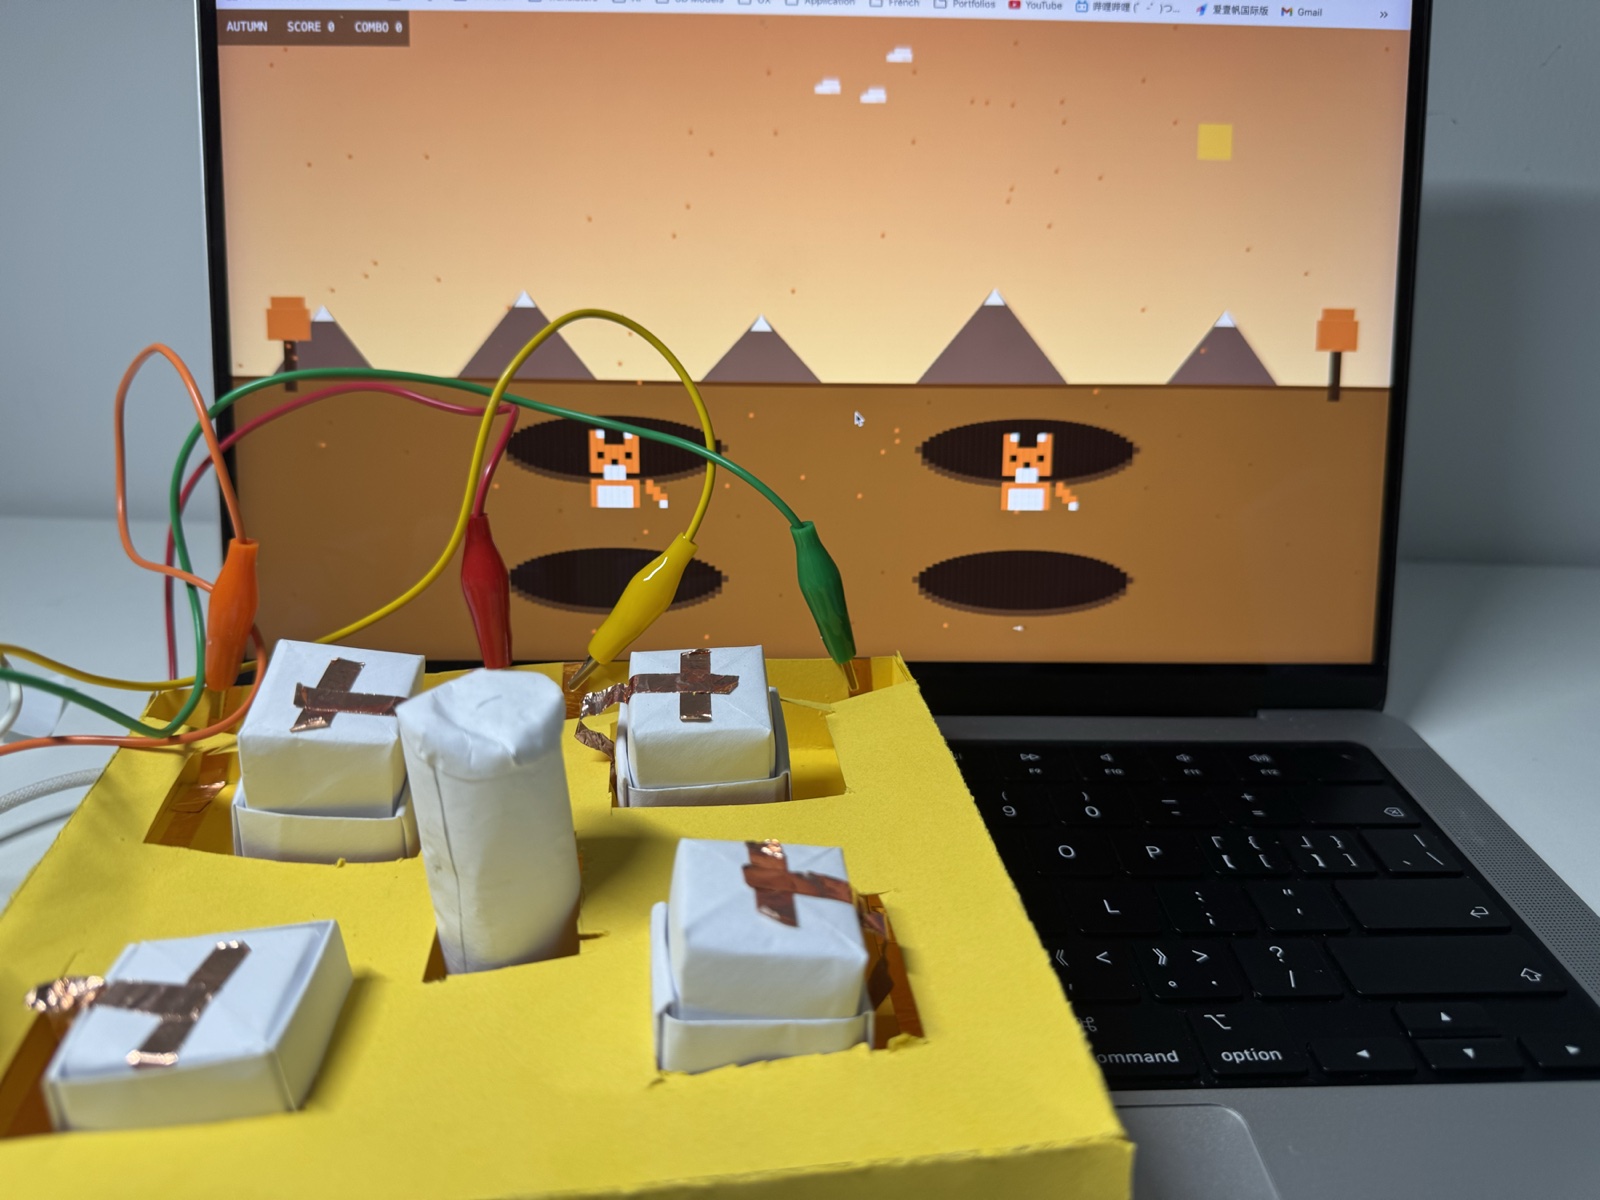
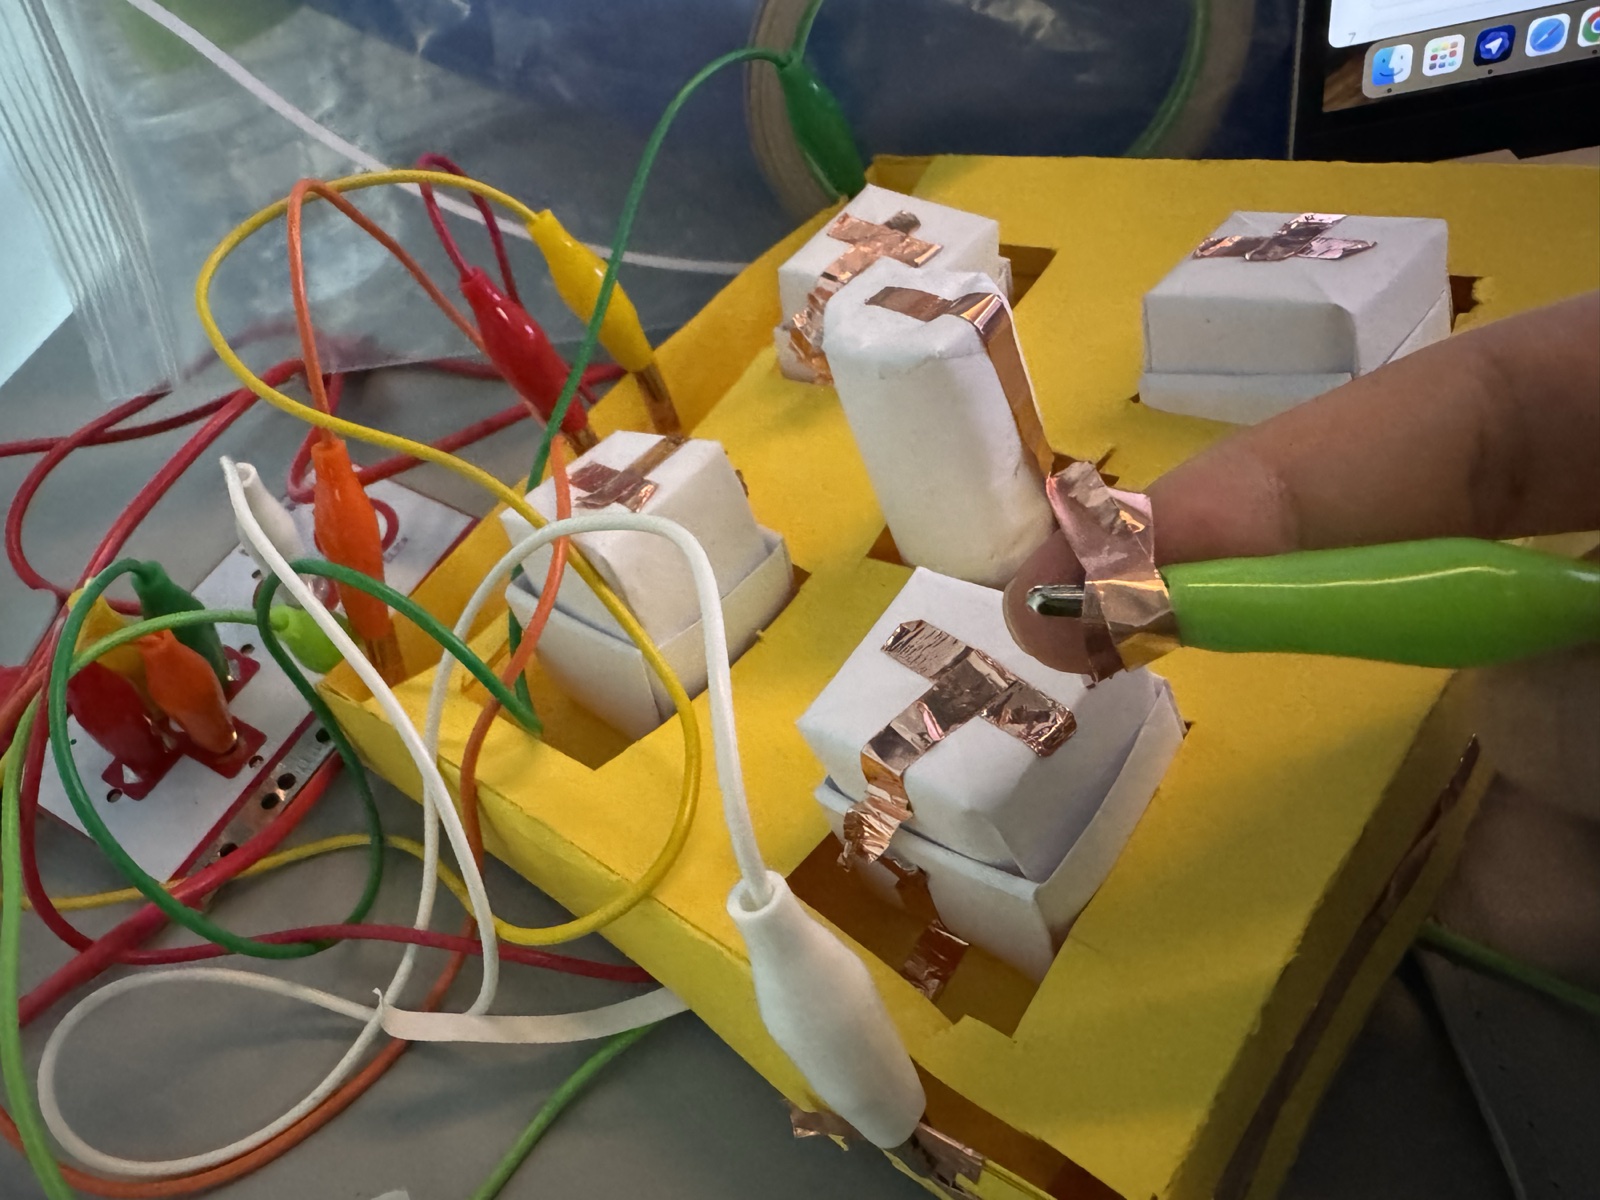
Early Makey Makey test with a paper touch controller connected to p5.js, exploring how conductive input could trigger digital reactions on screen. This was one of my first conductive tape layouts. I wanted to see how a flat paper interface could work as an input surface. Here I was testing the controller while looking at the screen response at the same time. This version helped me check whether the tape arrangement felt clear and easy to use by hand. I folded the paper into a raised shape and added conductive tape to see if the interface could become more physical. This image shows another hands-on test with Makey Makey and the paper interface. I simplified the screen to a single visual object so I could focus on whether the touch input was working properly. In this attempt, I changed the conductive strips into a more direct parallel layout. This small folded form was an early test for a control element that could be touched or pressed. At this stage I was still working with abstract visual responses before deciding on the final game direction. This was my first paper button form. I was mainly trying to understand how the fold could hold its shape. I adjusted the fold to make the structure stand more upright and feel more stable. Here I tested how two forms looked and stacked together before making a full set. After that, I repeated the structure four times to match the four hit positions in the game. This cylinder was a trial for the centre control before I decided on the final version. I pressed the folded paper button by hand to check how much movement and resistance it had. This was my first full layout of the four buttons on a base. I started adding conductive tape to each button so they could connect to Makey Makey. In this version, I extended the tape paths and worked on the connections between the buttons and the board. At this point the controller began to look like a complete interface, with four buttons and a centre control. Here I connected the finished structure to Makey Makey and tested it as a working controller. This image shows the controller being used with the digital game for the first time. I tested the spring version of the game to see how the controller worked with the seasonal visuals. This version shows the game in another seasonal mode, using the same controller layout. This close-up records the final controller during play, with the clips, conductive tape, and paper buttons all working together.

Project 3


Final Project 3 Design

This project is an interactive pixel-art whack-a-mole game made with p5.js and designed to work with Makey Makey as a physical controller. Players csn use four touch buttons to hit targets that appear in different positions on the screen, while another control in the centre changes the seasonal theme between spring, summer, autumn, and winter.

The project combines playful game interaction with simple pixel-art visuals, sound effects, and score feedback to make a strong connection between physical action and digital response. This design explores how touch-based input can make a small digital game feel more direct, playful, and immersive.

Link to my work

×

Powered by w3.css